26
5.1 Acquisition
This section describes the necessary steps to create and configure a measurement system, configure
the system under test, place devices and IEDs onto a substation network diagram, map GOOSE and
Sampled Values streams to devices inputs, record, and observe signals.
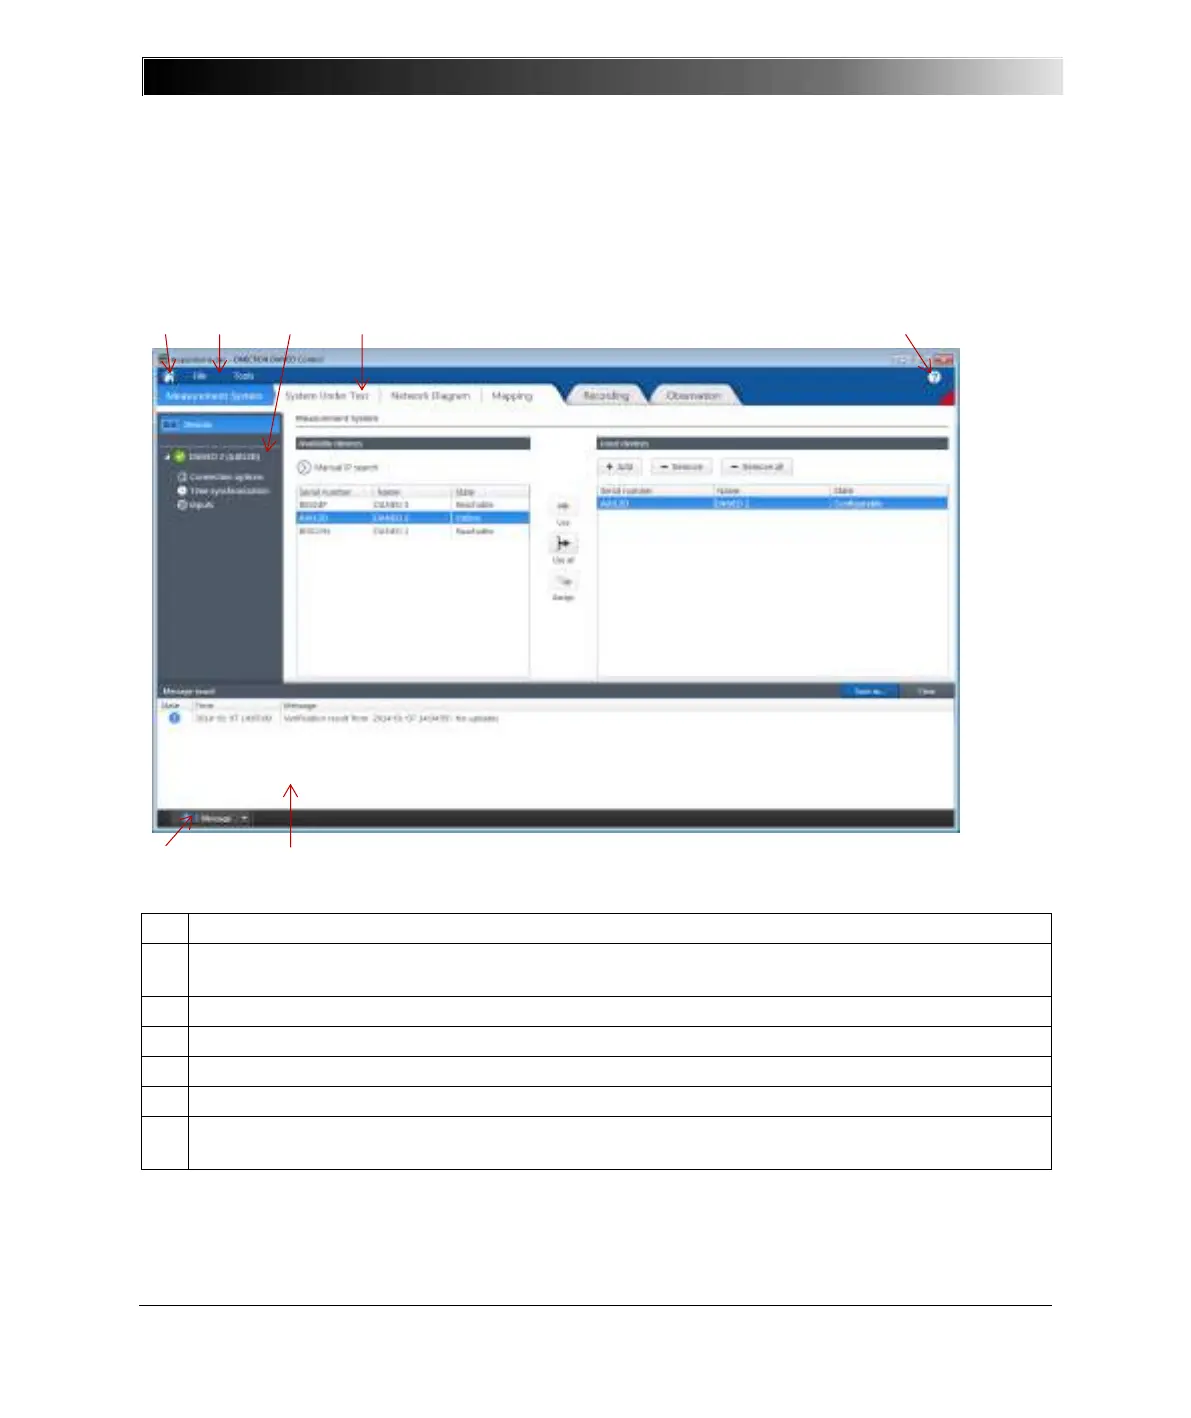
Takes you to the home screen. The file closes and the application disconnects from the device.
Menu bar: Provides options for saving files, open the Options dialog to select/assign
application default values, update firmware and license, and run a device diagnosis.
Navigation pane: To navigate within each view of the Acquisition workspace.
Navigation toolbar: To switch between different views.
To open the Help or the About dialog.
Expands/collapses the Message board.
Message board: To track the most important events, which are classed by colors. The
contents can be saved to a file or cleared.