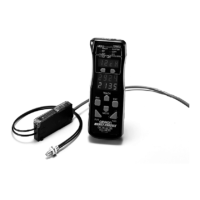
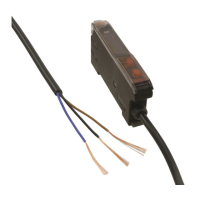
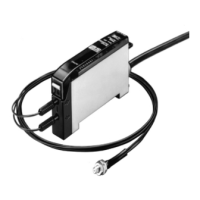
E3X-DA-NE3X-DA-N
10
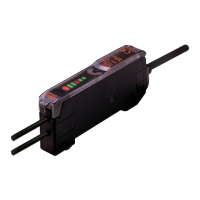
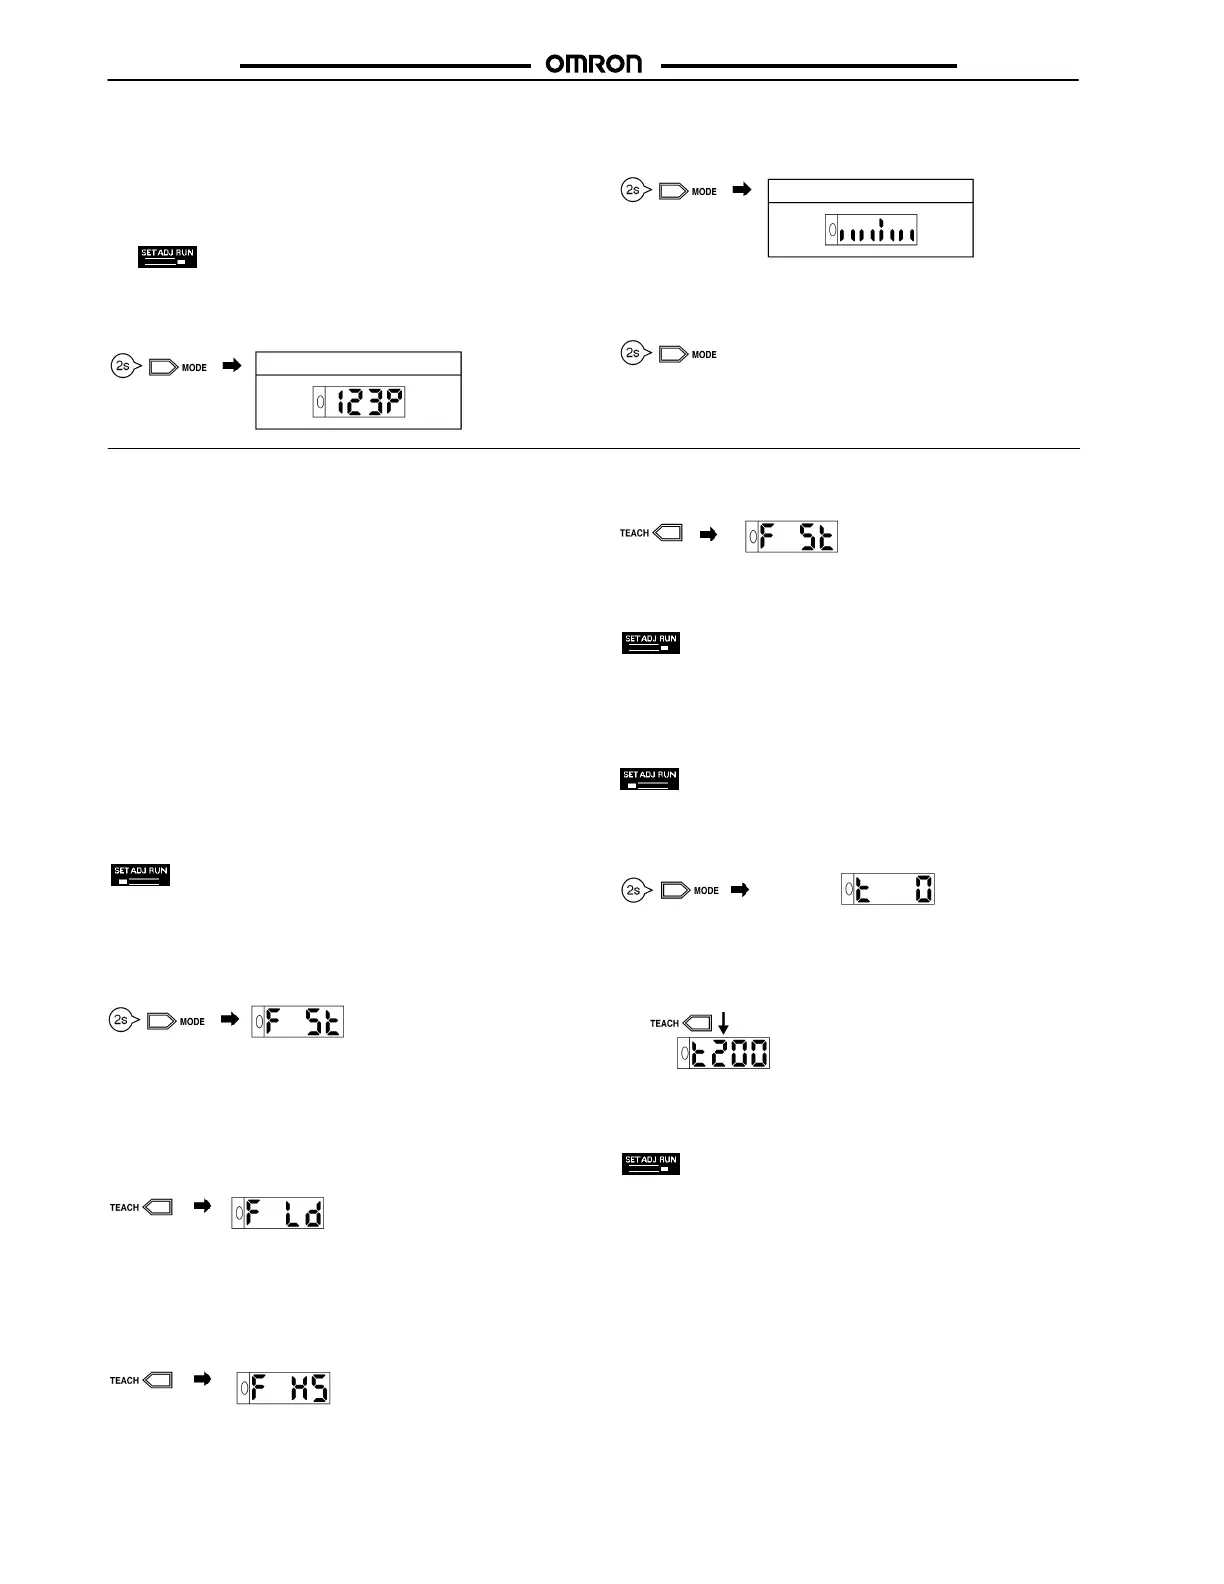
J DISPLAY SETTING
E3X-DA-N can be programmed to display digital incident level,
digital percent level or analog display.
1. Set the “SET ADJ RUN” switch to “RUN” position. Digital
incident level should appear in the display.
Factory-set to RUN
2. Press the “MODE” button until “123P” is displayed. Digital
percent level is now displayed.
Digital percent
3. Press the “MODE” button to activate the “Analog Incident
Level” display. Two color (red and green) bar graph should
appear in the display.
Analog incident level and threshold
4. Press the “MODE” button to return to the “Digital Incident
Level” display.
J SPECIAL FUNCTION SETTING
E3X-DA-N series has various functions that give users more
flexibility in solving a variety of application requirements such as
the following:
• Long sensing distance (Sensing Function)
• Faster response time (Sensing Function)
• Off-delay timer (Timer Function)
• Optical axis alignment (Flashing Function)
• Digital data display hold setting (Display Hold Setting)
• Data display orientation (Display Orientation Setting)
• Zero reset
• Initial reset
• Monitor focus
Sensing Function
1. Set the “SET ADJ RUN” switch to “SET” position.
2. Press the “MODE” button until “fs t” is displayed. The “Stan-
dard” sensing function (fs t) is the default setting. The
“Standard” sensing function provides the standard detecting
distance. Response time is 1 ms.
3. Press the “TEACH” button to obtain the “Long Distance”
sensing function. “F Ld” should appear on the display. The
“Long Distance” function provides a sensing distance that is
about 1.3 times that of the “Standard” detecting distance
(diffuse fiber in use). The “Long Distance” setting has a re-
sponse time of 4 ms.
4. Press the “TEACH” button to obtain the “High Speed” sens-
ing function. “F HS” should appear on the display. The “High
Speed” function provides a detection distance that is about
one-third of the standard distance (diffuse fiber in use). Re-
sponse time is 250 µs.
5. Press the “TEACH” button to return to the “Standard” sensing
function display.
6. Set the “SET ADJ RUN” switch to “RUN” position to imple-
ment settings from the teach function.
Timer Function
1. Set the “SET ADJ RUN” Switch to “SET” position.
2. Press the “MODE” button until “t
––
0” is displayed. “t
––
0 is the
default setting.
0 (Factory-set)
3. Press the “TEACH” button to set to the desired time setting:
1 ms increments from 0 to 20 ms
5 ms increments from 20 to 200 ms
200
Adjustable in
5-ms units
4. Set the “SET ADJ RUN” switch to “RUN” position to imple-
ment settings from the teach function.
 Loading...