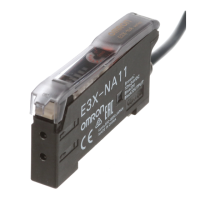
E3X-DA-N
E3X-DA-N
25
J CONNECTORS
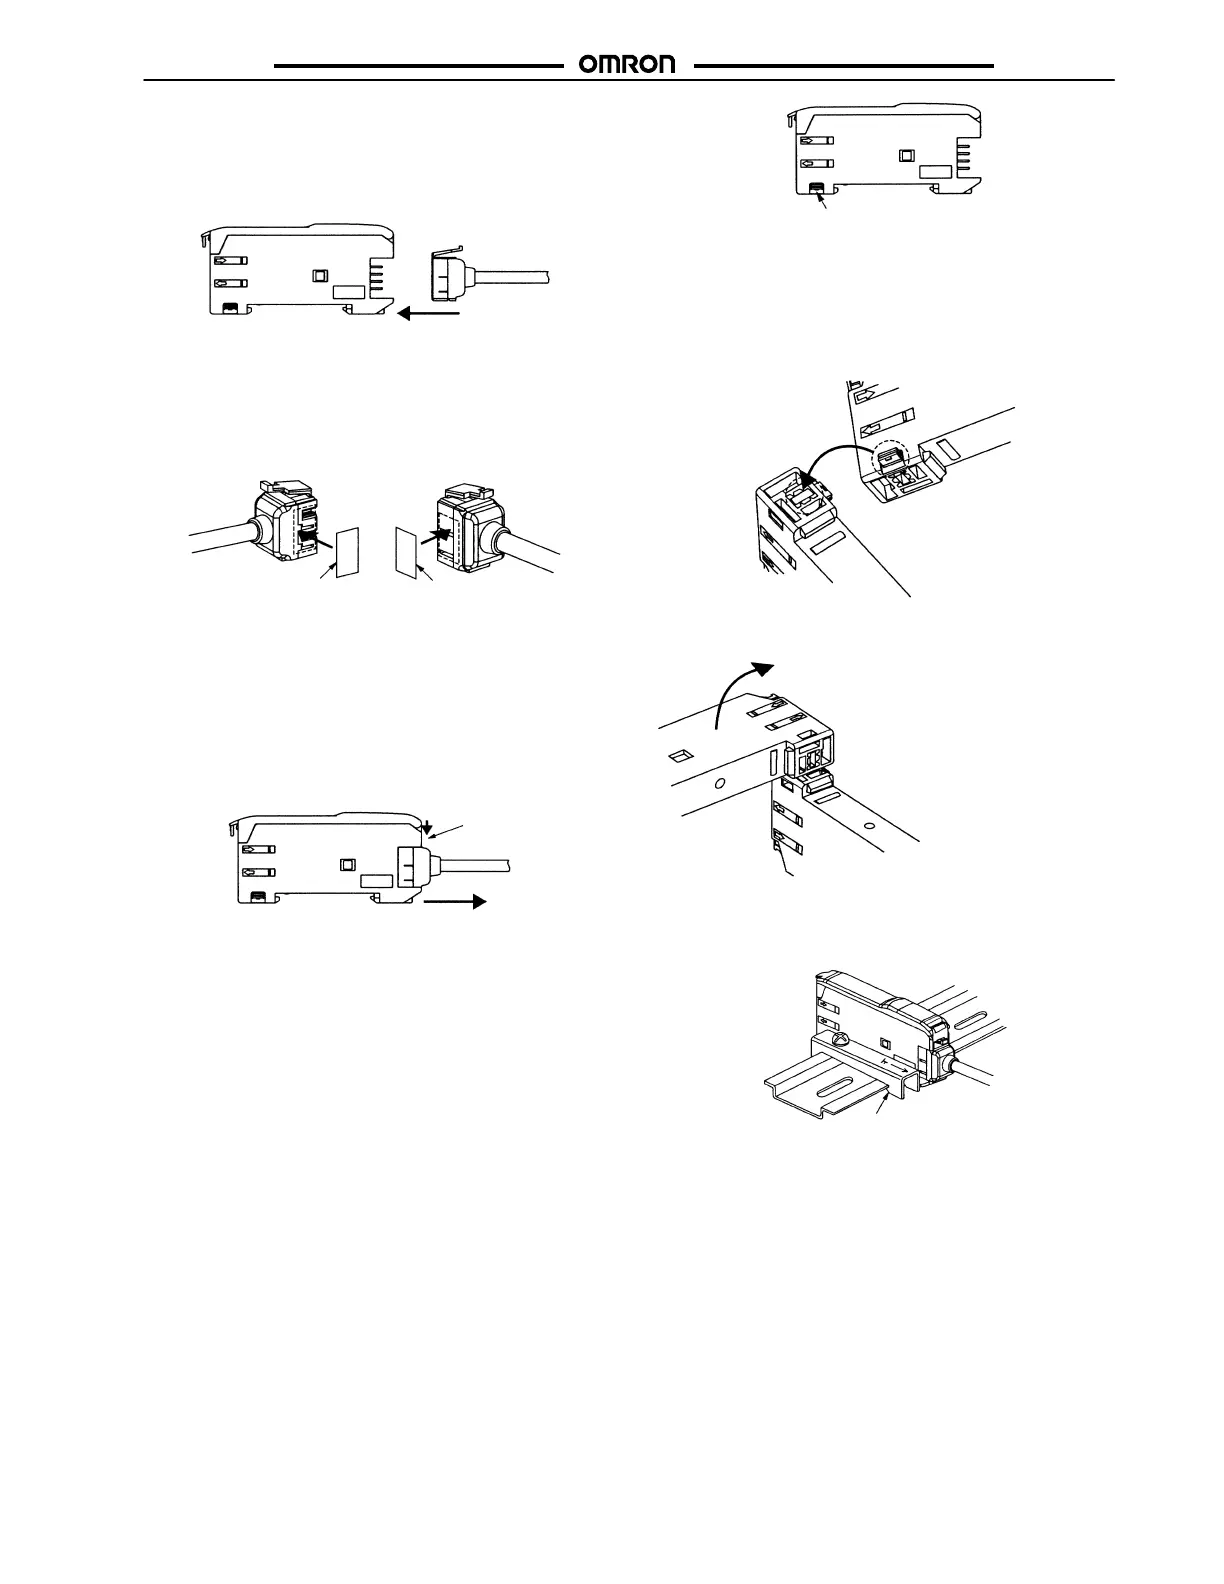
Mounting Connectors
1. Insert the Master or Slave Connector into the Amplifier Unit
until it clicks into place.
Insert
2. Join Amplifier Units together as required after all the Master
and Slave Connectors have been inserted.
3. Attach the stickers (provided as accessories) to the sides of
Master and Slave Connectors that are not connected to other
Connectors.
Seal Seal
Note: Attach the stickers to the sides with grooves.
Removing Connectors
1. Slide the Amplifier Unit away from the rest of the group.
2. After the desired Amplifier Unit(s) has been separated from
the group, press down on the Connector lever and remove it.
(Do not attempt to remove Connectors without separating
them from other Amplifier Units first.)
Press down
Lever
Remove
Mounting End Plate
Depending on how it is mounted, an Amplifier Unit may move
during operation. In this case, use an End Plate.
Before mounting an End Plate, remove the clip from the Master
Amplifier Unit using a nipper or similar tool.
Clip
The clip can also be removed using the following mechanism,
which is incorporated in the construction of the section
underneath the clip.
1. Insert the clip that is to be removed into the slit underneath
the clip on another Amplifier Unit.
2. Remove the clip by rotating the Amplifier Unit.
Rotate
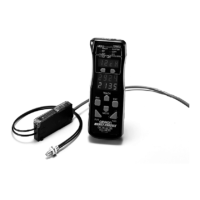
When using the E3X-DA-N with the Remote Control
Programmer, mount the End Plate in the way shown below.
End Plate
Pull Strength for Connectors (Including Cables)
E3X-CN11, E3X-CN21, E3X-CN22: 30 N max.
E3X-CN12: 12 N max.
 Loading...