44
3D Signal Recording and Playback: Recording and Playback
When the 3D REC/PB mode is enabled, all operations are performed from the master unit. Slave unit
operations are disabled.
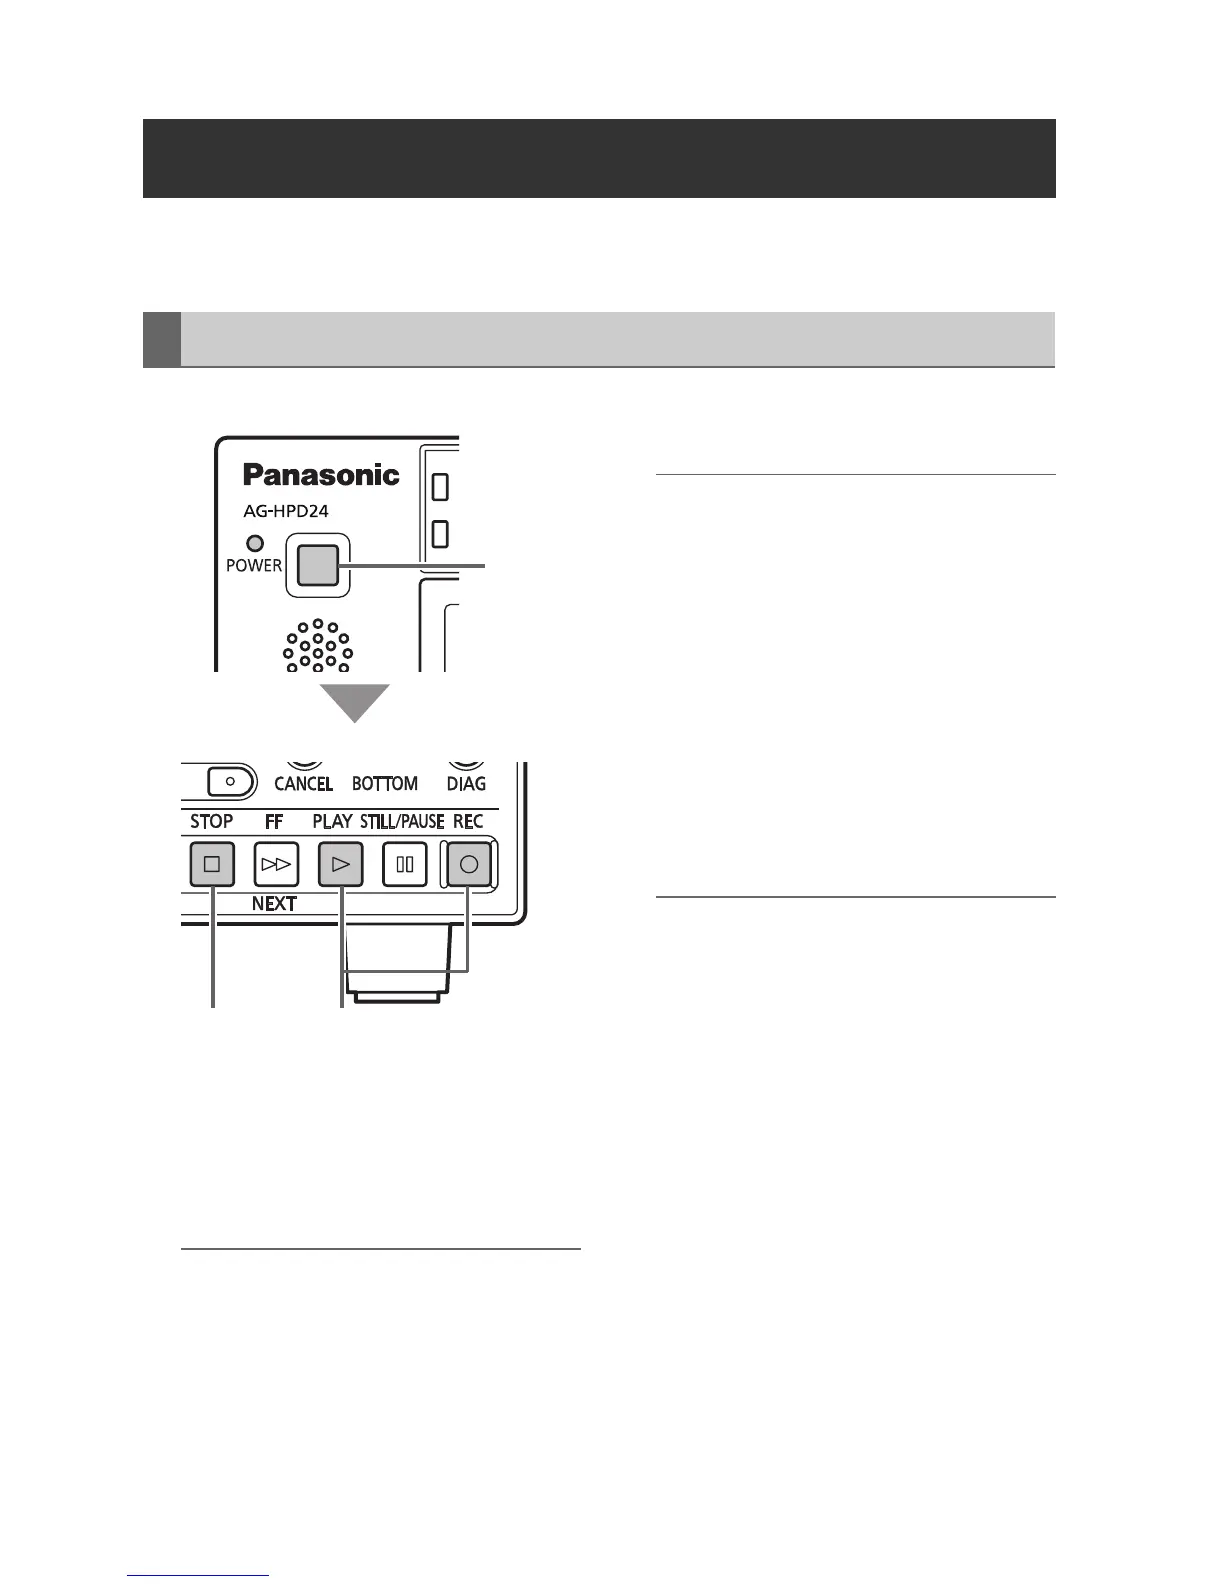
1 Hold each unit’s POWER button for one
second to turn the master and slave units
on.
Set the format, input signal, and etc.
(➝ “Setup Menu” Vol. 2, page 50)
◆ NOTE:
• The recording frequency must be set in the
main mode beforehand.
• Only the AVC-Intra format can be used for
3D recording.
2 Insert P2 cards in the corresponding slots
in both master and slave units.
◆ NOTE:
• Card insertion confirmation on both master
and slave units requires more time than
card confirmation and recording
preparation in normal main mode. If
recording perparation fails, “CANNOT REC”
or “E-62 SLAVE WARNING” may be
displayed.
3 Press the master unit’s REC and PLAY
buttons simultaneously.
Recording begins on the P2 card in the slot
with its access lamp lit orange.
◆ NOTE:
• Recording is disabled when the thumbnail
screen is open. Close the thumbnail screen
before starting to record.
• Recording is disabled when 3D single-
signal output (side-by-side or frame
packing) is enabled.
• LOOP REC and variable frame rate
recording are disabled.
• Recording is possible on the master and
slave unit only for recordable slots (when
the write protect switch is not set to
PROTECT).
• The remaining 3D recording time is the
shortest remaining time on the cards in both
master and slave units.
4 Press the STOP button to stop recording.
Recording and Playback
Recording
ヒ
ビ
1
34
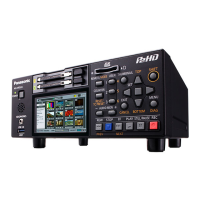
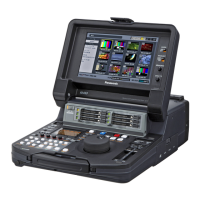
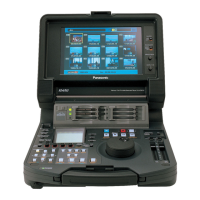
Master Unit
Master/Slave Unit
 Loading...