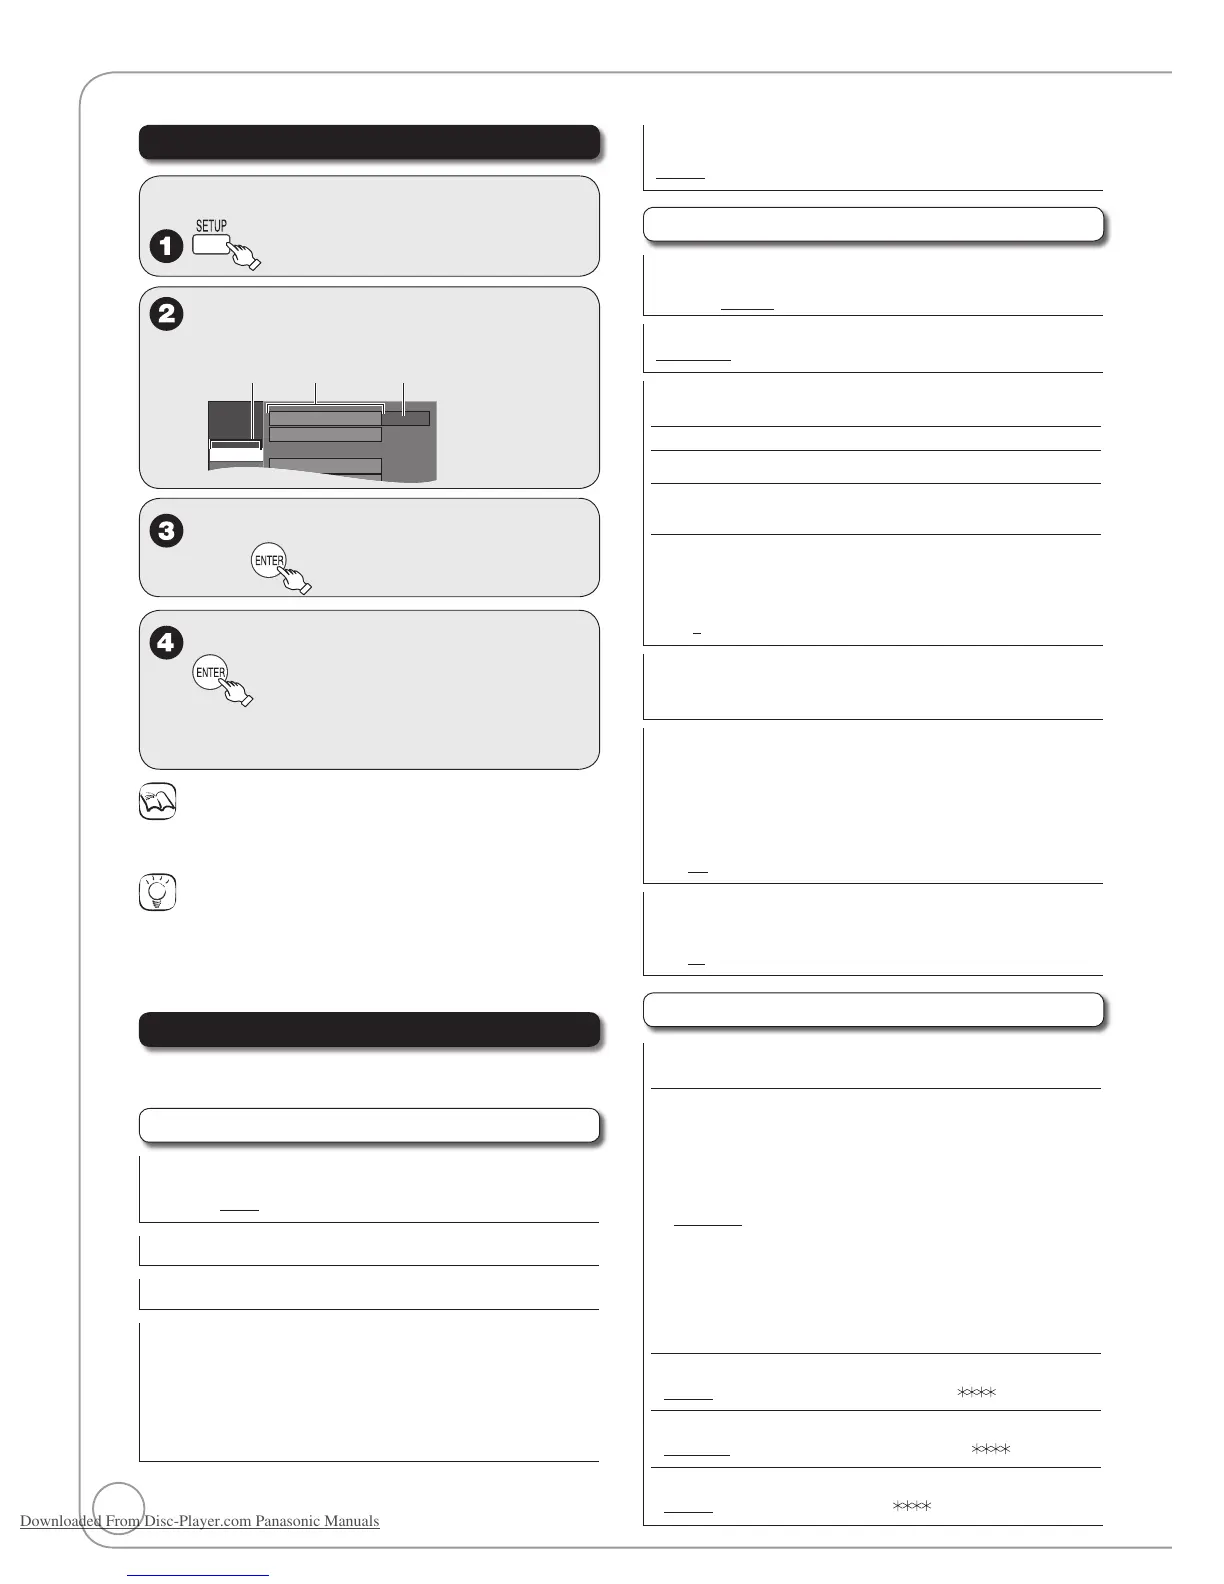
e, r to select an item to change,
then
e, r to select an option, then
Some options require different operations;
follow the on-screen prompts.
–
Notes
Changed settings remain intact even when switching the unit to
standby.
Tips
To return to the previous screen
Press [RETURN]. Even if you have changed an option, the change is
not activated until you press [ENTER].
To exit the screen
Press [SETUP].
Summary of Settings
All factory default settings are indicated with
“Underlined” text.
Channel
Signal Source (Antenna / RF IN)
Select to suit the type of antenna you are using.
[Antenna] [Cable]
Set Channels Automatically
Channel Settings (➔ 56)
Closed Caption (➔ 41)
[Set]: Choose whether to show closed captions.
[Analog]: Settings for closed captions in analog broadcasts.
[Digital]: Settings for closed captions in digital broadcasts.
[Digital Setting]: Detailed settings for closed captions.
[CC reset]: Resets settings for closed captions.
For details (➔ 41, Setting the Closed Caption)•
•
Audio Language Setting
Select the preferred digital broadcast language.
[English] [French] [Spanish]
Setup
Off Timer
Select how long the unit remains on when it is not being used.
[2 Hours] [6 Hours] [Off]
Remote Control Code (➔ 66)
[Set Code 1] [Set Code 2] [Set Code 3]
Clock Settings
Press [ENTER] to show the following settings.
Set Clock Automatically (➔ 57)
Set Clock Manually (➔ 55)
Set the time change dates for DST (➔ 55)
Set the beginning and end dates for DST.
Adjust Time Zone (➔ 57)
This corrects the time set in Auto Clock Setting.
The status is not displayed on the Setup menu when the Auto
Clock Setting is not set.
[–1] [0] [1]
DivX Registration
You need this registration code to purchase and play DivX Video-
on-Demand (VOD) content (➔ 22).
Quick Start
1 Sec. Quick Start for Recording on DVD-RAM.
From the power off state, recording on DVD-RAM starts about
1 second after first pressing [^ DVD POWER] and then
sequentially pressing [* REC] (Quick Start Mode).
Power consumption is also higher when the unit is turned off if this
is set to “On”.
[On] [Off]
Restore Default Settings
This returns Setup menus to default settings, except for the clock, channel
settings, ratings level, closed caption, and on-screen language.
[Yes] [No]
Disc
Settings for Playback
Press [ENTER] to show the following settings.
Ratings
Set a ratings level to limit DVD-Video play.
Follow the on-screen instructions. Enter a 4-digit password with
the numbered buttons when the password screen is shown.
Do not forget your password.
Setting ratings (When level 8 is selected)
[8 No Limit]: All DVD-Video can be played.
[1] to [7]: Prohibits play of DVD-Video with corresponding
ratings recorded on them.
[0 Lock All]: Prohibits play of all DVD-Video.
Changing ratings (When level 0 to 7 is selected)
[Unlock Recorder] [Change Password] [Change Level]
[Temporary Unlock]
•
•
Audio Language
[English] [French] [Spanish] [Original] [Other ]
Subtitle Language
[Automatic] [English] [French] [Spanish] [Other ]
Menu Language
[English] [French] [Spanish] [Other ]
Changing the Unit’s Settings
 Loading...