55
RQT8851
Connection and Setting
The types of transmission:
e, r to select “Antenna” or
“Cable”, then
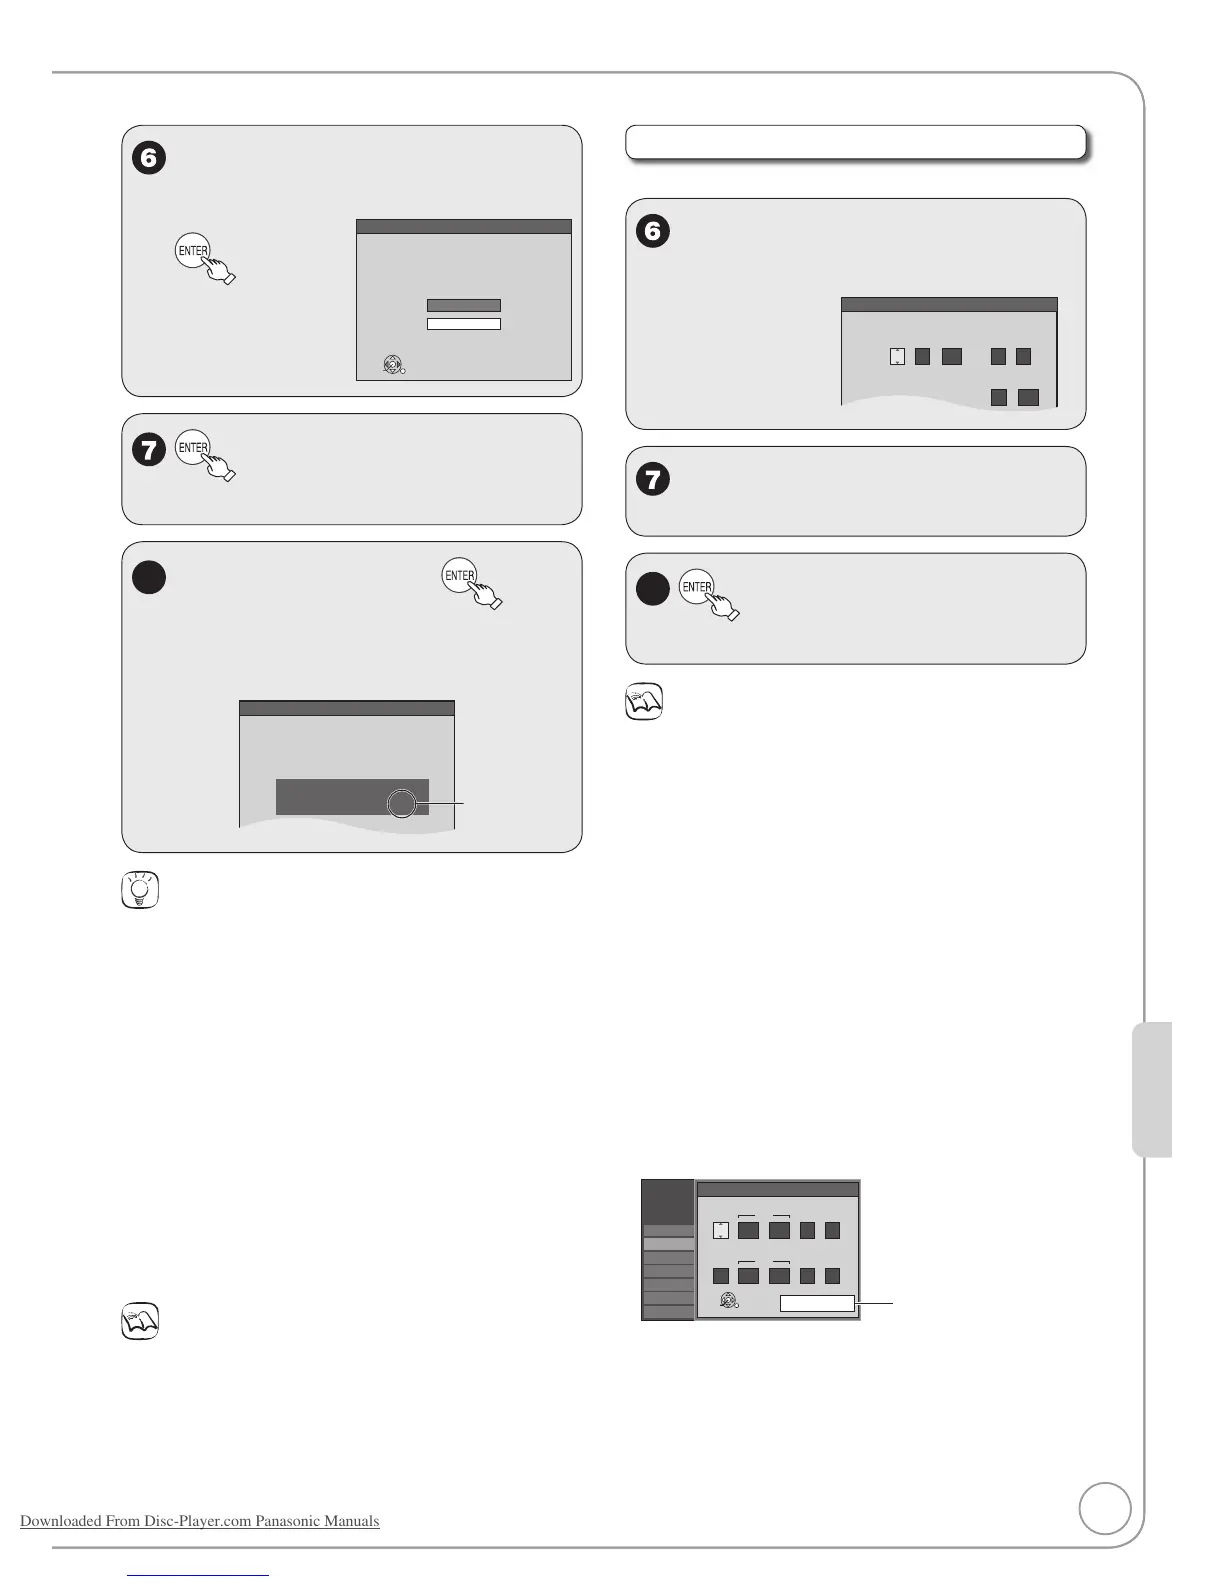
Automatic Clock and Channel Settings
Please select the wire connected to RF IN.
Antenna
ENTER
Cable
to start automatic channel/
clock setting.
8
Confirm the time, then
DST (Daylight Saving Time) shows the
summertime setting.
Time Zone shows the time difference from
Greenwich Mean Time (GMT).
Set Clock Automatically
Clock Setting completed successfully.
4/4/2006 12:15 AM
DST........ ........ On
Time Zone .... EST
See “Notes”
(➔ right).
–
–
Tips
If the unit displays “No channels were found.”, turn off the unit
and confirm the cable or antenna input is connected to the RF IN
terminal. Restart the set up again (➔ below).
If “Auto Clock Setting is incomplete.” is displayed, press [ENTER]
and set the clock manually (➔ right).
If the clock is not correct, set the clock with “Adjust Time Zone”
(➔ 57) or “Set Clock Manually” (➔ 38).
You can delete channels you don’t need after completing Auto
Channel Setting (➔ 56).
Restarting the Auto-Setup
(after relocation, for example)
1. When the unit is on and stopped, press and hold [CH 2] and
[CH 1] on the main unit at the same time for about 5 seconds.
The unit turns off.
2. Press [^ DVD POWER] to turn the unit on.
(The signal source, and channel captions revert to their default
values. All scheduled recordings are cleared.)
To cancel in the middle
Press [RETURN].
Notes
Conditions of the received channel may cause automatic channel/
clock setting to take extra time.
•
•
•
•
•
Manual Clock Setting
Perform steps 1–5 on page 54.
w, q to select the item you want
to change.
Set Clock Manually
/:
/
SAT AM
DST
EST
1 1 2000 12
Off
Time Zone
EST
00
Month Day Year
Hour Minute
e, r to change the setting.
Repeat steps 6-7 to change other items.–
8
to confirm new date and
time and to initiate the clock.
Notes
The automatic clock setting can take a few minutes.
Time Zone
EST (Eastern Standard Time) = GMT –5
CST (Central Standard Time) = GMT –6
MST (Mountain Standard Time) = GMT –7
PST (Pacific Standard Time) = GMT –8
AST (Alaska Standard Time) = GMT –9
HST (Hawaii Standard Time) = GMT –10
For other areas: xx hr
DST (Daylight Saving Time)
If you select “On”, the clock is advanced one hour beginning at 2
a.m. on the second Sunday in March and ending at 2 a.m. on the
first Sunday in November.
Set the DST period manually when it varies according to regions
(➔ below).
To set the DST period manually
1. Press [SETUP].
2. e, r to select “Setup” then q.
3. e, r to select “Clock Settings” then press [ENTER].
4. e, r to select “Set the time change dates for DST” then
press [ENTER].
5. e, r, w, q to set the “Month”, “Day”, “Hour”, and “Minute” then
press [ENTER].
Reinitializes the
settings.
Setup
Channel
Setup
Disc
Video
Audio
Display
TV Screen
Set the time change dates for DST
ENTER
:
AM
3 SUN2nd 2
00
Month
Beginning
Day
Hour Minute
:
AM
11 SUN1st 2
00
Restore Default
Month
End
Day
Hour Minute
•
•
•
Downloaded From Disc-Player.com Panasonic Manuals
 Loading...