142
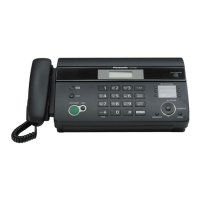
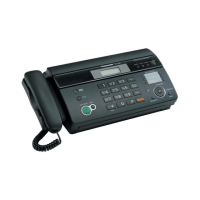
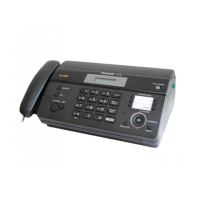
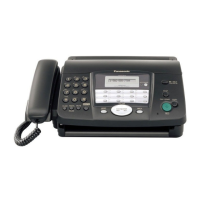
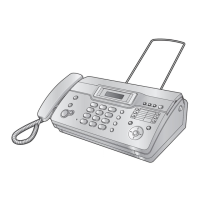
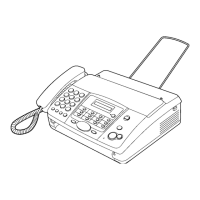
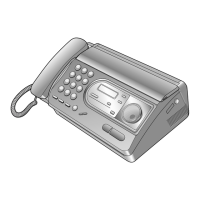
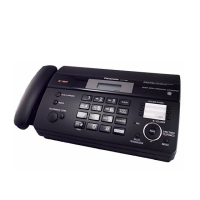
KX-FT982LS-B / KX-FT984LS-B / KX-FT988LS-B
15.1.3. Maintenance List
15.1.4. Maintenance Cycle
These values are standard and may vary depending on usage conditions.
No. Operation Check Remarks
1 Document Path Remove any foreign matter such as paper. ----------
2 Rollers If the roller is dirty, clean it with a damp cloth then dry thoroughly. Refer to How to Remove the Image Sensor
(CIS) and Feed Roller (P.130).
3 Platen Roller If the platen is dirty, clean it with a damp cloth then dry thoroughly.
Remove the paper and film cartridge before cleaning.
Refer to How to Remove the Operation Board,
LCD and Platen Roller (P.137).
4 Thermal Head If the thermal head is dirty, clean the printing surface with a cloth
moistened with denatured alcohol (alcohol without water), then dry
thoroughly.
Refer to How to Remove the Lock Lever and
Thermal Head (P.132).
5 Sensors Cover open/Paper sensor (SW101), Hook sensor (SW102), Jam
sensor (SW103), Document top sensor (SW338), Document set
sensor (SW339).
See Component Locations (P.141).
6 Glass If the glass is dirty, clean them with a dry soft cloth. Refer to Document Feeder/Scanner Glass
Cleaning (P.150).
7 Abnormal, wear and
tear or loose parts
Replace the part. Check if the screws are tight on all parts. ----------
No. Item Cleaning Cycle Replacement
Cycle Procedure
1 Separation Roller (Ref. No. 110) 3 months 7 years*
(31,500 documents)
Refer to How to Remove the Gear Block and
Separation Roller (P.135)
2 Separation Rubber (Ref. No.24) 3 months 7 years
(31,500 documents)
Refer to How to Remove the Separation Rubber
Flap (P.138)
3 Feed Rollers (Ref. No. 31, 231, 78) 3 months 7 years
(31,500 documents)
Refer to How to Remove the Image Sensor (CIS)
and Feed Roller (P.130).
4 Thermal Head (Ref. No. 58) 3 months 7 years
(31,500 documents)
Refer to How to Remove the Lock Lever and
Thermal Head (P.132).