233
9. Using Menu Functions
∫ How to select an image(s) after selecting [Single] or [Multi]
• When [Single] and [Multi] are not available, select an image in the same way as when [Single]
is selected.
:
[Playback] menu
• [Slide Show] (P234)
• [Playback Mode] (P235)
• [Protect] (P236)
• [Rating] (P236)
• [Title Edit] (P237)
• [Face Rec Edit] (P237)
• [RAW Processing] (P238)
• [6K/4K PHOTO Bulk Saving] (P126)
• [6K/4K PHOTO Noise Reduction] (P126)
• [Light Composition] (P241)
• [Clear Retouch] (P242)
• [Text Stamp] (P243)
•[Copy] (P244)
•[Resize] (P245)
• [Cropping] (P246)
• [Rotate] (P247)
• [Video Divide] (P247)
• [Time Lapse Video] (P248)
• [Stop Motion Video] (P248)
• [Rotate Disp.] (P248)
•[Picture Sort] (P249)
• [Delete Confirmation] (P249)
• The camera may not play back images recorded on other devices correctly, and the functions
of the camera may not be available for the images.
[Single] setting
1 Press 2/1 to select the picture.
2 Press [MENU/SET].
• If [Set/Cancel] is displayed at the right bottom of the
screen, the setting is cancelled when [MENU/SET] is
pressed again.
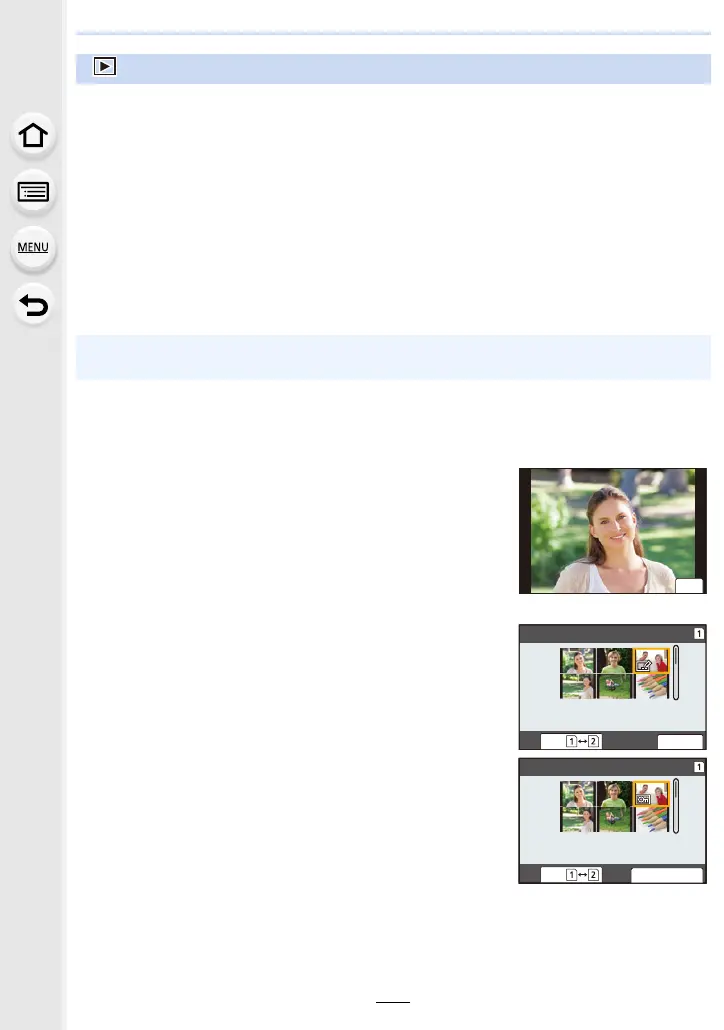
[Multi] setting
When a screen similar to the one on the right is displayed:
1 Press 3/4/2/1 to select the picture and then press
[MENU/SET] (repeat).
• The setting is cancelled when [MENU/SET] is pressed
again.
2 Press [DISP.] to execute.
When a screen similar to the one on the right is displayed:
Press 3/4/2/1 to select the picture, and then press
[MENU/SET] to set (repeat).
• The setting is cancelled when [MENU/SET] is pressed again.
• Pictures are displayed separately by card slot. You can switch
the displayed card by pressing [Fn1].
• You can only select images on one card at a time.
ュリヴヱハ

 Loading...