36 VQT2X62 VQT2X62 37
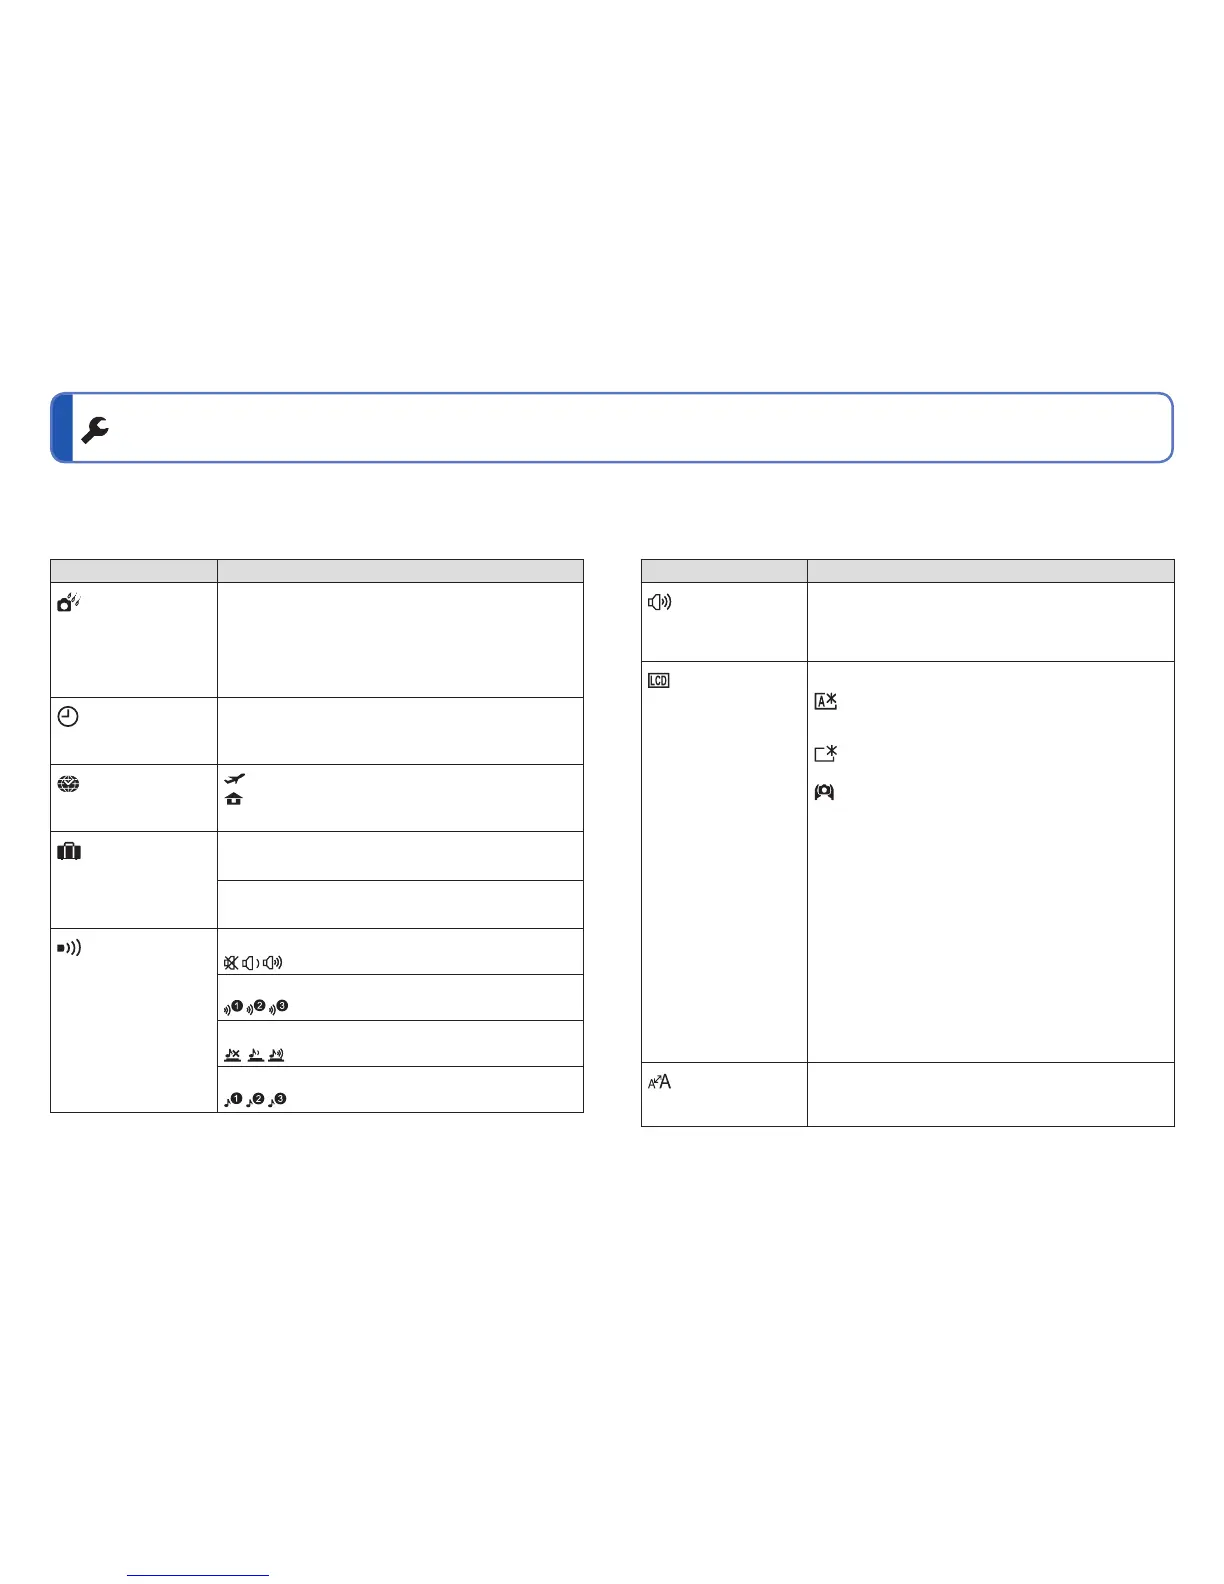
Using the [SETUP] menu
For details about the setting procedure in the [SETUP] menu. (→32)
Item Settings, Notes
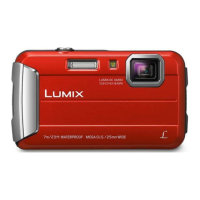
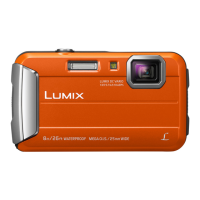
[PRECAUTIONS]
Display the precautions
for preventing water from
entering the camera.(→9)
The precautions that should be checked in advance to
maintain the waterproof performance are displayed.
• If the waterproof precautions are not read to the end once after
purchasing the camera, they are displayed every time the power
is turned on. If [MENU/SET] is pressed at the final screen (11/11),
the precautions are not displayed from the next time you turn on
the power. To check the precautions again, display it from this
menu.
[CLOCK SET]
Set the date and time.
(→30)
Set time, date, and display format.
[WORLD TIME]
Set the local time at
travel destination. (→72)
[DESTINATION]: Set the local time at travel destination.
[
HOME]: Set date and time at home area.
[TRAVEL DATE]
Record the number of
days elapsed in your
travels. (→71)
[TRAVEL SETUP]
[OFF]/[SET] (Register departure and return dates.)
[LOCATION]
[OFF]/[SET] (Input name of destination.) (→80)
[BEEP]
Change or mute the
beep/shutter sounds.
[BEEP LEVEL]
/ / : Mute/Low/High
[BEEP TONE]
/ / : Change beep tone.
[SHUTTER VOL.]
/ / : Mute/Low/High
[SHUTTER TONE]
/ / : Change shutter tone.
For details about the setting procedure in the [SETUP] menu. (→32)
Make general camera settings such as adjusting the Clock, extending the battery life, and
changing the Beep sounds.
[CLOCK SET], [AUTO REVIEW] and [AUTO POWER OFF] are important for Clock
setting and battery life. Please check these before use.
Item Settings, Notes
[VOLUME]
Adjust volume of sound
from speakers (7 levels).
0 • • [LEVEL3] • • [LEVEL6]
• Cannot be used to adjust TV speaker volume when
connected to TV. (We recommend setting camera
volume to 0)
[LCD MODE]
Make LCD monitor easier
to see.
[OFF]: Normal (cancel setting)
[AUTO POWER LCD]:
The brightness is adjusted automatically depending on
how bright it is around the camera.
[POWER LCD]:
Makes screen brighter than normal (for outdoor use).
[HIGH ANGLE]:
Makes screen easier to see when taking pictures from
high positions (becomes harder to see from the front).
• [AUTO POWER LCD] is disabled in the following situations.
During Playback Mode or menu screen display, or when
connected to computer/printer.
• [POWER LCD] will be deactivated if no operations are performed
for 30 seconds while recording. (Brightness can be restored by
pressing any button)
• [HIGH ANGLE] will be cancelled when power is turned off or
when [AUTO POWER OFF] is activated.
• Because the picture shown on the LCD monitor screen
emphasizes brightness, some subjects may look different than
their actual appearance, but this will not affect the recorded
picture.
• Block out sunlight (with hand, etc.) if reflection makes screen
difficult to see.
• [AUTO POWER LCD] and [HIGH ANGLE] are not available in
Playback Mode.
• Selecting [AUTO POWER LCD] or [POWER LCD] will reduce the
number of pictures available and battery life.
[DISPLAY SIZE]
Change the display size
of the menu.
[STANDARD]/[LARGE]
 Loading...