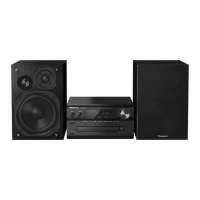
42
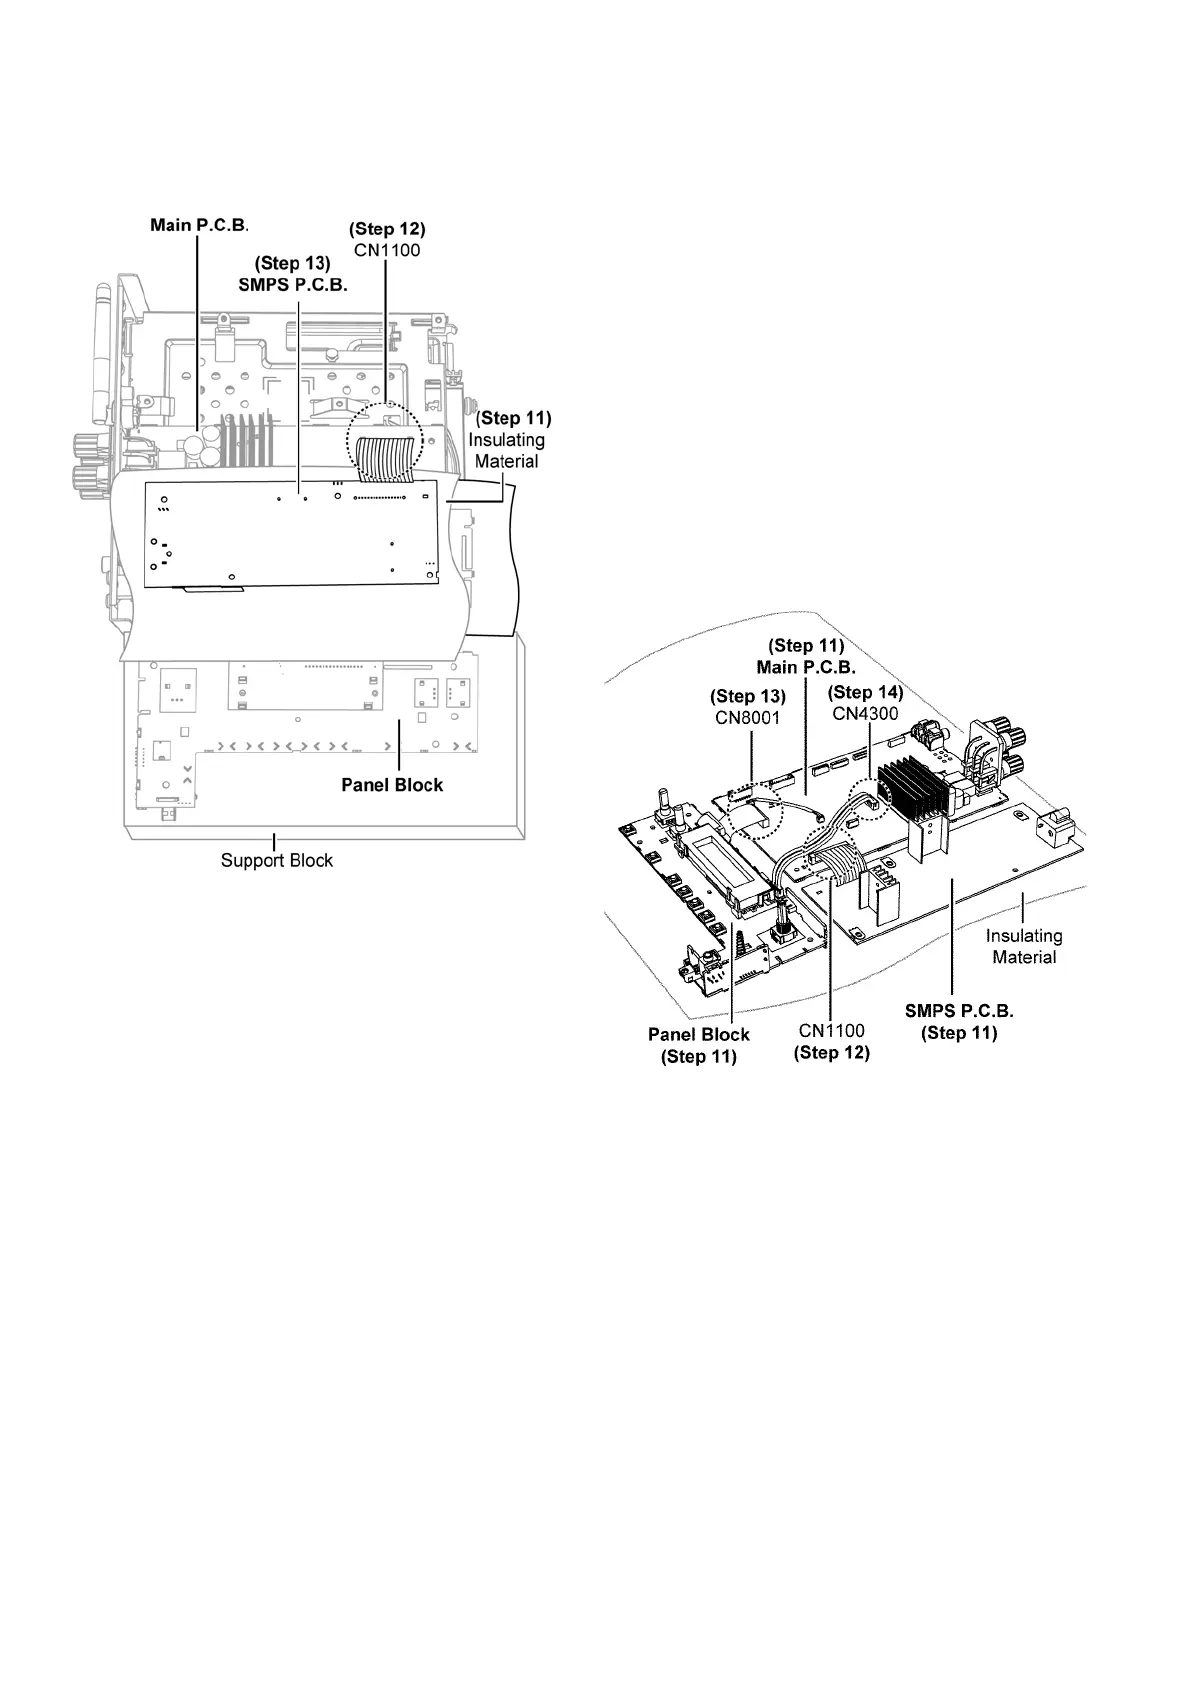
Step 11 : Place SMPS P.C.B. on an Insulated Material.
Step 12 : Connect 15P wire at the connector (CN1100) on the
Main P.C.B..
Step 13 : Check SMPS P.C.B. according to the diagram shown.
9.3. Checking of Main P.C.B.
Step 1 : Remove Top Cabinet.
Step 2 : Remove Front Panel Unit.
Step 3 : Remove Relay Block.
Step 4 : Remove Panel Block.
Step 5 : Remove Antenna P.C.B..
Step 6 : Remove SMPS P.C.B..
Step 7 : Remove Main P.C.B..
Step 8 : Remove Inner Chassis.
Step 9 : Remove Tuner P.C.B..
Step 10 : Remove CD Mechanism Unit.
Step 11 : Place Panel Block, Main P.C.B. & SMPS P.C.B. on an
insulated material.
Step 12 : Connect 15P wire at connector (CN1100) on Main
P.C.B..
Step 13 : Connect 21P FFC at connector (CN8001) on Main
P.C.B..
Step 14 : Connect 5P wire at connector (CN4300) on Main
P.C.B..