23
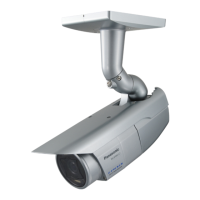
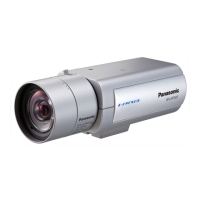
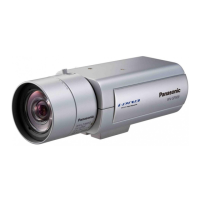
Camera mounting
The camera is mounted on the camera mount bracket (locally procured) and the safety wire is
secured.
IMPORTANT:
• Theinstallationareashallbestrongenoughtoholdthecameraandcameramountbracket.
• The camera mount bracket (locallyprocured)shallbemountedonthefoundationpartofthe
construction or a part with adequate strength.
• To preventthemountingstrengthfrombecominglower,donotusewoodenscrewstosecure
the camera mount bracket (locally procured).
z Secure the camera mount bracket (locally procured) to an installation position, and mount the
camera on the camera mount bracket.
Prepare mounting screws according to the material of the area where the camera mount brack-
et is to be installed. The installation method may be different depending on the material of the
area where the bracket is to be installed.
• Wheninstallingonsteel:Fixwithboltsandnuts(M6orM8)
• Wheninstallingonconcrete:Fixwithanchorbolts(M6orM8)
The mounting conditions of the camera mount bracket (locally procured) are described as follows:
Installation
position
On ceiling
Recommended
screw
M6 or M8
Screw quantity
3 pcs.
Minimum pull-out
strength (per 1 pc.)
196 N {44.06
lbf}
On wall M8 4 pcs. 921 N {207.05 lbf}
IMPORTANT:
• Refer to the operating instructions of the
camera mount bracket (locally procured)
for the mounting angle of the camera
mount bracket for a ceiling or wall.
• Whenthecameramountbracketismount-
ed on a wall, be sure to observe the
mounting height described on the illustra-
tion.
x Secure the safety wire to the foundation part of the construction or a part with adequate
strength (minimum pull-out strength 196 N {44.06 lbf}).
Prepare the fixing screw according to the material of the area where the safety wire is to be fixed.
For mounting on ceiling, use the safety wire, washer (accessory) and spring washer (accessory).
Floor
2 m 90 cm {9.5 feet}
or more
 Loading...