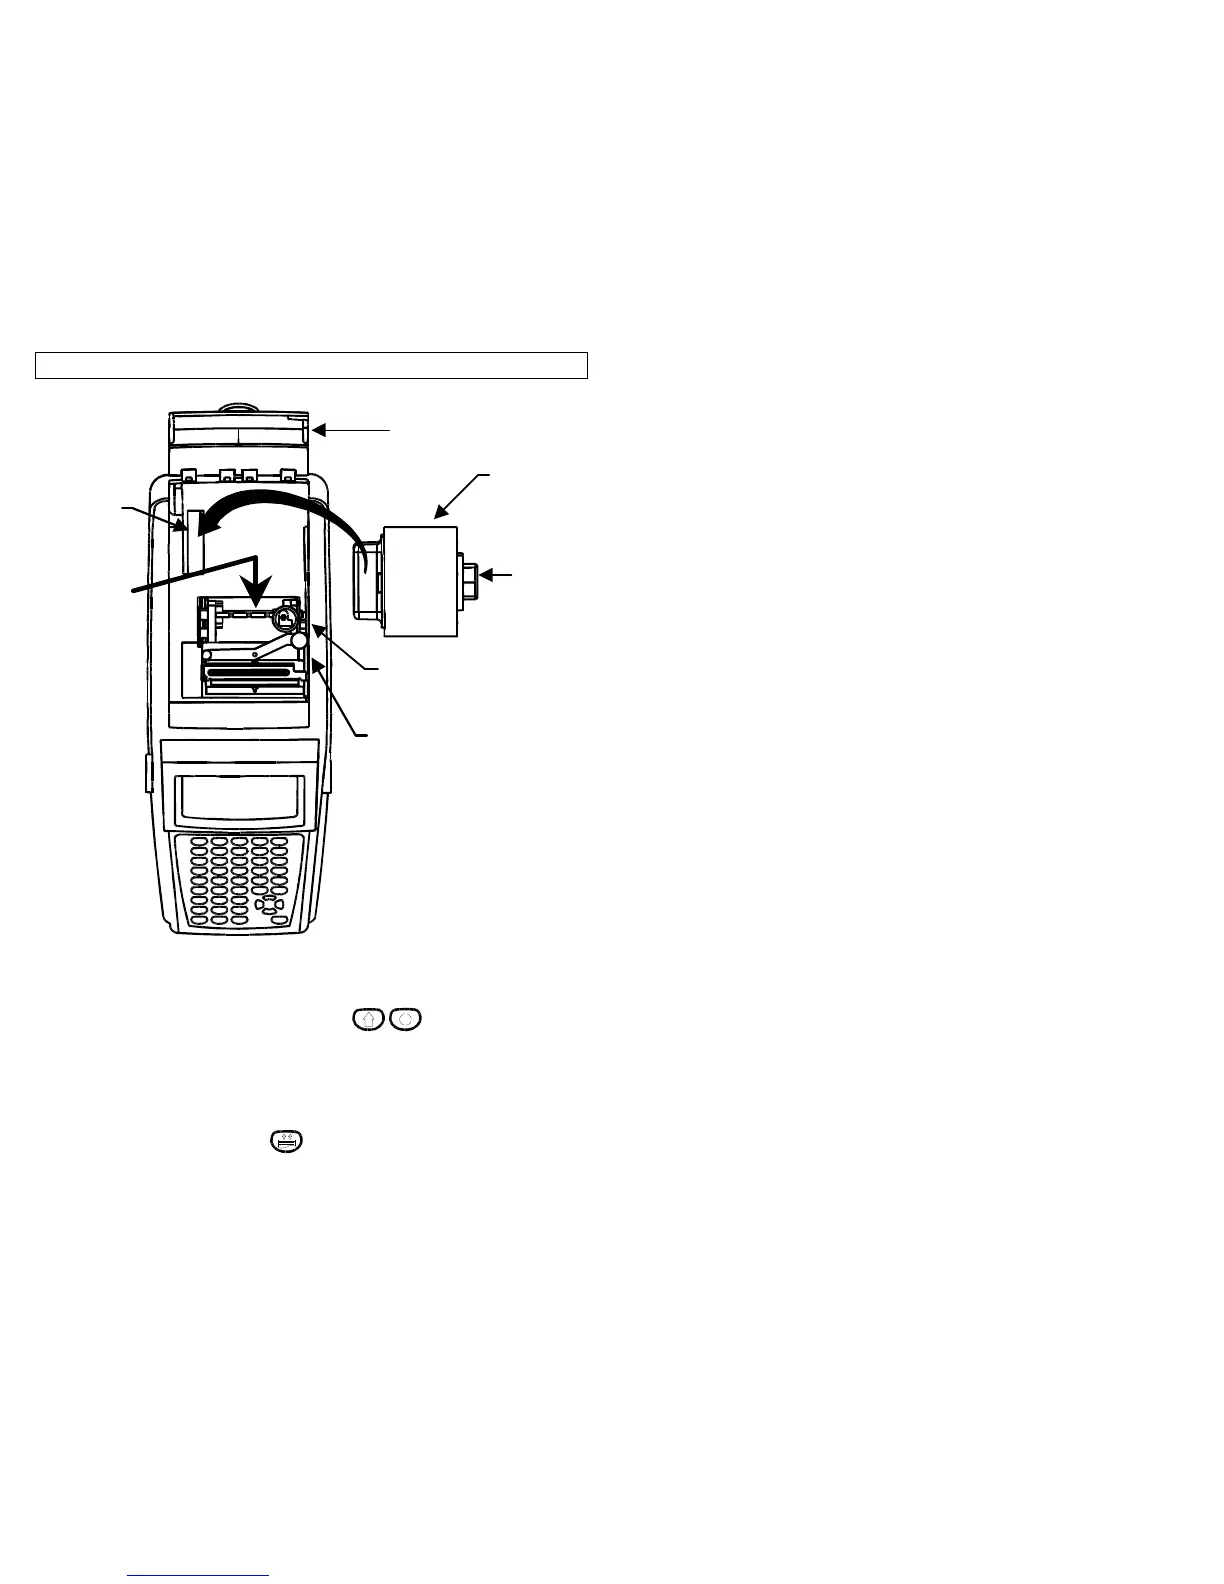
LABEL LOADING
11
Each roll of labels or tape used in the Viper LS6 is uniquely identified by the
mandrel holding the labels. This allows the operating system to set the printer
for optimum usage of each label. Also, the operating system keeps track of
the remaining labels on each roll. Use the steps 1-5 to load each label roll.
1. Ensure that the printer is in the OFF position . Plug the Label Roll into
the socket as shown above until it is firmly seated.
2. Insert end of label into the label guide path (see yellow arrows). This requires
positioning the label width guide to the proper width. If the width guide is not
locked into a width notch, label recognition failure may occur.
3. Labels should be inserted into the label path until resistance is met – approx. ½”
(requires ribbon knob to be in locked position).
4. Turn the printer ON. Press the key to position the label for printing.
5. You are now ready!
Label Roll
Socket
Label Roll
Width Guide
(Push Down to
 Loading...