Parker Hannin Corporation
Hydraulic Pump and Power Systems Division
Marysville, Ohio USA
Bulletin HY28-2708-02/SVC/EN | July 2019
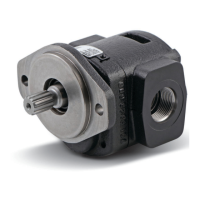
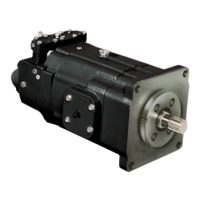
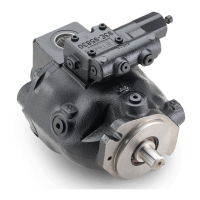
Medium Pressure Axial Piston Pumps
P1/PD B-mod Service Information
39
ASSEMBLY PROCEDURE
CONTINUED 9. Repeat the procedure three times. Once recorded, take the average of the
three measurements.
10. With the average, use chart 2 to determine the correct shim to install in the
pump.
11. If barrel hold down spring was removed during disassembly process, install
three pins to slots in barrel spline. Petroleum jelly can be used to hold pins in
place while installing remaining parts. (Figure 4) Place barrel on fixture with
pin side down. Install backup washer and hold down spring. Compress
spring in press and install snap ring. Caution: Make sure snap ring is
properly seated in groove prior to removing barrel from press.
Figure 4
CHART 2
mihSlaitnereffid derusaeM
minimum maximum thickness 018 part # 028 part # 045 part #
Any seals removed during disassembly, including the shaft seal, should be
replaced. For major overhauls, all plugs should be removed and their O-rings
replaced.
Assembly should be performed in a clean work environment.
Do not use bearing grease during installation. Grease does not dissolve in
hydraulic oil and may plug orices or lters in the system. Clean petroleum jelly
is preferred to lubricate O-rings and seals and to adhere parts for assembly.
NOTE: For uids other than petroleum based hydraulic oil, ensure that the
petroleum jelly is compatible with the uid. If not compatible, another product
should be used instead.
1. Make sure new parts are clean, or if re-using parts, make sure they are
thoroughly cleaned.
2. Inspect all bearing surfaces and seal areas to ensure that they are free from
nicks, dings, scratches, or rust.
3. For the 45cc pump, skip step 3. For the 18 and 28cc pumps, turn the housing
over. Use installation tool T1 and press the shaft seal (#39) in the seal bore.
Install the snap ring (#40) into the groove in the housing seal bore.
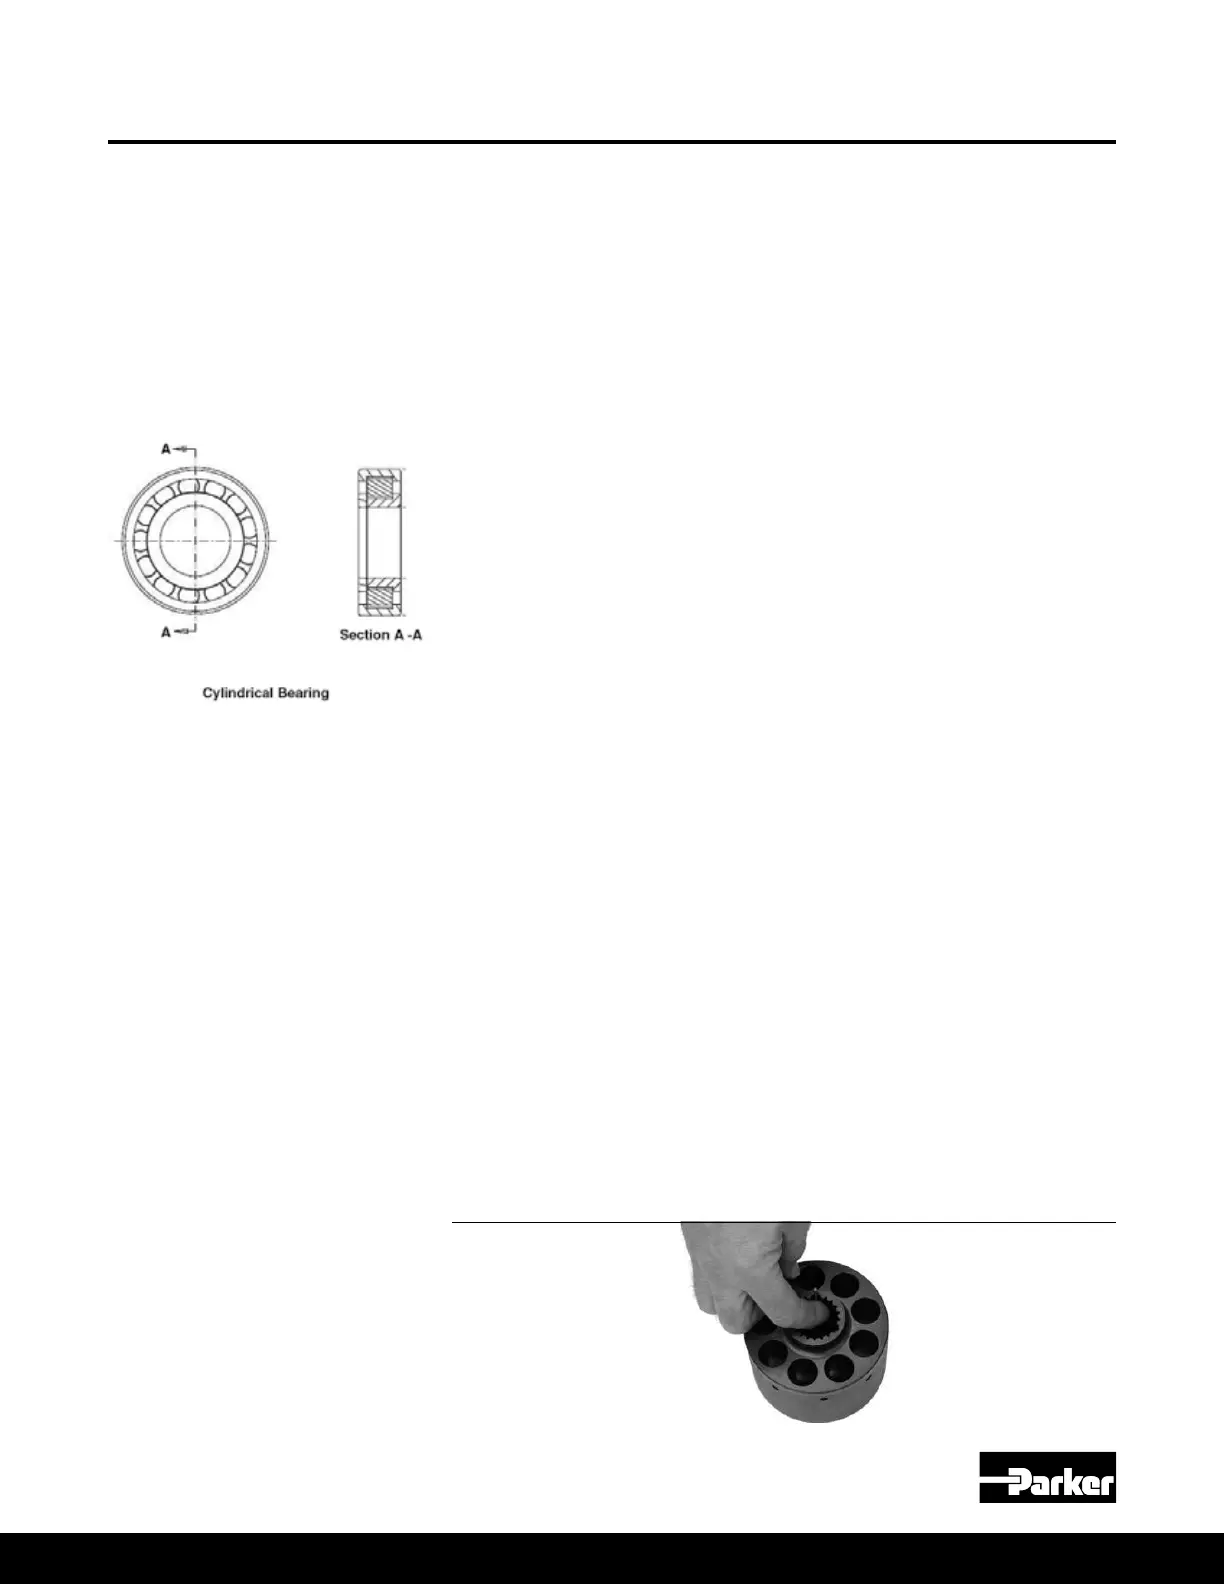
4. Install the cylindrical shaft bearing (#32) onto the pump shaft (#28). It is a slip
t for the 18 and 28cc pumps. For the 45cc pump, use tool T2 to install the
shaft bearing onto the pump shaft.
5. Install the external retaining ring (#42) to secure the bearing in place on the
shaft. For the 45cc pump, use tool T3 to install the shaft seal (#39) over the
shaft. Tool T3 will help protect the shaft seal from being damaged by the
splines during shaft installation. For all three sizes, insert the shaft assembly
into the pump housing with the bearing sliding into the bearing diameter in
the housing. Be sure not to cut or damage the shaft seal while installing the
shaft. For the 28cc pump, tool T3 can be used to protect the shaft seal from
damage from the splines of the shaft. For the 18 and 28cc pumps, install the
internal retaining ring (#43) into the housing. For the 45cc pump, install the
shaft seal snap ring (#40) into the groove in the housing seal bore.
6. If the barrel hold down spring (#21) was removed during the disassembly
process, place the barrel (#23) on xture with piston bores down. Install the
back-up washer (#22), hold down spring (#21), and second back-up washer
(#22). On the 45cc pump and larger, there is only one back-up washer (#22).
Compress the spring in a press and install the snap ring (#20). Next, rotate
the barrel assembly so that the piston bores face up. Slide tool T6 up through
the center of the barrel from the bottom side. Place the three barrel pins (#24)
into the three slots in the barrel spline as shown in Figure 3. In lieu of tool
T6, petroleum jelly can be used to hold the pins in place while installing the
remaining parts.
Pump Assembly Procedures
Figure 3
CAUTION: Make sure the snap ring (#20) is properly seated in its groove prior to
removing the barrel assembly from the press.
018, 028, 045 Assembly Procedures
 Loading...