Fatigue Technology Inc. 401 Andover Park East Seattle, WA • USA 98188-2868 Tel: (206)246-2010 Fax: (206)244-9886
10 358856-REV K
4.5 ASSEMBLY AND DISASSEMBLY
The puller unit may need to be disassembled for replacement of seals. Refer to the Illustrated Parts
Breakdown, Section 6.1 for item numbers.
Disassembly
1. Unthread and remove any tooling accessories, such as nosecaps and mandrels.
2. Loosen all three lockrings (Item Numbers 8 and 9) using the spanner wrench (30).
3. Unthread and remove the end cap (5) using the spanner wrench (30).
4. Unscrew and remove the rear cylinder (2) and barrel (3) from the housing (1). If needed, a strap wrench
can be used for additional force.
5. Loosen the locknut (10), using two 1-5/16-inch wrenches.
6. Unthread and remove the threaded adapter or chuck assembly (17) from the piston rod using a 1-5/16-
inch wrench. Since it is necessary to hold the piston rod stationary, use a 3/4-inch wrench to keep the
piston rod from turning.
DO NOT scratch the piston shaft during disassembly.
7. Remove the piston rod assembly (4) by pushing on the threaded end (mandrel end) of the piston rod until
the threads engage the sleeve (7). Unthread the piston rod through the o-ring (13) and remove the piston
rod assembly.
8. Remove the handle assembly (6) by removing the four socket-head screws, using a 5/32-inch hex
driver.
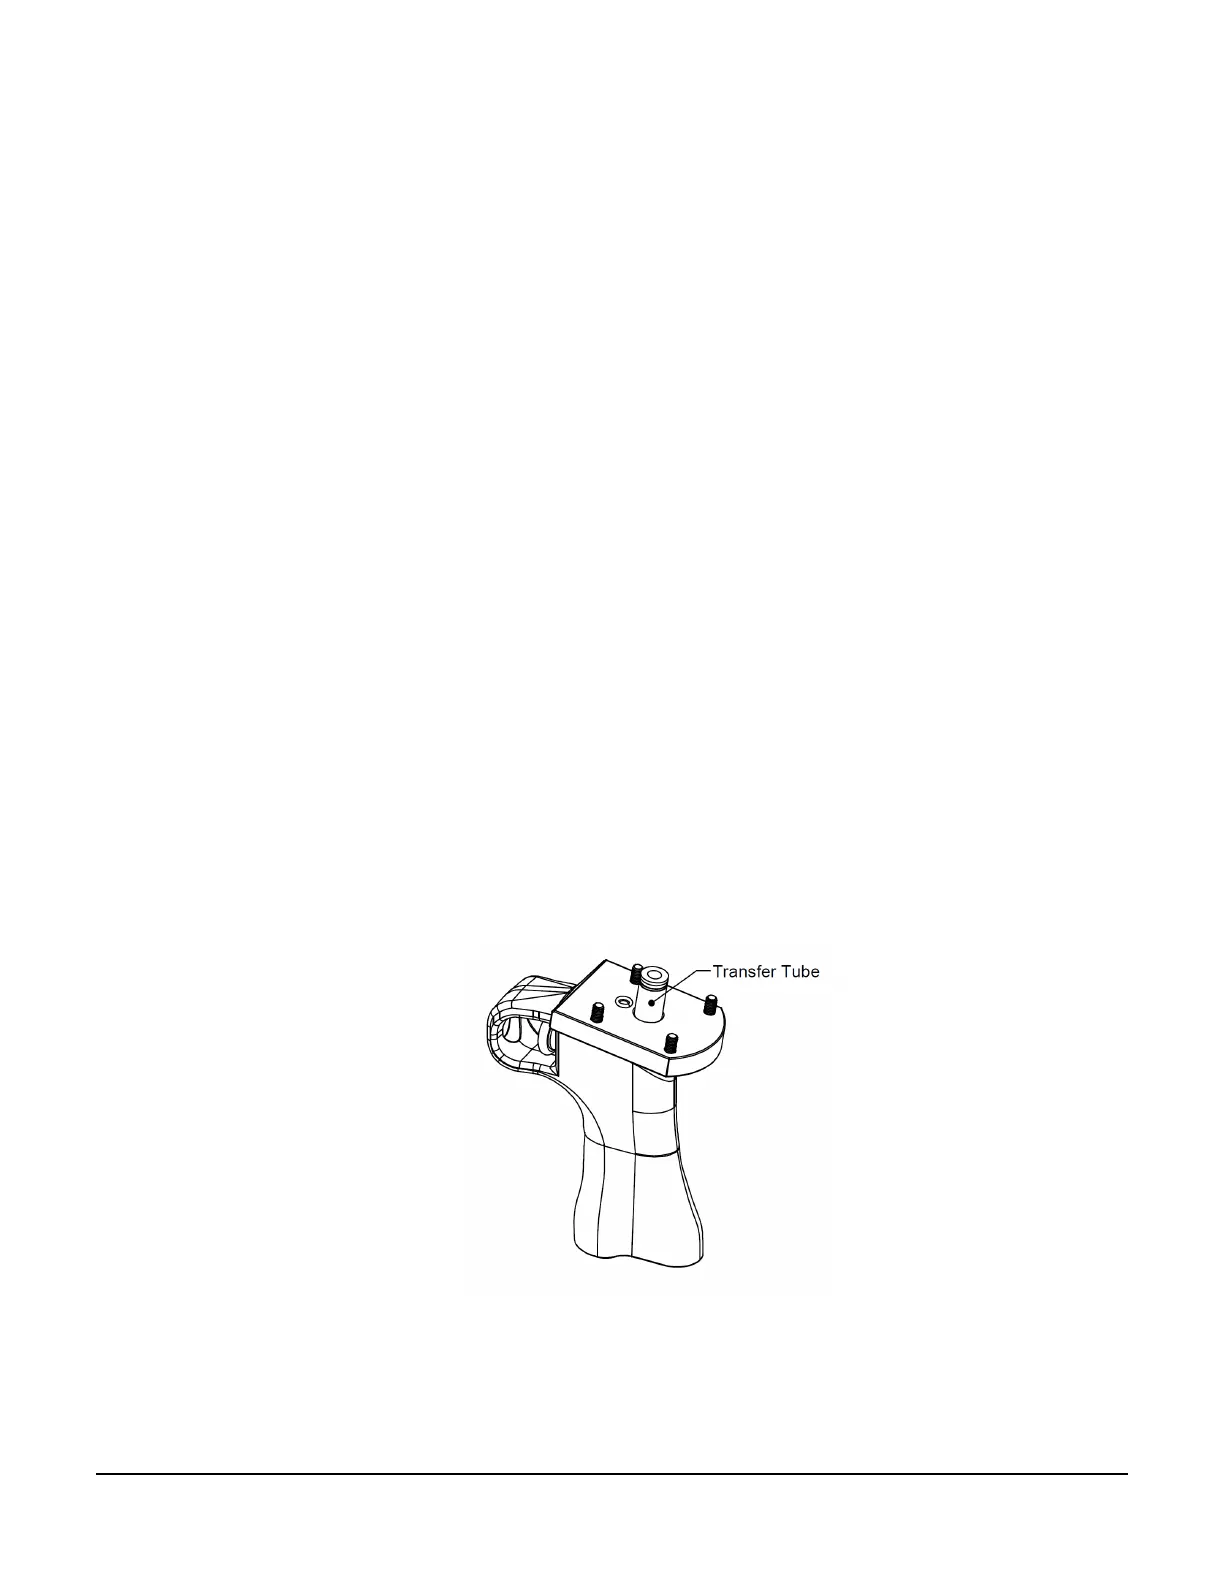
9. Remove the transfer tube from the handle assembly. Remove and discard the o-rings and backup rings
on both ends of the tube.
Figure 4.5-1
Transfer Tube
10. Remove the brass sleeve (7).
11. Discard used seals.