Installing PenMount 6000 Control Boards
11
2.3.2. Install A PenMount 6202B Control Board
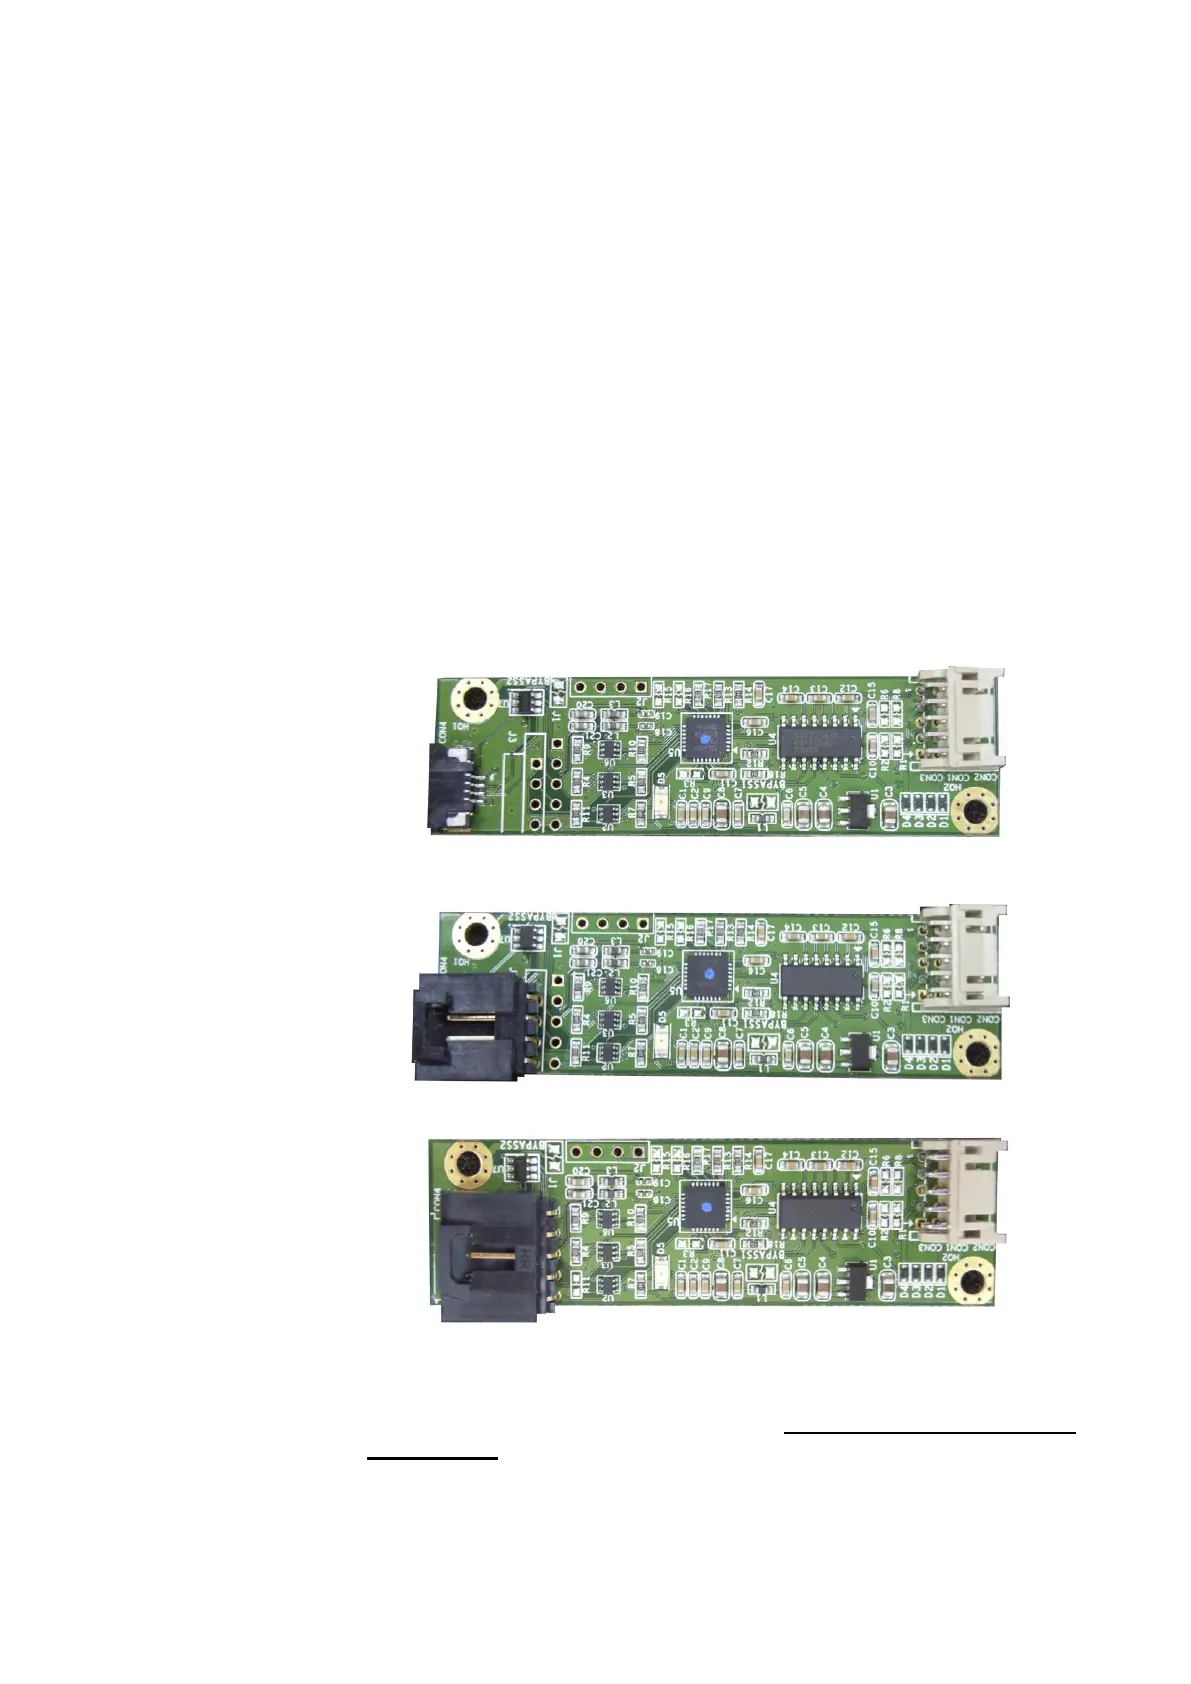
PenMount 6202B control boards are touchscreen control boards that use
both RS-232 and USB interfaces and supports 4-wire and 5-wire
touchscreens. The size of the board is 70.0 x 20.0 mm and it was designed-in
with two kinds of connector. One is connected with touchscreen directly for
4-wire or 5-wire selective while the other is supported by both of RS-232 and
USB interfaces.
Follow the steps below to install PM6202B control boards.
1. Cut off the power of your computer and display, then open the case of the
display or the system. Find space on your system and attach the control
board to your system with screws. The control board has industry
standard 3φ screw holes.
2. For other installation details, see 2.2.2 on page 5: The connection of
6202B Control Board (for both RS-232 & USB Interfaces).
PenMount 6202B CZ4 Touchscreen Control Boards Upside
PenMount 6202B CW4 Touchscreen Control Boards Upside
PenMount 6202B CW5 Touchscreen Control Boards Upside
3. Power on the computer and the display. Install the software drivers and
utilities and calibrate the touchscreen. See Chapter 3. Install Drivers for
6000 Boards for details.
 Loading...