Installing PenMount 6000 Control Boards
13
2.3.3. Install A PenMount 6300A Control Board
The PenMount 6300A control board is a touchscreen control board that uses
USB interface only. It supports 4-wire, 5-wire and 8-wire touchscreens. The
size of the board is 26 x 60mm and it has two connectors and two dipswitches
on-board. Follow the steps below to install the 6300A control board.
1. Cut off the power of your computer and display, then open the case of the
display or the system. Find space on your system and attach the control
board to your system with screws. The control board has industry
standard 3φ screw holes.
2. For other installation details, see 2.2.3 on page 7: The connection of
6300A Control Board (for USB Interface Only).
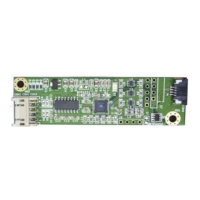
PenMount 6300A Touchscreen Control Board Upside
3. Power on the computer and the display. Install the software drivers and
utilities and calibrate the touchscreen. See Chapter 3. Install Drivers for
6000 Boards for details.
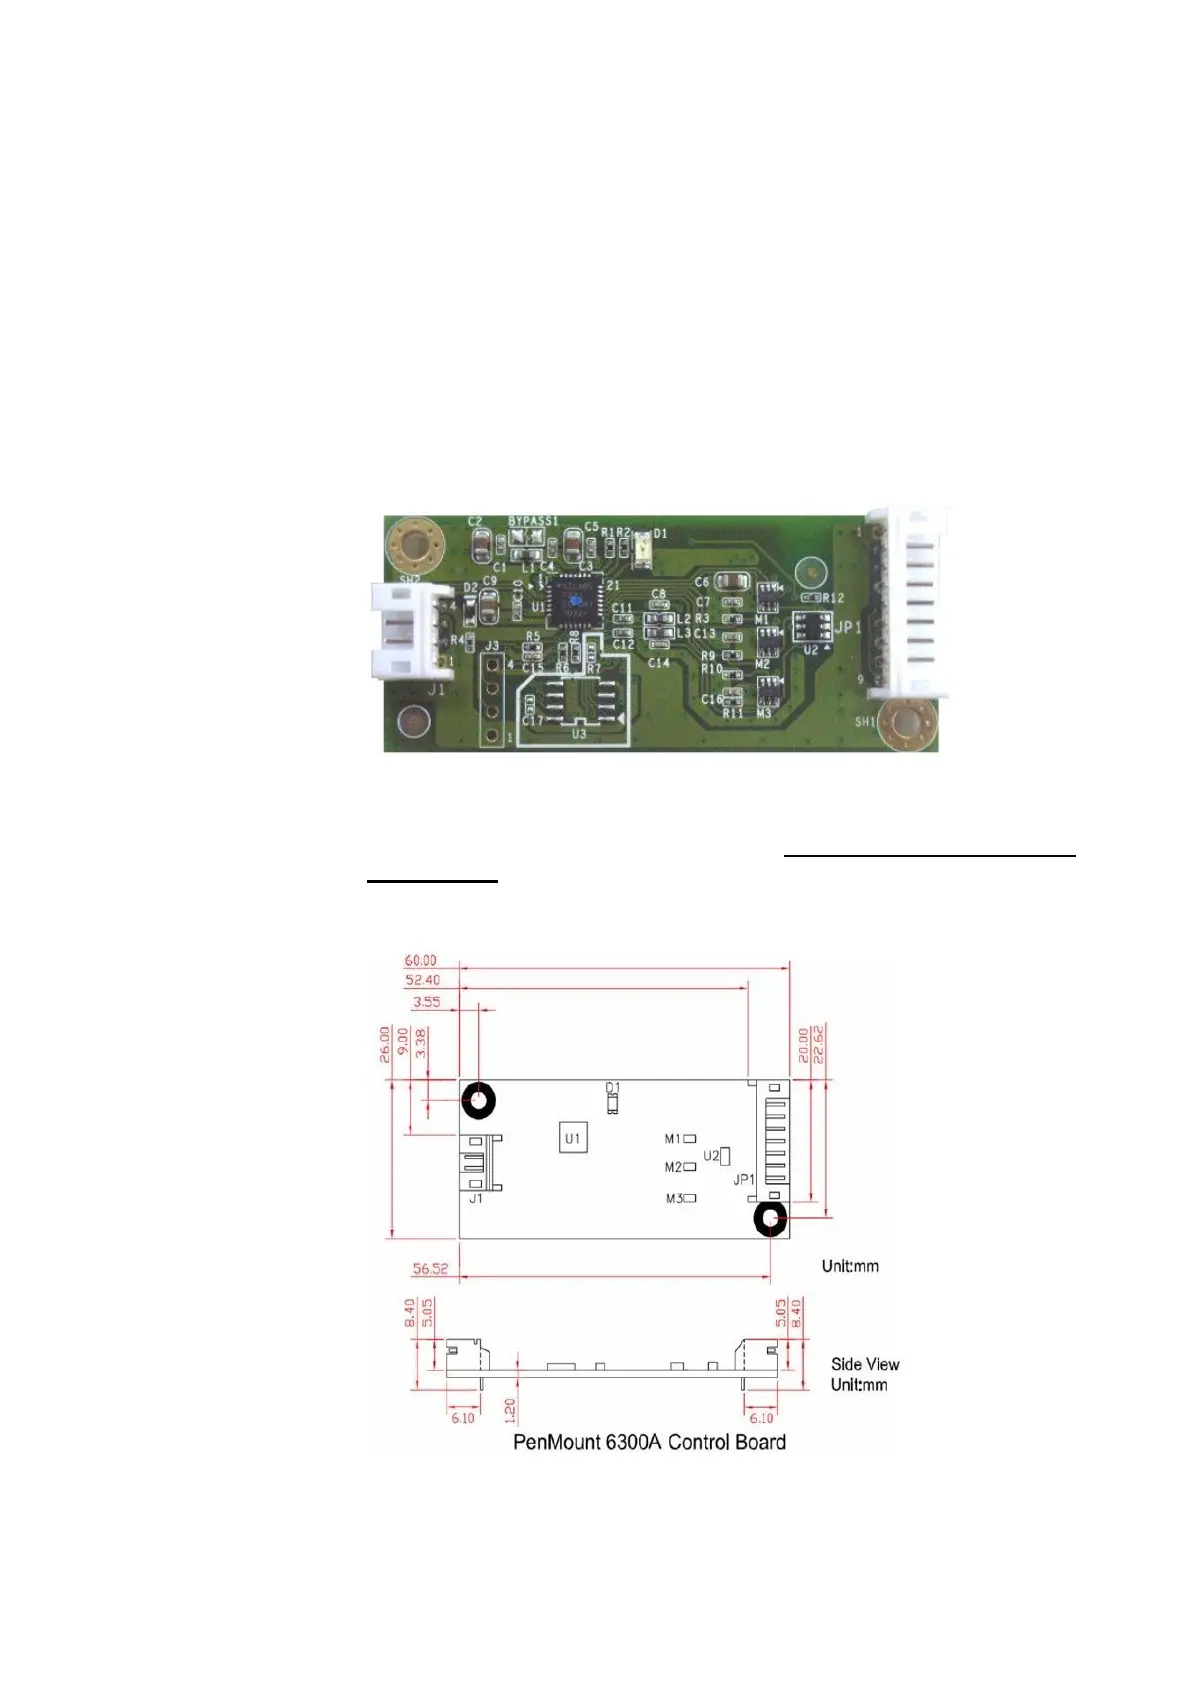
4. The mechanical diagram of PenMount 6300A Control Board:
PenMount 6300A Touchscreen Control Board Mechanical Diagram
 Loading...