Back Bar Service Manual
Return to Table of Contents Refrigeration System Repair Instructions Page 6-8
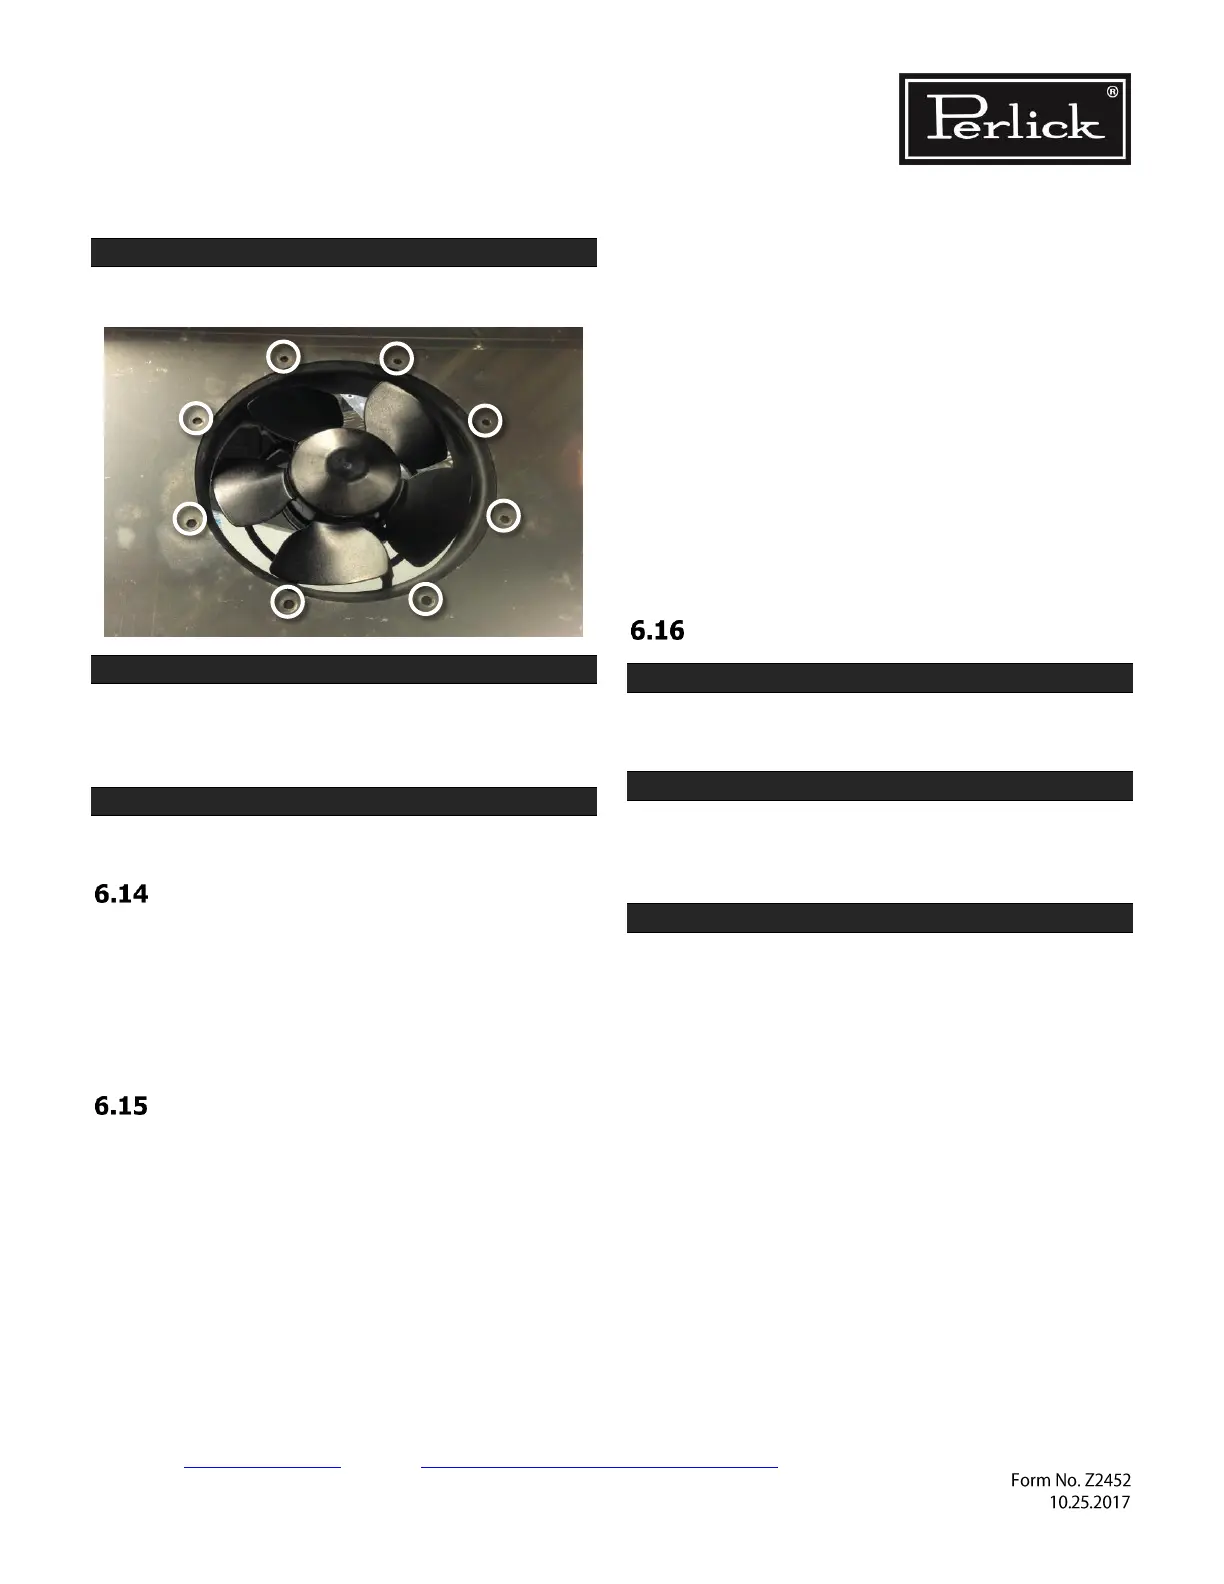
STEP 9.
Remove 8 fan mounting screws.
STEP 10.
Evaporator fan motor can now be replaced.
Evaporator fan motor should only be replaced with
Perlick OEM parts.
STEP 11.
Reverse steps 1-9 to close the unit.
Replace Compressor
To gain access to compressor, follow instructions
in Section 6.2.
Compressor should only be replaced with Perlick
OEM parts.
Always replace drier when replacing compressor.
Leak Detection
If during a check of operating system pressures, it
is determined that refrigerant level is low, you
must perform a leak test.
• Do not recharge a system without first
determining where original refrigerant charge
exited the sealed system!
• Placing a system that has lost refrigerant
under a vacuum without first repairing the
leak will draw contaminants into the system
through the point of leak. Find source of the
leak and correct it!
• The use of an electronic leak detector is
highly encouraged.
• If the entire charge has leaked out of the
unit, the sealed system should be pressurized
with 200 lbs. of dry nitrogen and tracer
refrigerant. Then use an ultrasonic leak
detector or a soap and water solution to
pinpoint the location of the leak.
• Be certain to check all brazed connections
thoroughly for leaks. Look for spots where
the sealed system components might have
been worn through by structural or cabinet
components.
• Check the service ports thoroughly for leaks
as well.
Recharge Procedure
STEP 1.
Check that the system been properly installed,
pressure tested, and evacuated.
STEP 2.
Condenser and evaporator must be clean.
Evaporator fan and condenser fan blades must be
able to move the correct amount of air.
STEP 3.
Before installing gauges, vent hoses and manifold
with refrigerant type used in unit. This avoids
introduction of air into system.
Continue to next page…