STEP 1.
Remove door gasket. See Section 8.6.
STEP 2.
Remove 16 screws underneath door gasket that
hold door overlay panel to door frame.
STEP 3.
Remove 3 screws from each door hinge where it
is attached to door frame.
STEP 4.
Separate door overlay panel from door frame.
STEP 5.
Door handle can now be removed, 4 X 3/8” hex
head bolts.
STEP 6.
Reverse these steps to replace door hinges,
overlay panel, and gasket.
Locks
Gain access to back side of the lock by following
directions to remove door handle, Section 8.7.
Note position of door lock strike and reassemble
in the same orientation.
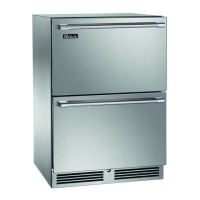
Custom Overlay Panels
Remove front panel from door assembly by
removing inner mounting screws (4 per side)
from perimeter of door assembly. See
Figure 8-14.
Reattach custom overlay panel using same screw
and mounting holes.
Figure 8-14. Custom Panel