Back Bar Service Manual
Return to Table of Contents Service Instructions - Door, Drawers and Shelving Page 8-1
8.0 Service Instructions - Doors, Drawers, and Shelving
Proper Door and Drawer Usage
Note: Improper use of doors and drawers can
allow extra heat into unit causing extended
compressor run times.
• Ensure door or drawers are closed
completely and are not left open for a long
duration of time. The door can bounce back
open slightly and appear closed.
• Ensure the unit is level.
• Ensure doors and drawers are sealing
properly when closed.
• No door adjustments should be necessary
unless there is major structural damage to
cabinet.
Reverse Door Swing
Note: Changing door swing direction is not
advisable if door is not equipped with full
length handle. Doing so may result in an
undesirable handle position.
Table 8-1. Door Hinges
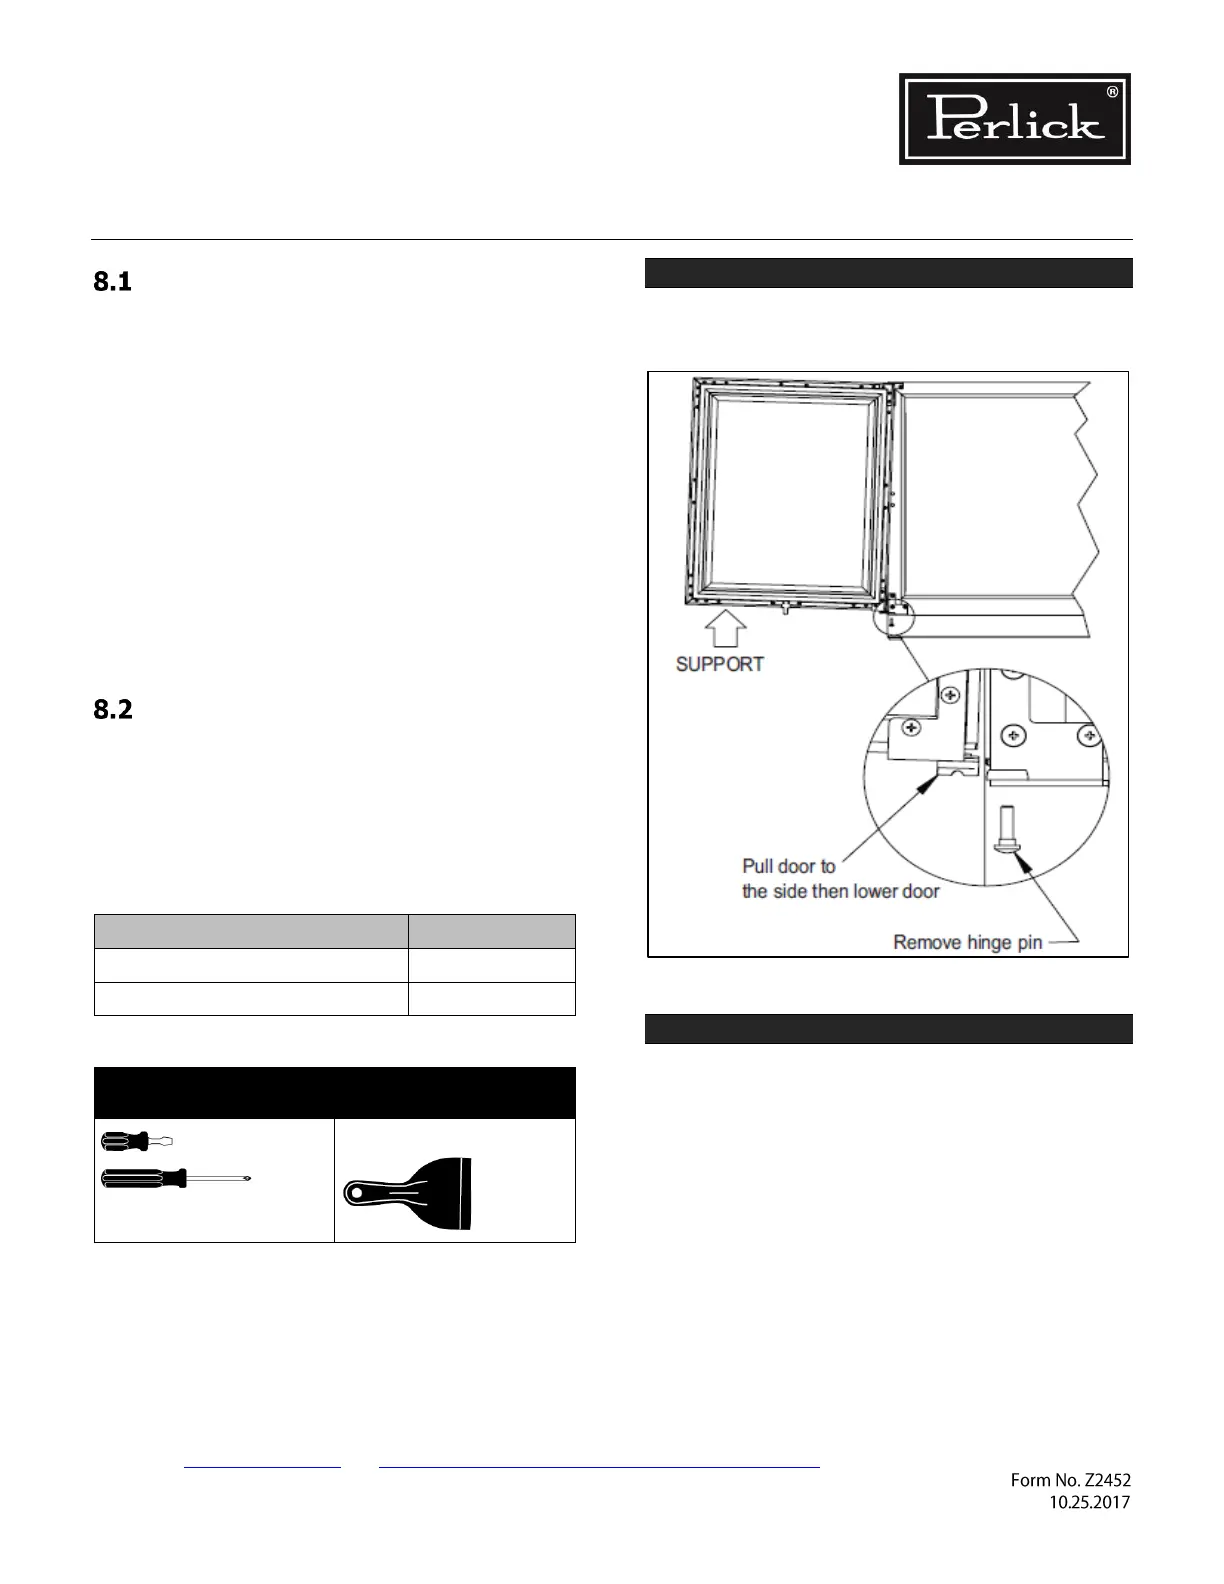
STEP 1.
Support the door in the open position as shown
in Figure 8-1. Remove the hinge pin.
Figure 8-1. Door Removal
STEP 2.
Pull door to the side and then lower the door.