iXH Camera Systems Installation Guide
Page 21
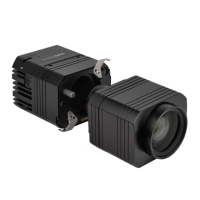
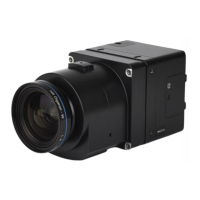
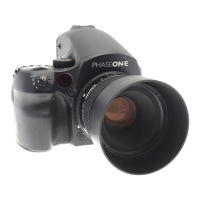
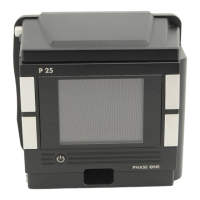
12 Operating the Phase One iXH camera
using 1G/10G
Phase One iXH cameras use both USB3 and 10G interfaces (not simultaneously).
To connect a Phase One iXH camera using 10G networking, use one of the following
medias:
• _Up to 5 meters: Use SFP + DAC passive cable. Consumes less power on the camera
side.
• _Up to 30 meters: Use SFP + copper transceivers (use CAT6e cable or better)
• _30+ meters: Use SFP + optical transceivers
Some PCs have a 10G interface built-in adapter board. Configure the computer’s network
port for Jumbo packets using the largest option available on that PC to optimize 10G
performances (see section “Configuring Packets”).
• _The IP address of each camera is factory set. The default address is: “192.168.1.XXX”
• _“XXX” refers to the last 3 digits of the camera’s S/N (located on the bottom of the
camera)
• _The default mask is 255.255.255.0
Note: If you are using two cameras with the same last 3 digits on your local network,
there will be an IP configuration conflict. In this case, connect one of the cameras using a
USB3 connection and manually configure its IP address so that it is different from the
address of any other camera connected on the network.