>
For computer signal input, the following ‘Picture’ and ‘Display’ adjustments can be made.
Picture adjustments
• Press Menu and select ‘Picture’ in the menu bar. The following ‘Picture’adjustments can now
be made according to the instructions under ‘General explanation’:
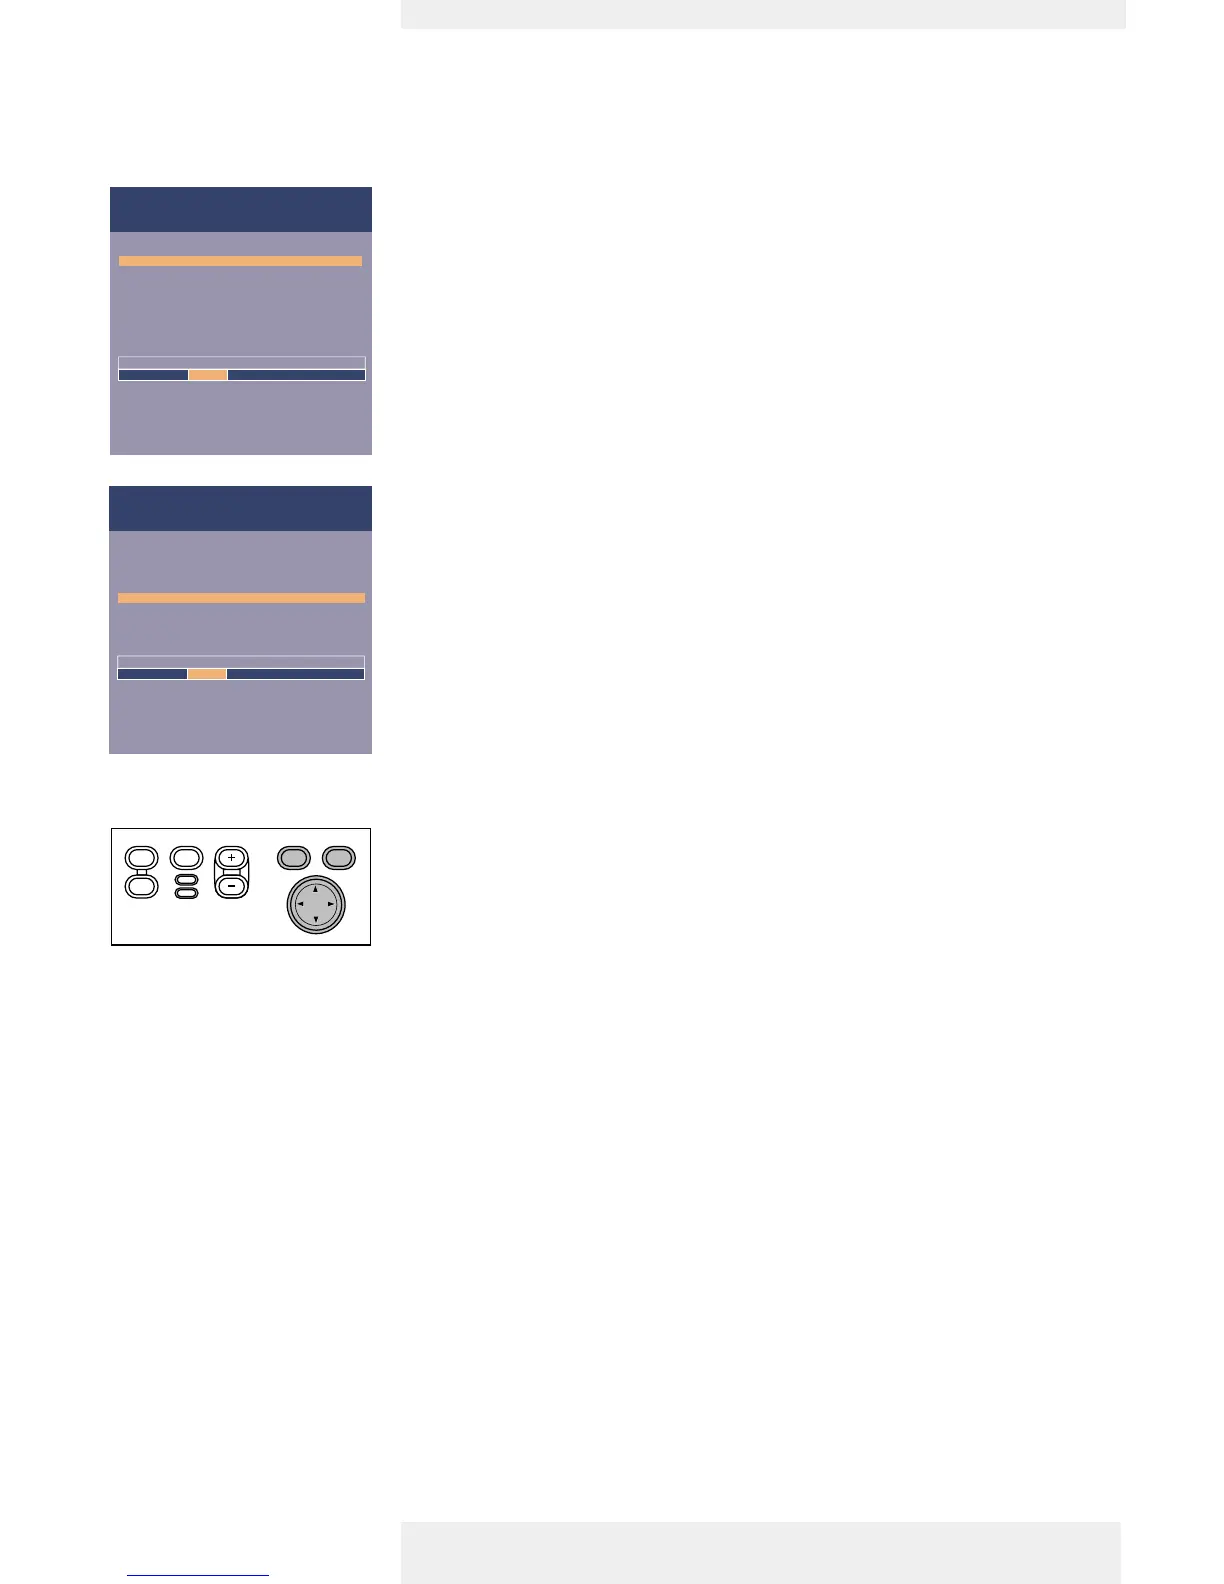
– Brightness
adjusts brightness of the displayed picture;
– Contrast
adjusts the overall contrast intensity;
– Mirror
mirrors the picture for use of the projector in various positions with respect to the
user(s) and the projection screen;
– Picture Format
selects one of six picture format options (wide screen, super zoom 4:3, 4:3, movie expand
14:9, movie expand 16:9,16:9 subtitles);
– Colour tracking
selects between ‘Vivid’ and ‘Natural’ representation of colours in the picture.
‘Vivid’ is automatically set when computer input is used;
‘Natural’ is automatically set when video input is used.
– Colour Temperature
adjusts the overall colour impression from warm to cool.
The various colours (red, green and blue) can also be adjusted individually
Display adjustments
• Press Menu and select ‘Display’ in the menu bar.The following ‘Display’ adjustments can now
be made according to the instructions under ‘General explanation’:
– Digital Freeze
captures a moving picture (still picture);
– Digital Zoom
enlarges a part of the picture;
– Magnification
adjusts the zoom factor;
– Auto image
automatically sizes and positions the image to fit optimally in the screen picture;
– Horizontal size
adjusts the computer image in a horizontal direction to make the image completely fill the
screen;
– Phase
minimises picture imperfections.When connecting the projector to your PC for the first
time, be sure to adjust the phase control for optimal readability of the projected text;
– Shift
adjusts the computer image in horizontal and vertical direction to centre it on the screen.
Computer adjustments
Tip for Windows users
To adjust size and phase correctly
1 Select ‘Start’ and then ‘Shut down’
from the Windows Taskbar.
2 Adjust the projectors size
control, so that no vertical
bars are visible.
3 Now adjust the projectors phase
control for maximum brightness
of the projected image.
4 Press ‘No’in the Windows
shutdown screen to cancel
the shutdown action.
Philips Home Cinema Projector English User guide Garbo 22
5. Operation On Screen Display Menu