28 Settings
1
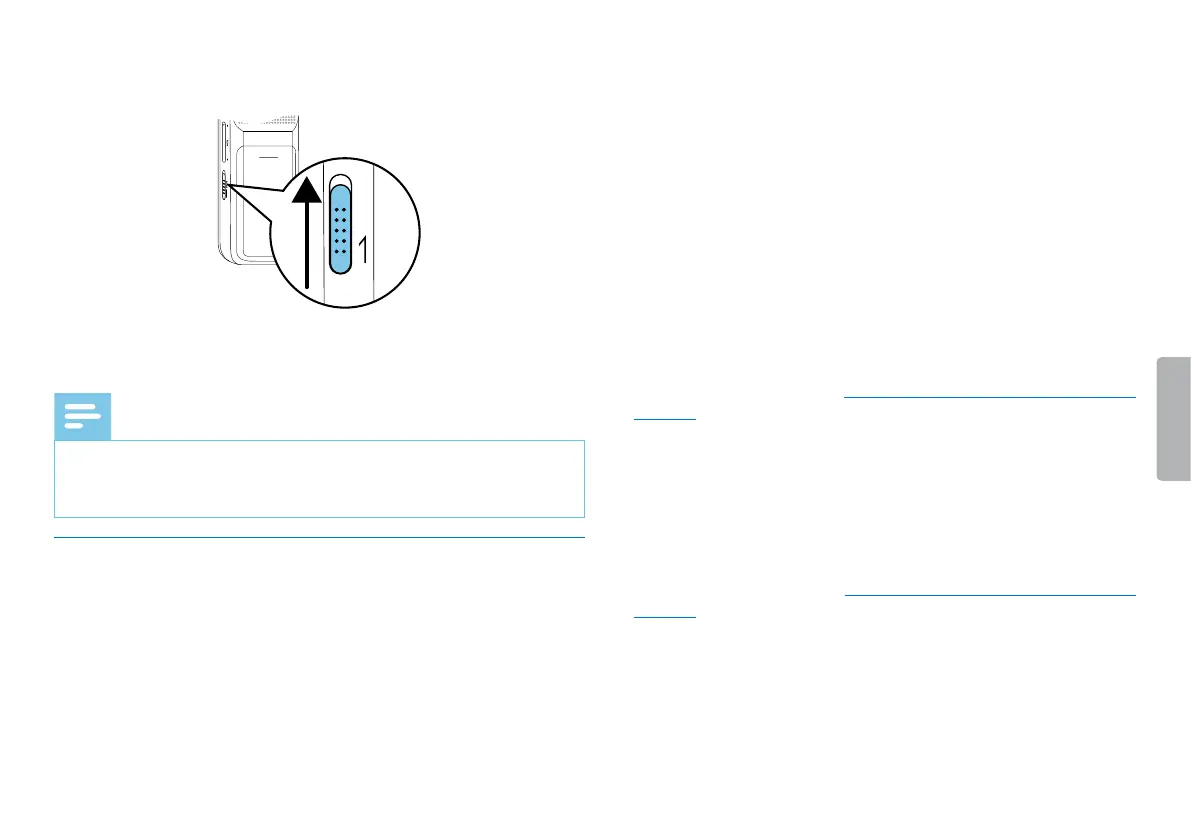
In stop mode, drag the switch on the side of the device upwards
into the position N.R.
N.R
2
Press the record keyg to start recording.
X If this feature is on, the [ symbol is displayed.
Note
• Noise reduction is only possible with PCM recording quality €. If
you switch on noise reduction, the device automatically switches
to PCM recording quality €.
8.1.5 Setting the timer
You can use this function to start a recording at a specified date and
time. The device can record from the device's microphone or an
external microphone.
1
In stop mode (start-up screen), press the Menu key.
2
Press the h / b key to select the record settings menu Ó.
3
Press the record key g to confirm.
4
Press + / – to select the Timer function.
5
Press the record key g to confirm.
6
Press + / – to select the Set the begin function to set the alarm.
7
Press the record key g to confirm.
8
Press +/– to select the Set date function.
9
Press the record key g to confirm.
10
Set the date as described in (see also chapter 8.3.1 Set date & time,
page 32).
11
Press the record key g to confirm.
12
Press +/– to select the Set time function.
13
Press the record key g to confirm.
14
Set the time as described in (see also chapter 8.3.1 Set date & time,
page 32).
15
Press the record key g to confirm.
16
Press the stop keyj.
 Loading...