© PSI (Photon Systems Instruments), spol. s r. o.
50
12 GPS MODULE
All new versions of the FluorPen devices FP110 have integrated GPS module which may be turned on during the
measurement for mapping of the collected data to specific filed position. When GPS module is turned on the map
coordinates will be automatically saved with all collected data and will be downloaded during data download.
For proper GPS reading, the time in your FluorPen and in your computer must be synchronized. Preset
time and time zone must correspond to GPS time (time zone) in your location.
12.1 GPS / F LU OR PEN O P E R ATION
1. Check the time setting on the FluorPen device: Settings > Date & Time
2. Switch the GPS module “ON” on the FP device by following these steps in the FluporPen menu:
• Select: Accessories > GPS
• Press SET to turn it on.
• Wait until the GPS position is found – “Starting GPS”.
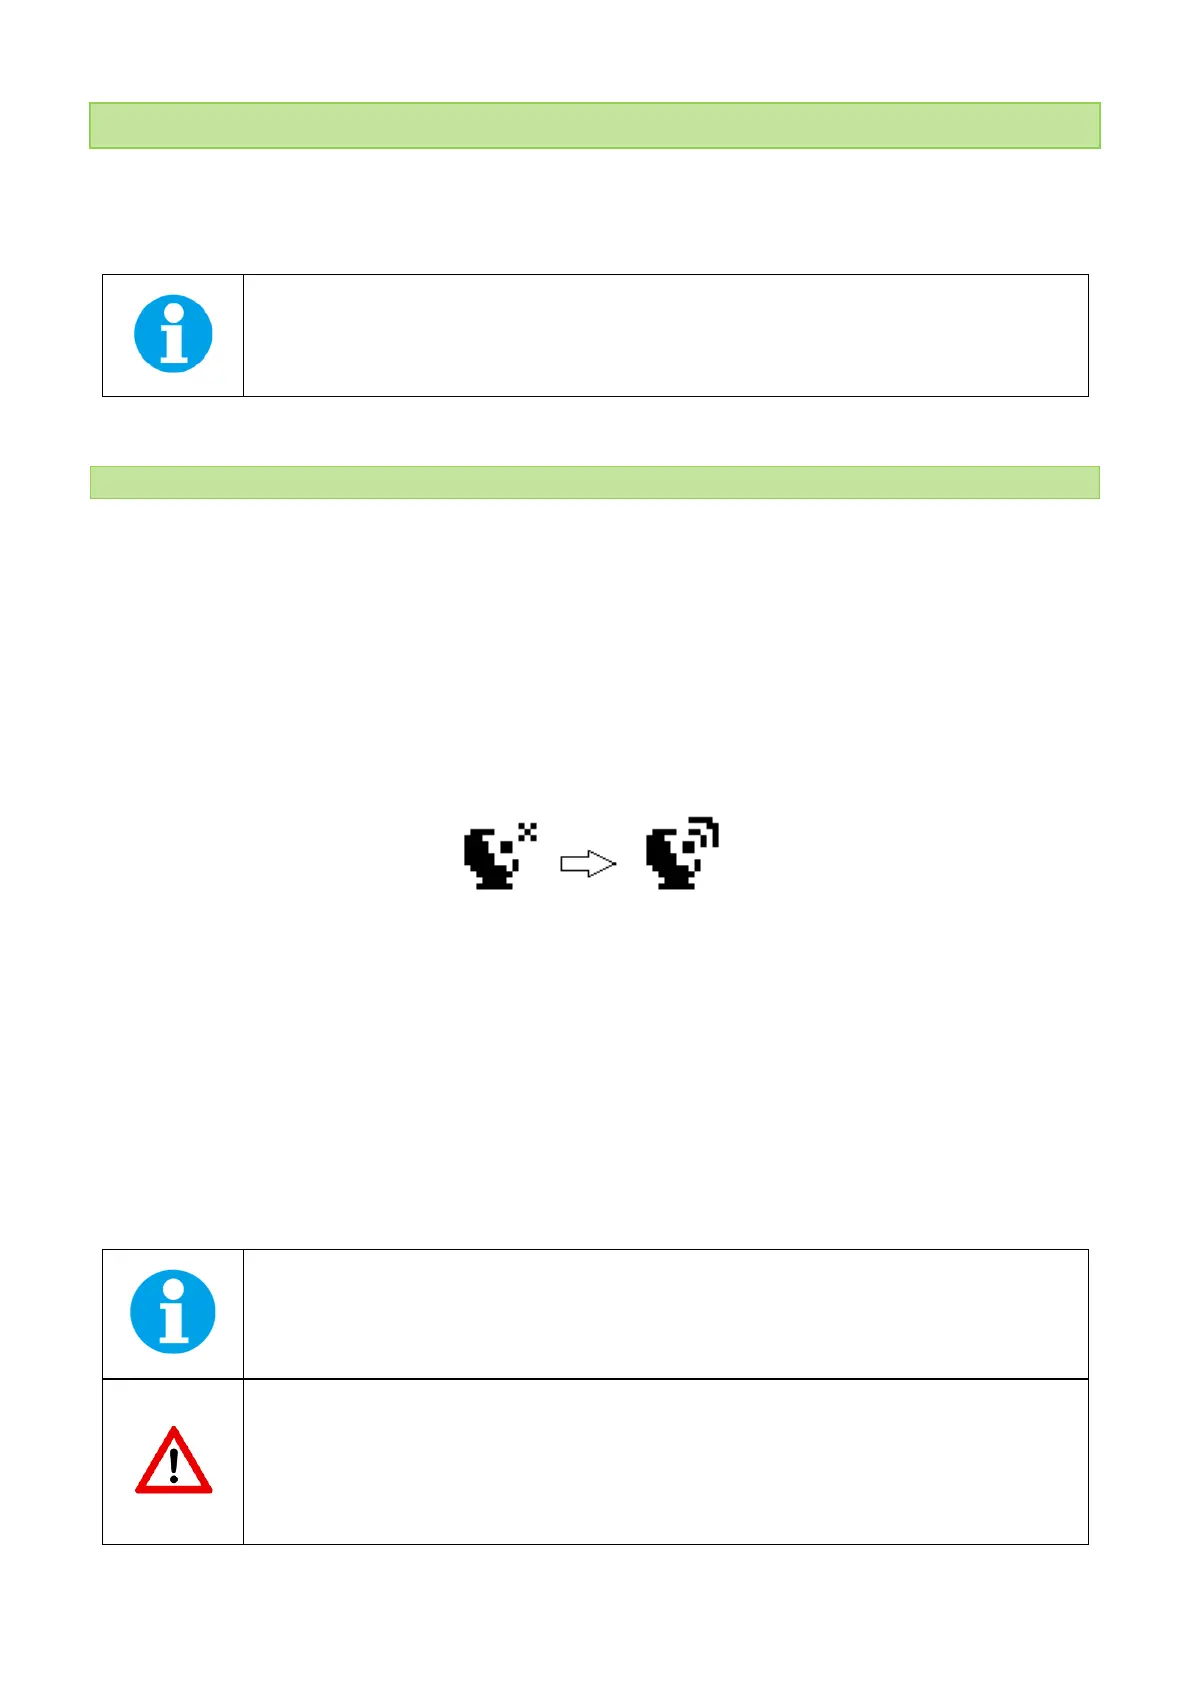
• The GPS module is ready when the icon in upper left side of the display changes as shown on the picture
below – see on Fig. 30.
Fig. 30 GPS icons.
3. If the picture on the display of the device does not change then proceed to Accessories>GPS>Location selection
in the menu and manually map the GPS by pressing SET. “GPS Acquisition“ message will appear followed by
coordinate. If the GPS module has difficulties mapping the coordinates, a message stating “GPS not locked” will
appear on the display. It may be necessary to take the device outside into a location that is easily accessible by
the satellite (clear sky view) and repeat the process of mapping.
4. Once the GPS has been turned on and successfully activated proceed to Measurement and select required
protocol.
The device may need a clear view of the sky to acquire satellite signal.
Keep in mind that the FluorPen turns off automatically after about 8 minutes of no action.
Turning off the FluorPen always turns off GPS module.