12
Note: If a password (WEP/WPA) isn’t required by your network, radio will connect
to the network automatically.
a. Turn SCROLL knob to cycle through the alphanumeric character list, press
SCROLL knob to select an appointed character.
Note: WEP/WPA pass codes are case-sensitive.
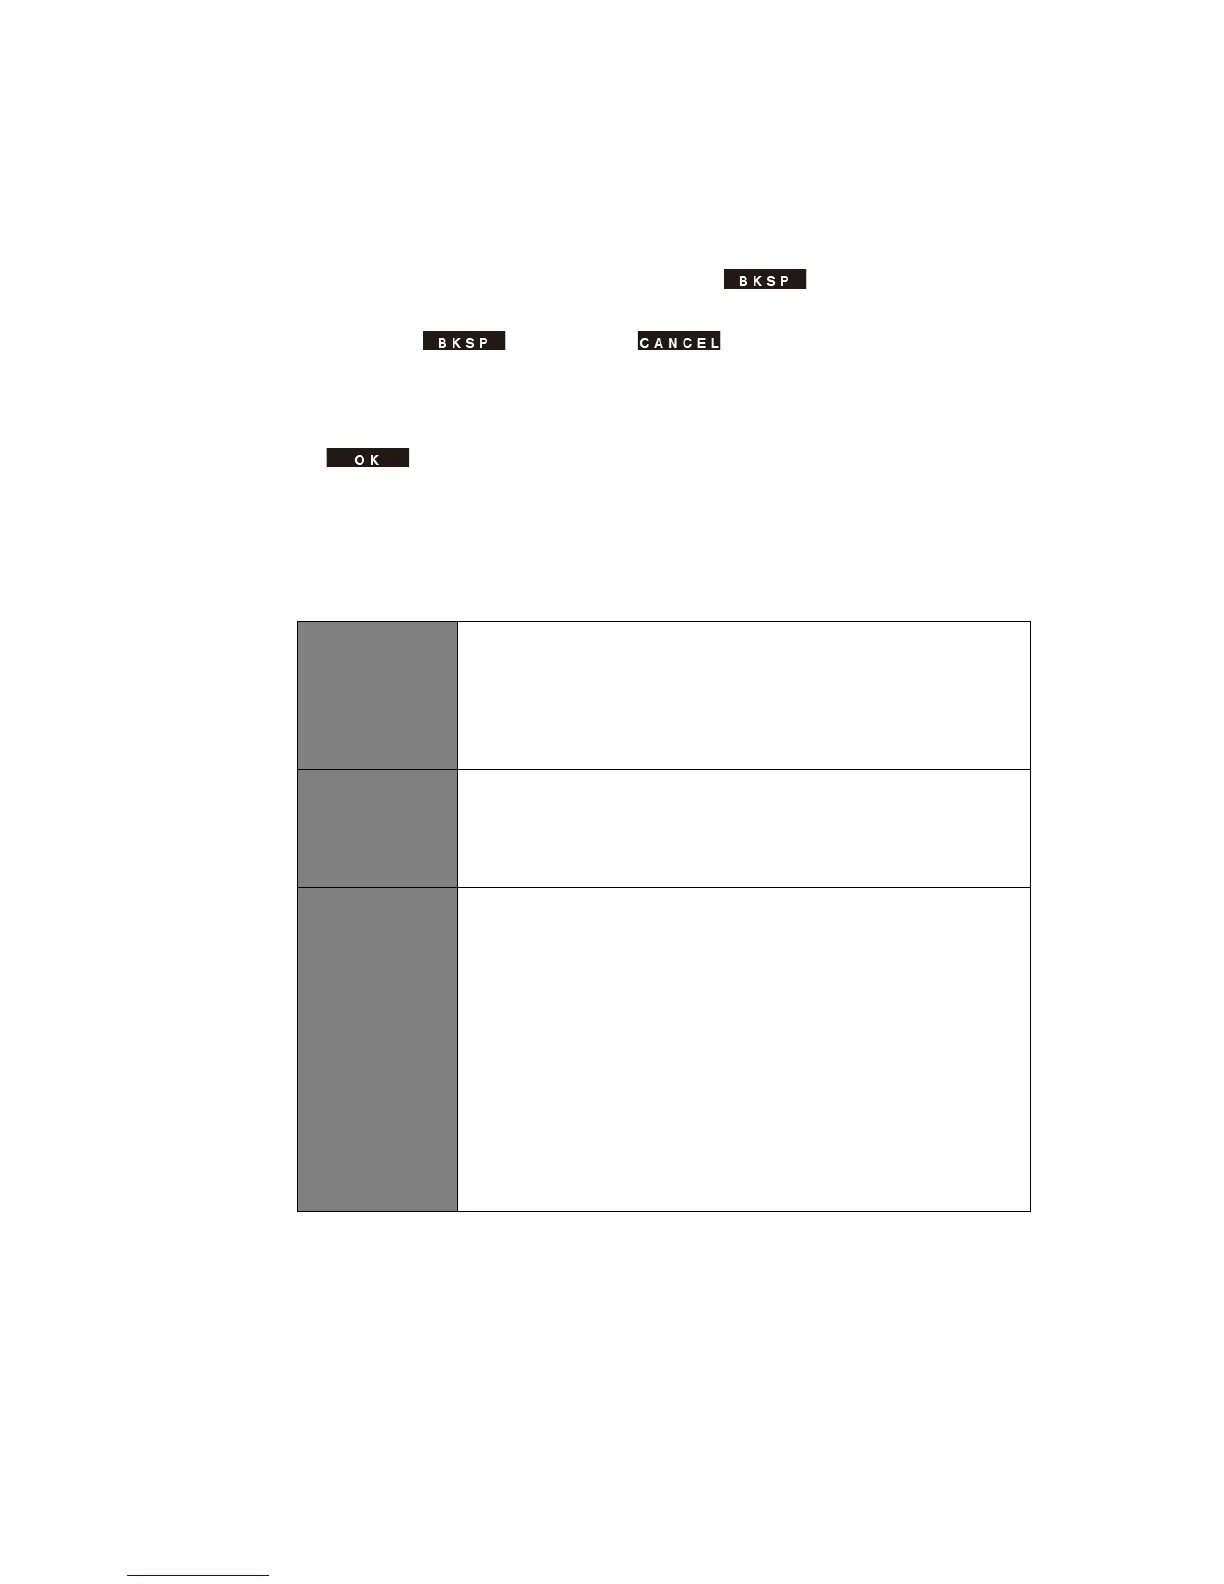
b. If a wrong operation is being conducted, select to delete designated
character.
Note: = Backspace; means return to previous track;
radio will automatically save the WEP/WPA you’ve input, so no bother to re-
enter these codes.
c. After selecting the final character of your password, turn SCROLL knob to
, and then press SCROLL knob to confirm. The radio is connected to
wireless network.
2) If you wish to establish a connection via WPS, press SCROLL knob after you have
selected desired network. The radio then offers the option to initiate WPS.
Turn SCROLL knob to select through Push Button, Pin and Skip WPS, press SCROLL
knob to confirm.
Push Button You must start the WPS scan on the remote station (e.g. router).
Consult the manual for your router or Access Points (AP) to learn
how to do this.
After you have done this, press SCROLL knob on the radio and
then both devices will establish a connection.
The radio creates an 8-digit number, which you then have to enter
into the remote station.
After entering the PIN, press the SCROLL knob to establish the
connection between both devices.
Skip WPS In addition to a WPS connection, you can also establish a
connection using a Pre-Shared-Key. The required key is often on
the rear of the router, or you may have defined it yourself.
This method is used automatically for networks without WPS. You
can call up the Pre-Shared-Key function on networks with WPS by
selecting menu item “Skip WPS”.
An input field should now appear. You can enter the required key
(PSK) by turning SCROLL knob and then pressing SCROLL
knob, and then select “OK” and press SCROLL knob complete
the entry. The radio should now establish the connection to the
network.
 Loading...