9
Getting Started
Carefully remove your radio from the box. You may wish to store the packaging for future use.
What you can find inside of your package
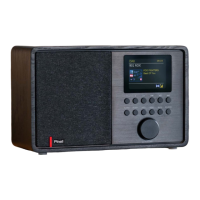
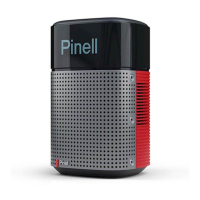
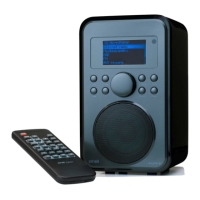
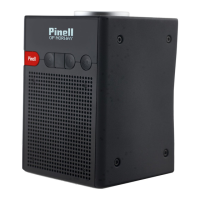
Main unit x 1
Power adapter x 1
Remote control x 1 + AAA alkaline battery x 2
Quick start guide x 1
Positioning your Radio
Place your radio on a flat / stable surface that is not subject to vibrations.
Avoid the following locations:
Where the unit will be exposed to direct sunlight.
Where the unit will be close to heat radiating sources.
Where the humidity is high and ventilation is poor.
Where it is dusty.
Where it is damp or there is a possibility of water dripping or splashing onto unit.
Adjusting the Antenna
Fully extend antenna to ensure you receive the best reception possible in both DAB and FM radio
modes. It may be necessary to adjust the position of the radio and/or antenna to achieve the best
signal.
Turning the Unit On/Off
Connect the plug at the end of power adapter cable to the DC IN socket on the rear of unit. Then
insert the power adapter into the mains socket. The radio will go to standby.
Press STANDBY button to turn on the radio. To turn off unit completely, unplug the power adapter
from the mains socket.
Automatically Setting the Clock
The clock can be set and updated automatically if are connected to the internet or receive DAB/FM
signals in your location. In order for the clock to synchronize to the current local time you must
leave it on an Internet Radio, DAB or FM station for a short period of time. You can also choose
how you would like to keep the clock up to date the Internet, DAB or FM radio signals. Go to Main
menu - System settings - Time/Date - Auto update.
Volume Control
Turn VOLUME knob anti-clockwise to decrease volume and turn clockwise to increase volume.