166
Integrator Mode
11) VIDEO WALL Setting
Use this feature to configure a 4-panel to 25-panel video wall.
[Setting Method]
7 Setting the ID NO. SET
Refer to “13) Assigning an ID“ (pg. 171)
7 Setting the screen divider
1 Enter the integrator mode.
(Refer to section 5.4.1, “About the Integrator Mode” (pg. 154).)
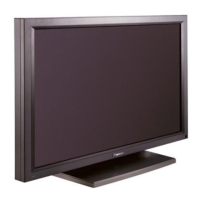
2 Select ‘OPTION’.
3 Place the cursor on ‘VIDEO WALL’ then press the [SET]
button.
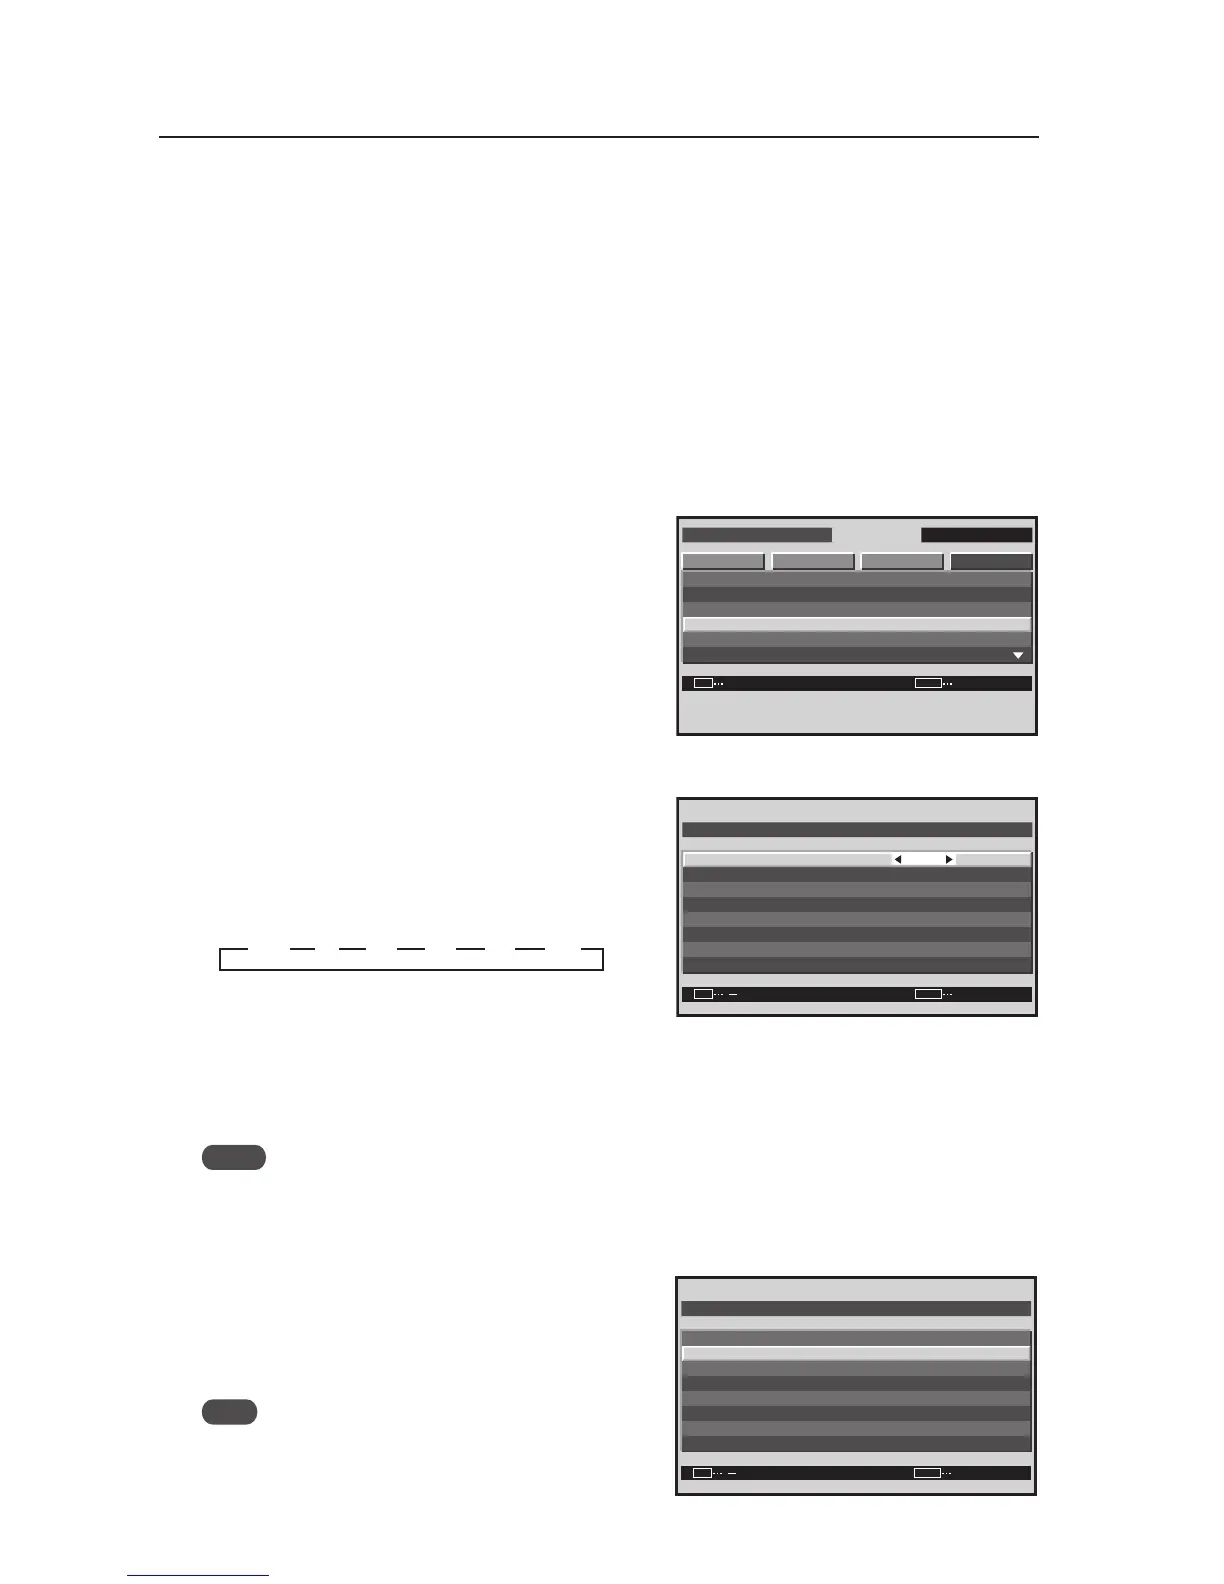
4 Place the cursor on ‘DIVIDER’.
5 Press the [2/3] buttons then press the [SET] button to
change the settings.
Each time the [2/3] buttons are pressed, the setting
changes as shown below.
OFF, 1 ..... Screen division is not performed.
4 .............. 4-panel video wall
9 .............. 9-panel video wall
16 ............ 16-panel video wall
25 ............ 25-panel video wall
Notes
• When 4 to 25 screens have been selected, set POSITION.
• When a problem occurs while programming the video wall settings, externally power down the video wall panels.
7 Setting the position
The POSITION is where a particular panel resides in the video
wall.
6 Place the cursor on ‘POSITION’ then press the [SET]
button.
Note
Set ‘DIVIDER‘ at other than ‘OFF‘ and ‘1‘.
Screen 3
INTEGRATOR INPUT1
ENTER
SCREEN SETUP OPTIONPICTURE
SET
EXIT
MENU
PROGRAM T I MER
SCREEN MASK
S I DE MASK
V I DEO WALL
BAUD RATE
I D NO. SET
:
:
:
GREEN
01H
38400BPS
Screen 4, 5
VIDEO WALL
NORMAL
OFF
OFF
:
:
:
OFF
:
SET
EXIT
MENU
DIVIDER
POS I T I ON
T YPE
AUTO I D
P. ON DELAY
ABL L I NK
REPEAT TIMER
RETURN
3 13 OFF 3 4 3 9 3 16 3
25
333333
Screen 6
VIDEO WALL
NORMAL
OFF
OFF
DIVIDER
T YPE
AUTO I D
P. ON DELAY
ABL L I NK
REPEAT TIMER
RETURN
:
:
:
OFF
:
SET EXITMENU
POS I T I ON
 Loading...