8 PROGRAMMING CHAIR POSITIONS
User’s manual Planmeca Chair 15
8 PROGRAMMING CHAIR POSITIONS
The chair incorporates a memory in which you can store
the chair positions that you want the chair to move to in
the automatic mode. There are four chair positions
available: the rinsing position (C) and three working
positions (A, B, D). The positions have been
preprogrammed at the factory, and can be changed by
the user as follows.
In case your chair is equipped with an optional remote
control panel, you can also program the chair positions
using the control panel keys, see section 9.3.3
"Programming chair positions" on page 19.
If the Planmeca Compact i Touch v2 dental unit without a
chair is connected to Planmeca chair, the chair positions
can also be programmed from the dental unit. When the
chair positions are saved to the chair, a signal is heard.
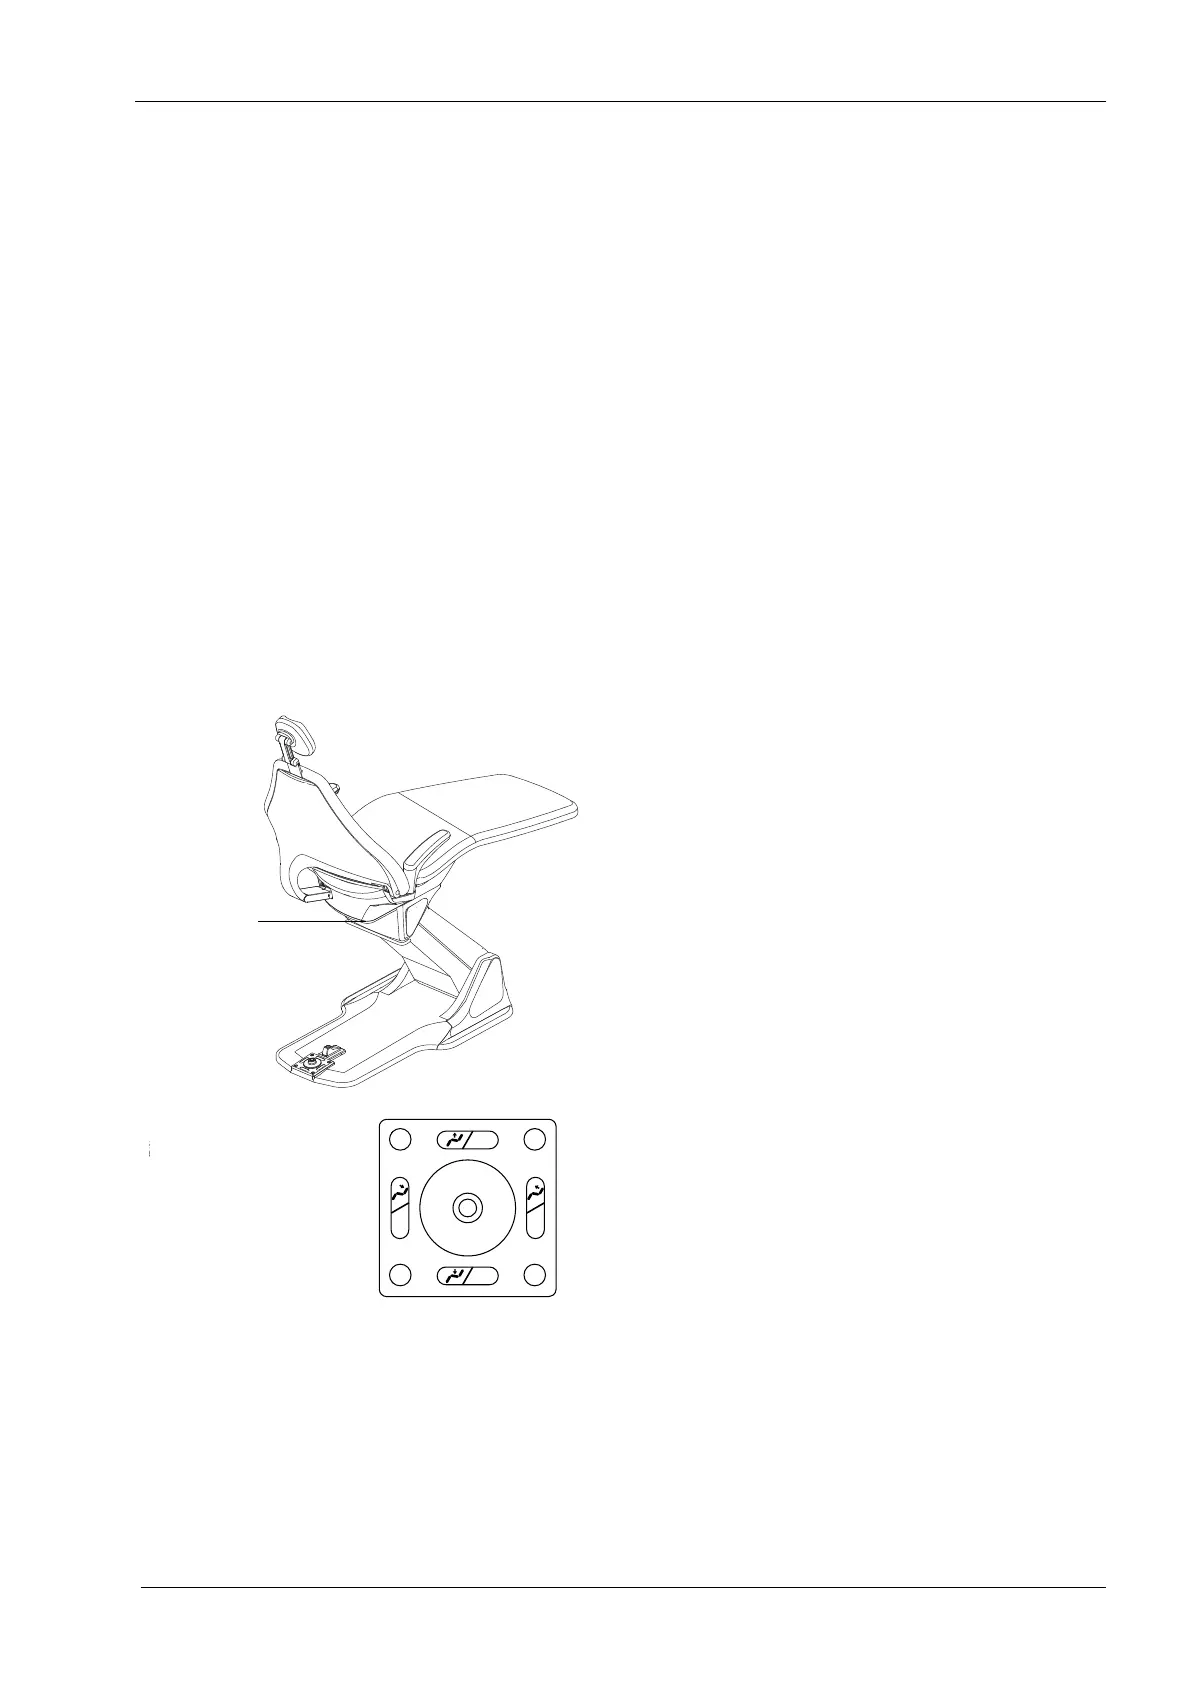
1. With the foot control, set the height of the chair and
the inclination of the backrest to the positions you
require.
2. Lift the stop plate briefly twice to enter the
programming mode.
When the programming mode is active you will hear a
long signal tone every two seconds.
3. Push and hold the foot control in the direction of the
position (A, B, C, or D) where you wish to store the
chair position. You will hear the same signal tone that
you hear when the chair is switched on, which
indicates that the chair position has been
programmed into the memory.
If you want to exit the programming mode without
changing the chair position, lift the stop plate briefly.
If you interrupt programming for over 25 seconds, the chair
automatically exits the programming mode without storing
the new position.
PM_Chair1.eps



 To Next Page