6.19
CLUTCHING
6
4. Torque spider to specification using the holding fixture and
spider tool. Torque with smooth motion to avoid damage
to the stationary sheave.
5. Install limiter spacer over the shaft and on top of spider
(RZR Only).
6. Install shift weights using new lock nuts on the bolts.
7. Reinstall clutch spring.
8. Reinstall cover, aligning “X” mark with other marks.
9. Torque cover bolts evenly to specification.
DRIVEN CLUTCH SERVICE
Clutch Disassembly
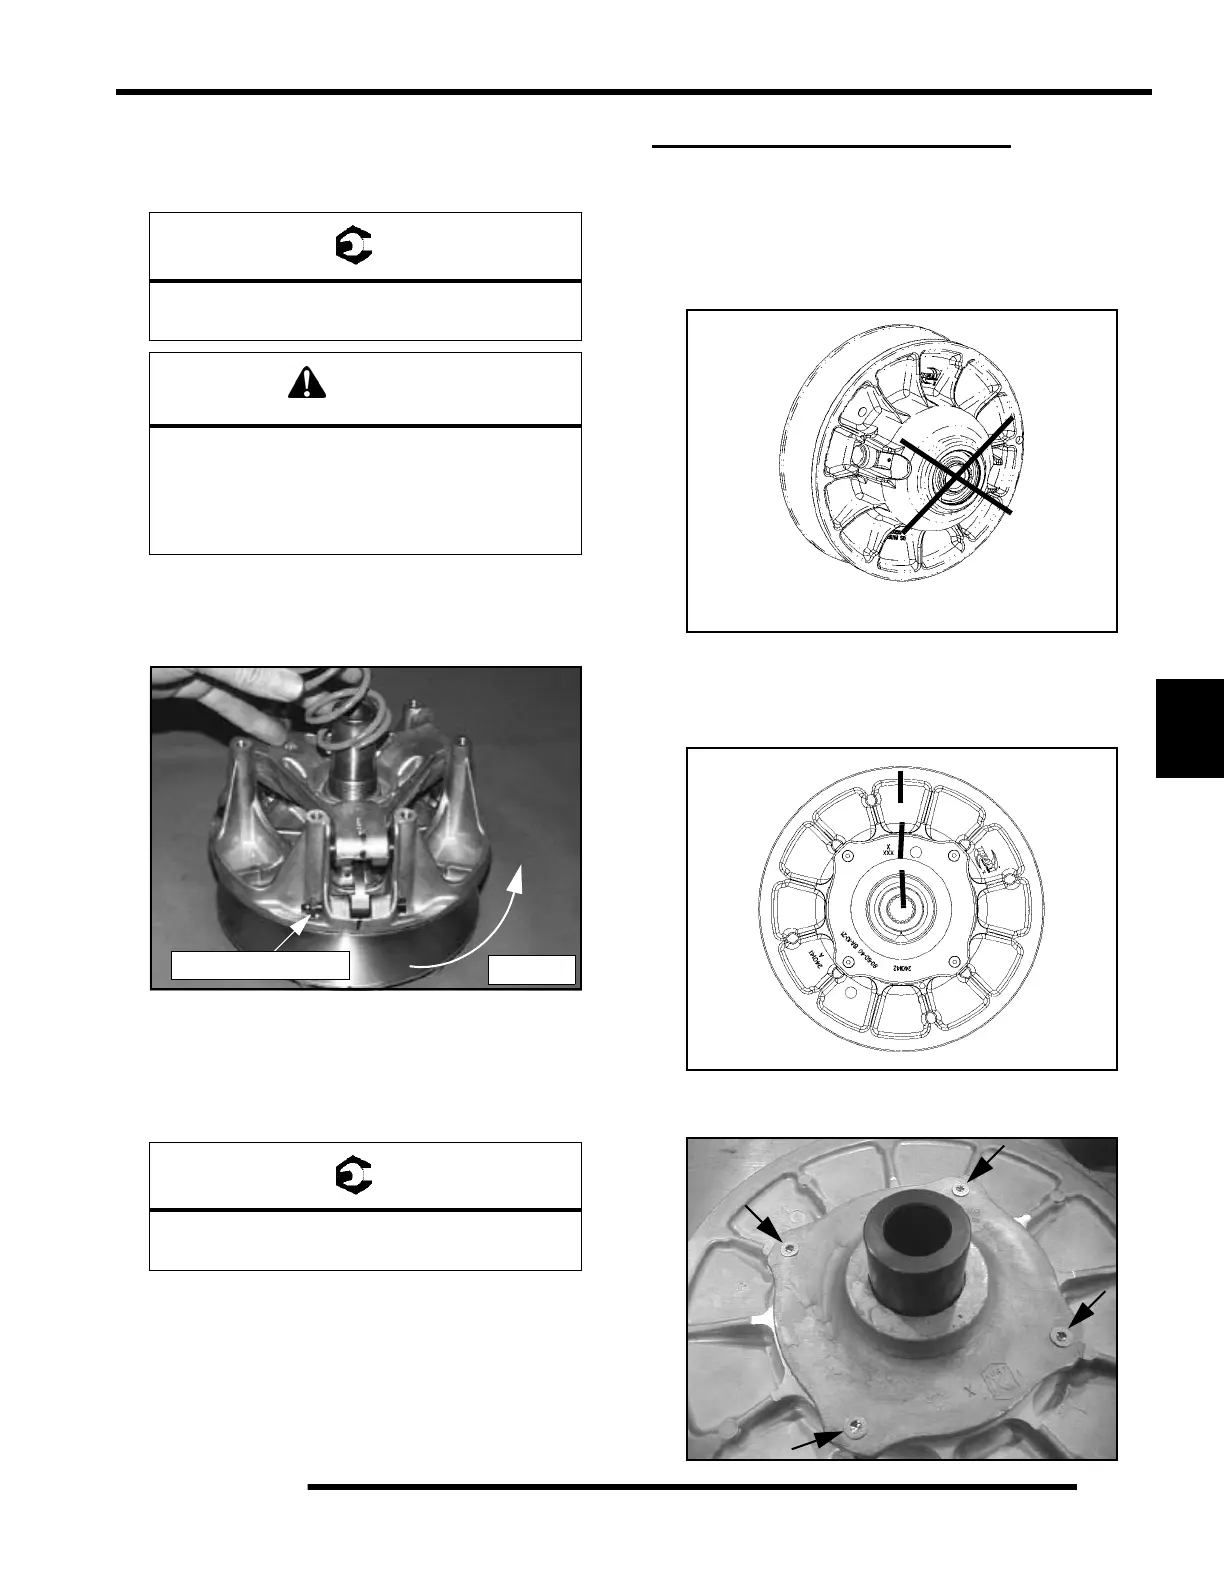
1. Remove driven clutch from the transmission input shaft.
Do not attempt disassembly of the driven clutch from the
outside snap ring. The driven clutch must be disassembled
from the helix side.
2. It is important to mark the position of the shaft, cam cover,
and sheave before disassembly or use the X’s on the
components for reference. This will aid in reassembly and
helps to maintain clutch balance after reassembly.
3. Remove the four screws that secure the cam (helix)
assembly using a T25 Torx driver.
= T
Spider Torque:
200 ft. lbs. (271 Nm)
CAUTION
Be sure the spider spacer washers are fully
seated in the recessed area in the spider.
Any misalignment will alter clutch balance.
Inverting the clutch while initially tightening the
spider will help position the washers.
= T
Cover Screw Torque:
90 in. lbs. (10.4 Nm)
Rotation
Nut on trailing side
Do not disassemble from this side

 Loading...