Drive Belt Replacement
About
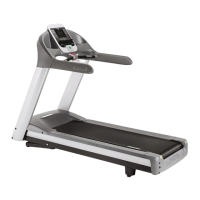
This procedure provides instruction to remove and replace the Drive Belt.
CAUTION: Two running belt gauges, Precor part number 20007-101, are required.
It is important that this procedure be followed to maintain correct drive belt and run-
ning belt tension. Improper tensioning of the belt will lead to premature running belt
wear, premature driver roller bearing failure and premature Take-Up roller bearing
failure.
Procedure
Review entire procedure before starting.
Drive Belt Removal
2. Switch the input power OFF and unplug
1
the power cord.
3. Remove the front hood.
4. Remove running belt tension by alternately loosening the left and right Take-Up roller
mounting/adjustment bolts, but do not remove the mounting bolts, see "Running Belt
Tension and Tracking Adjustment" on page 45.
5. Walk the drive belt off the smaller drive motor pulley. Remove pulley off the drive roller
pulley.
6. Alternately loosen and remove the left and right drive roller mounting bolts.
TIP: You can put a reference mark on the right drive roller mounting bracket to
identify the current drive roller shaft position for re installation.
1
Disconnect a device power cord plug or cable connector from the power receptacle or outlet.
Contact Precor Customer Support at support@precor.com or 800.786.8404 with
any questions.
Page 55
6 Replacement Procedures
Drive Belt Replacement
 Loading...