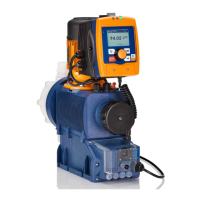
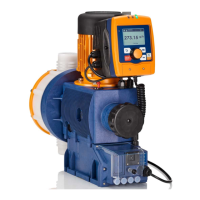
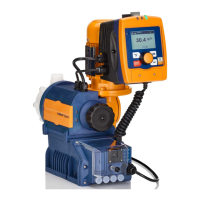
8 Setting
–
Please read the overviews in the appendix, "Control
elements and key functions" and "Operating/setting
diagram" for supplementary information.
–
If no key is pressed for a 1 minute duration, the
pump returns to a continuous display.
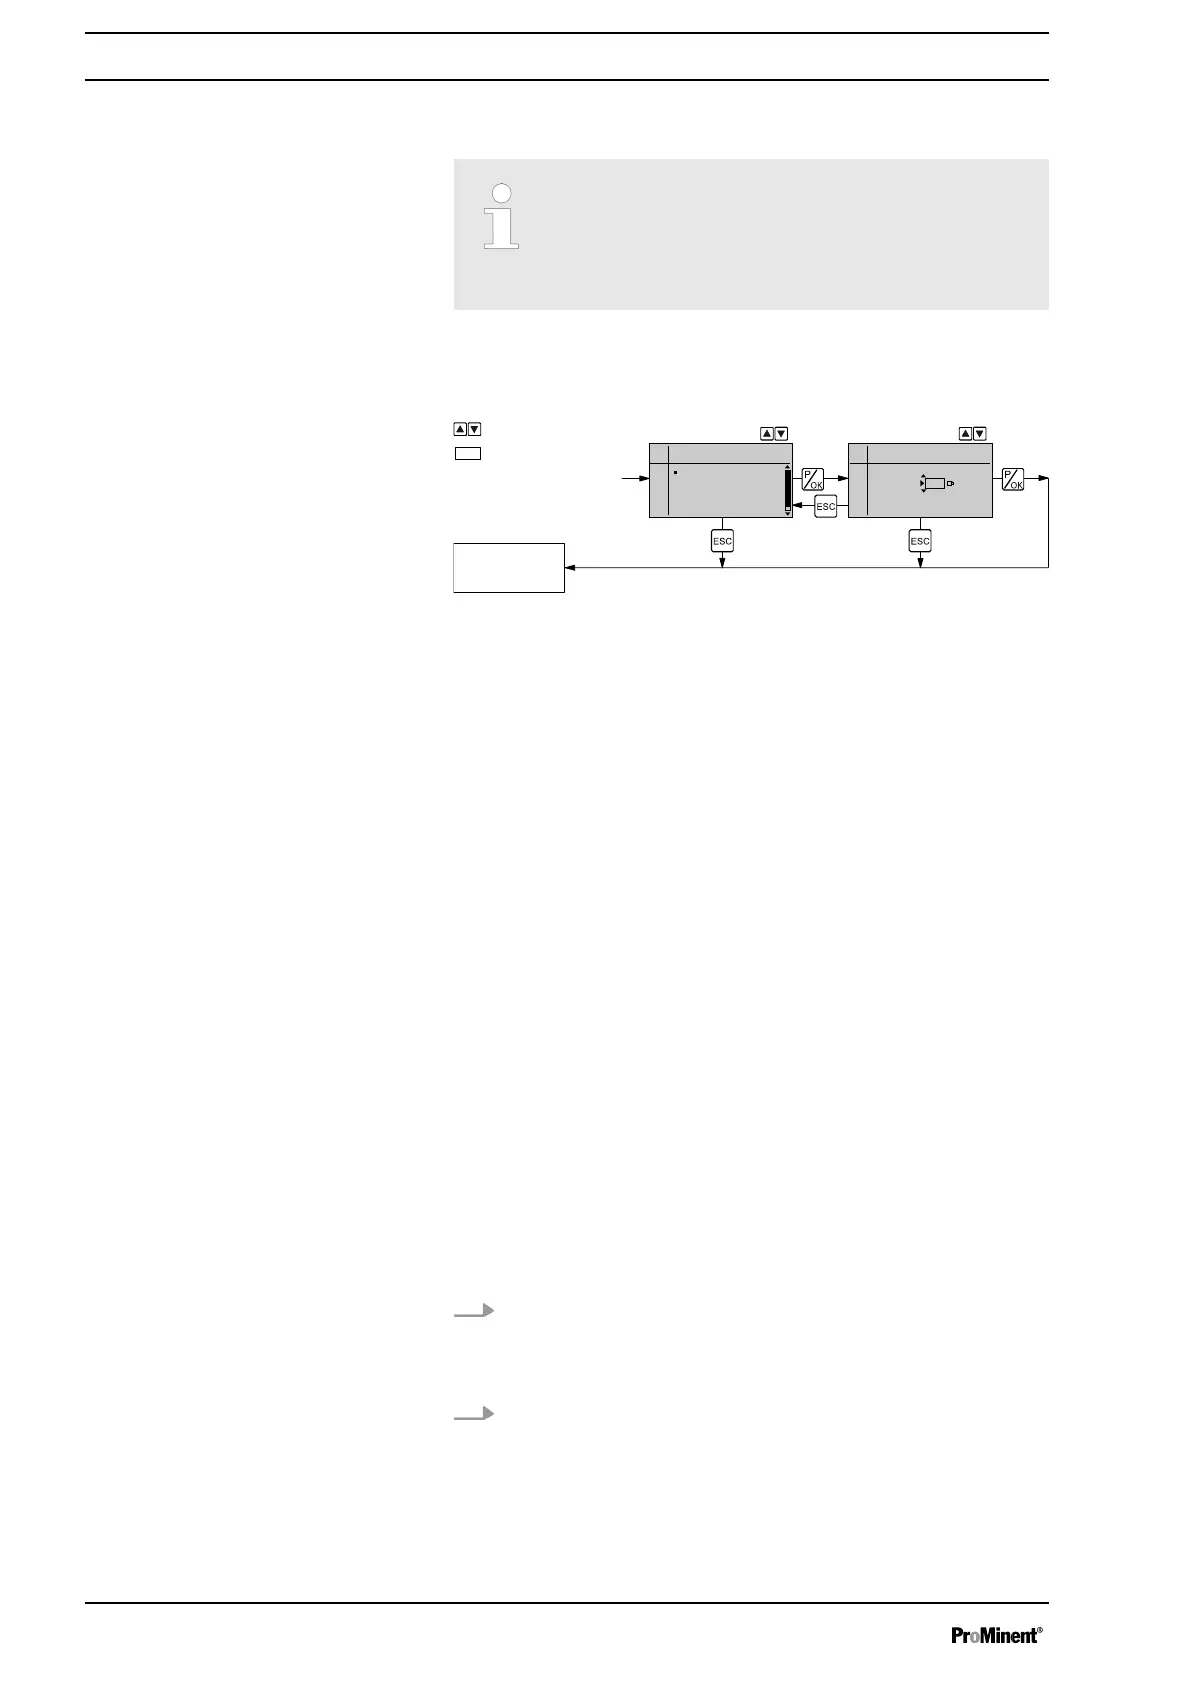
8.1 Basic Principles for Setting up the Control
Continuous
display
Auxiliary freq.
070 /min
Settings
Auxiliary freq.
Calibration
Dosing
Relay
Diaphragm break
= Adjustable
= Setting option
2 s 2 s
Briefly press the
[P/OK]
key.
The display simultaneously changes to the next selection, to the next
menu option or into a continuous display.
Press
[ESC]
.
You will jump back to the previous menu option or menu.
Press and hold the
[ESC]
key for 2 seconds.
Press the arrow keys
[UP]
or
[DOWN]
.
In this way the digit between the triangles is increased or reduced.
Select the digit position in a number using the key
[i/>]
.
Press the
[P/OK]
key.
The display simultaneously changes to the next selection, to the next
menu option or into a continuous display.
8.2 Checking adjustable values / error messages
Before you adjust the pump, you can check the actual settings of the
adjustable variables:
1. Press the key
[i/>]
("i" for "Info"), if the pump is displaying a contin‐
uous display (An "i" is visible at the top left).
ð
Each press of the
[i/>]
key displays another continuous display
or a plain text error message.
2. The continuous display values can be changed using the
[arrow keys]
.
Confirming an entry
Quitting a menu option without confirming
it
Jumping back to a continuous display
Changing adjustable variables
Confirming adjustable variables
Continuous displays
Setting
42
 Loading...