Chapter 2: Installation
17
If you installed an AAMUX, lay the SATA disk drive in the carrier and slide it
so the power and data connectors insert in to the AAMUX. See Figure 10.
5. Insert the screws through the holes in the drive carrier and into the bottom of
the disk drive. See Figure 8.
• Install only the screws supplied with the VTrak.
• Install four screws per drive.
• Snug each screw. Be careful not to over tighten.
6. Reinstall the drive carrier into the VTrak chassis.
7. Repeat steps 2 through 5 until all of your disk drives are installed.
8. Replace the front bezel.
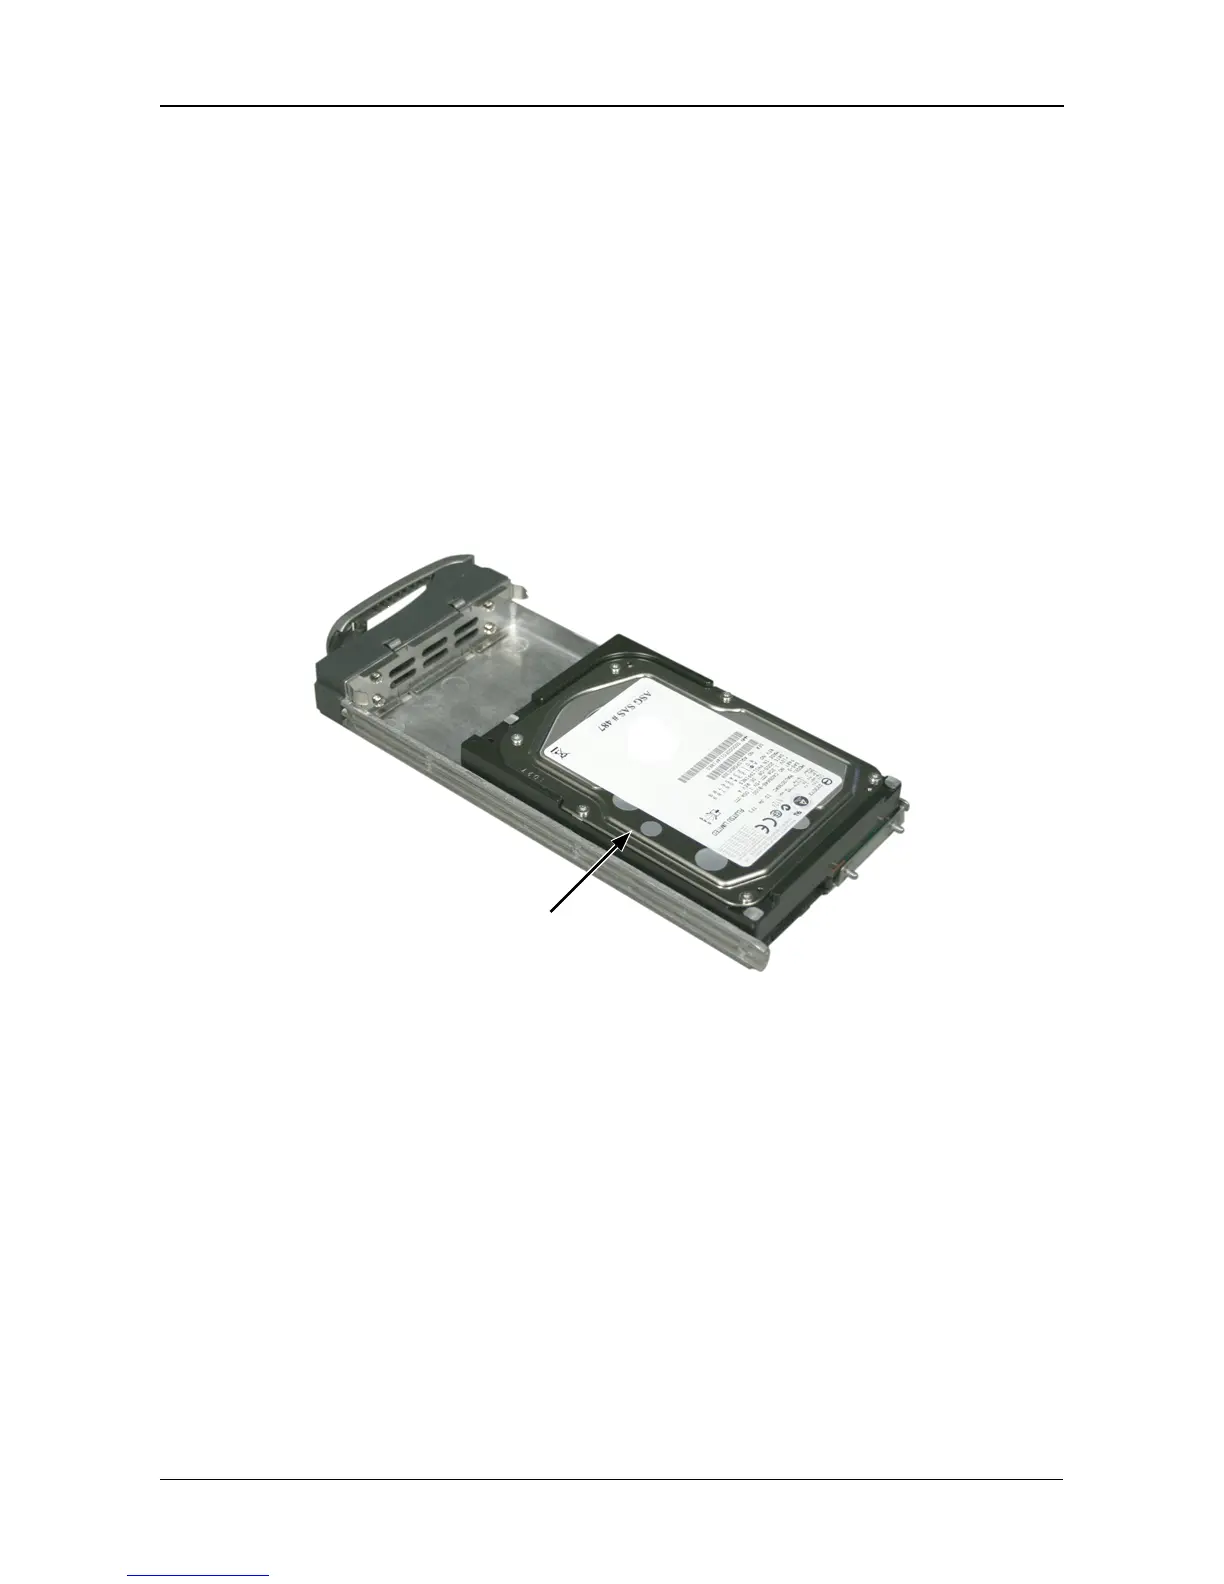
Figure 9. Drive carrier with SAS disk drive
SAS Disk Drive
 Loading...