VTrak J610s, J310s Product Manual
16
Installing Disk Drives
Populate the VTrak with 3.5-inch SAS or SATA disk drives.
Install all of the drive carriers into the VTrak enclosure to ensure proper airflow,
even if you do not populate all the carriers with disk drives.
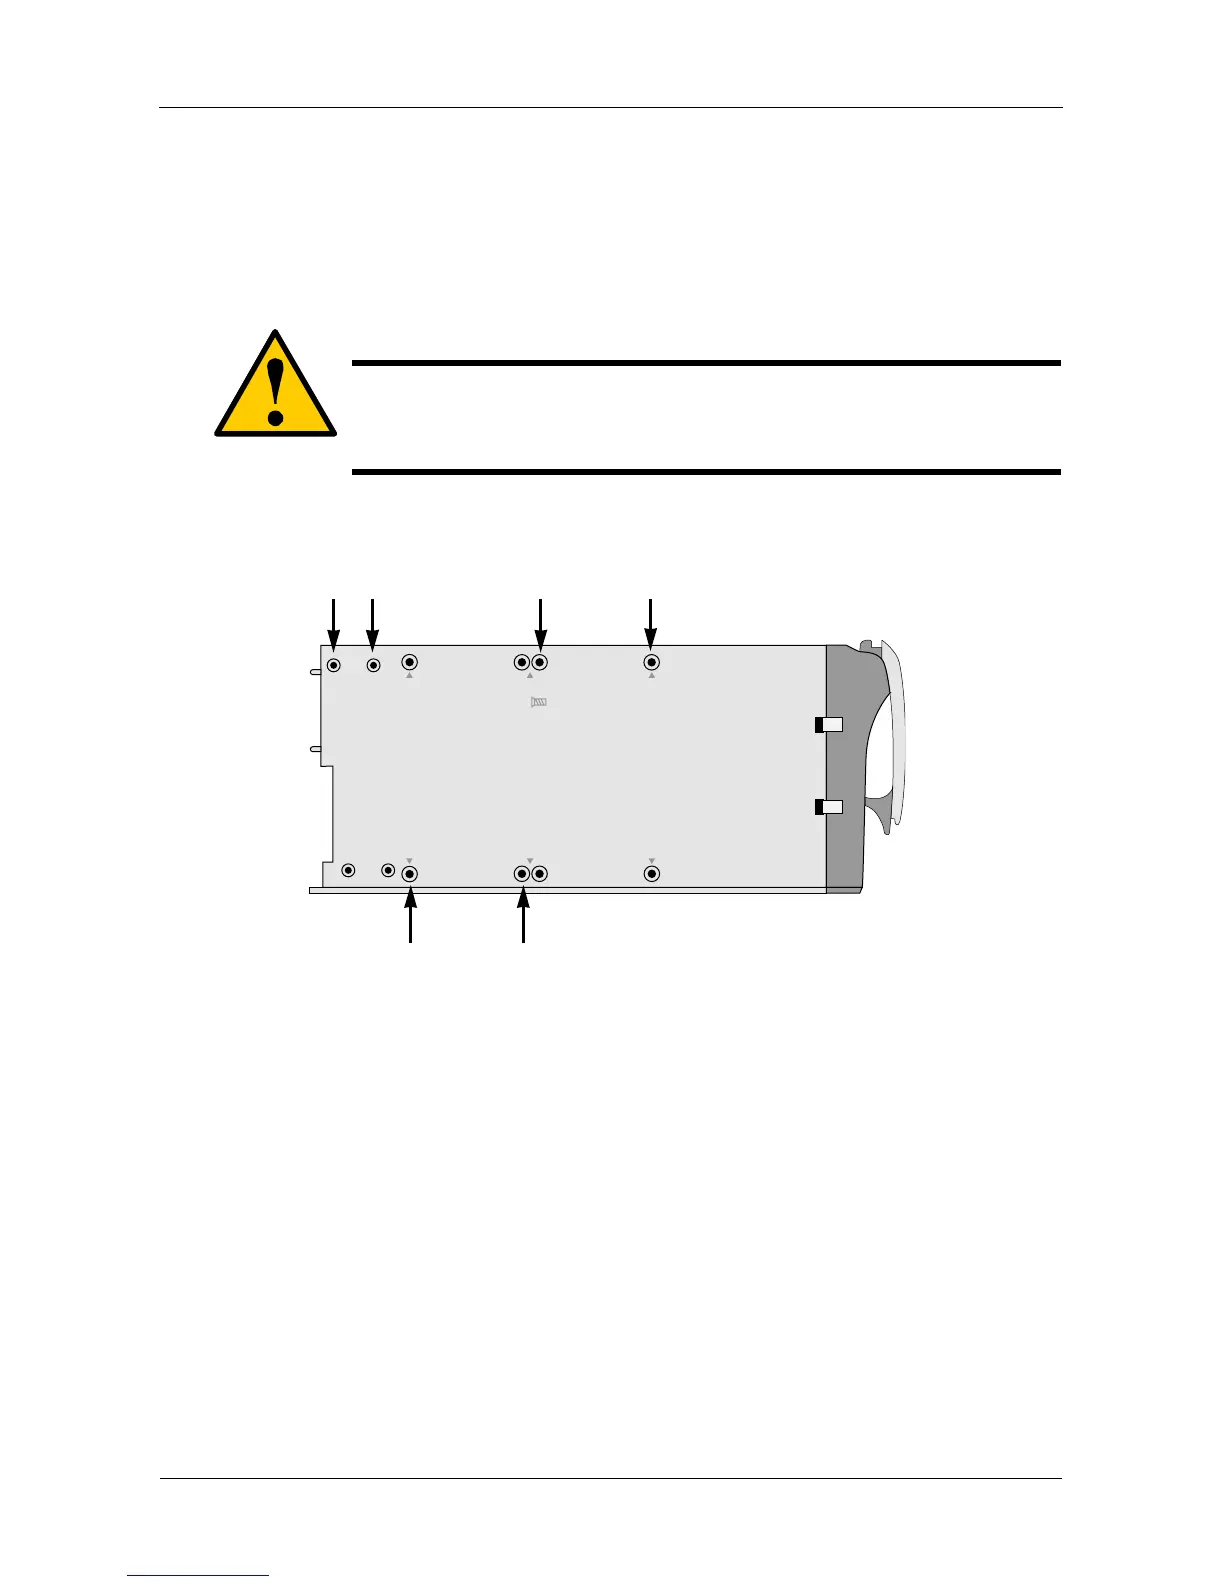
Figure 8. Drive carrier mounting holes
1. Remove the front bezel (J310s only).
2. Remove a disk drive carrier.
3. Optional. The AAMUX adapter is recommended for SATA disk drives used
with VTraks with two I/O modules, so that both modules can access a SATA
disk drive.
Place the optional AAMUX into the disk drive carrier and attach it with the
four screws.
• Install only the screws supplied with the AAMUX.
• The AAMUX fits into the carrier with the SAS connector at the back. See
Figure 10.
• Snug each screw. Be careful not to over tighten.
4. Carefully lay the drive into the drive carrier at the front, so that the screw
holes on the bottom line up.
Caution
Use only the counter-sink screws supplied with the VTrak. Use of
other types of screws can damage the enclosure or the adjacent
drives.
WARNING:
Counter-sink screws only.
Disk Drive Mounting Holes
without AAMUX
Disk Drive Mounting Holes
with AAMUX
AAMUX
Mounting Holes
 Loading...