AGENT-2 S41D Line - User Manual AG2-S41D/MU-EE
Ed. Jun-2012 Proprietary information 62 of 89
4. Contact: Click on the “Contact” textbox and specify a new contact for SNMP.
5. Trap Community Name: For each “Trap Community Name”, Click on the “Trap
Community Name” textbox and specify a trap community name.
6. Trap Host IP Address: For each “Trap Host IP Address”, Click on the “Trap
Host IP Address” textbox and specify a trap host IP address.
7. Link Down Trap: Click on the “Link Down Trap” drop-down menu from the “Link
Down Trap” drop-down list in order to choose “Enable” or “Disable” to enabling
or disabling link down trap.
8. Link Up Trap: Click on the “Link Up Trap” drop-down menu from the “Link Up
Trap” drop-down list in order to choose “Enable” or “Disable” to enabling or
disabling link up trap.
9. Update Setting: Click on the “Update Setting” button after finishing the SNMP
General Setting.
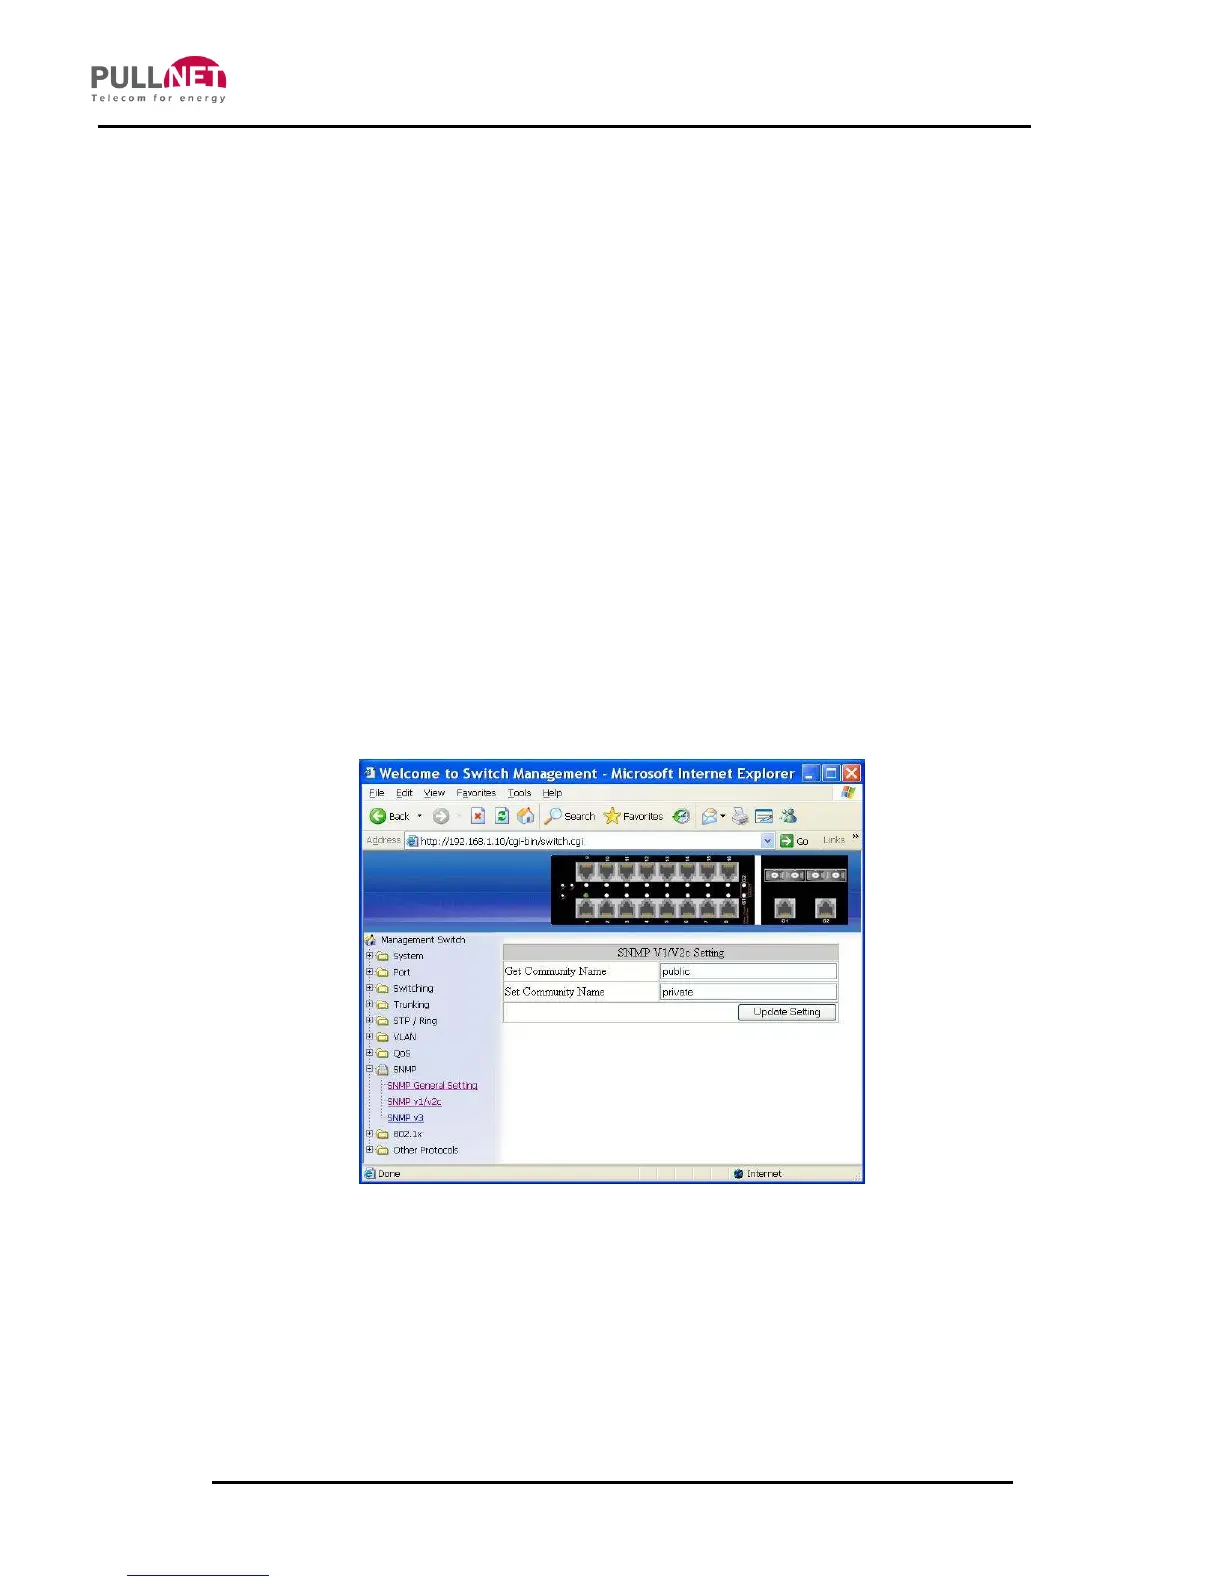
SNMP v1/v2c
1. Get Community Name: Click on the “Get Community Name” textbox and
specify a get community name.
2. Set Community Name: Click on the “Set Community Name” textbox and
specify a set community name.