36 37
ADVANCED OPERATION
CHAPTER 5
The previous chapters covered information needed to help you set up and operate the
essential functions of your DVR. This chapter will provide information covering more advanced
features to enable you to get the most out of your system.
To allow you to easily locate information about a feature, they will be listed in the order they
appear within the menus. Most of the features within the Basic and Search menus were
covered in the previous chapter so please refer to that section of the manual for information
on the Recording, Playback, File Management, and Basic configuration. Information on
connecting ad operating PTZ cameras will be included in its own chapter.
5.1 BASIC MENU
Most of the features within this menu were covered in Chapter 4 with the exception of
display settings and user management which will be covered below.
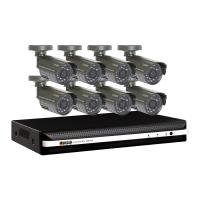
DISPLAY
Camera Name
As mentioned earlier, you can rename your
cameras to a more convenient title, such as
the location of the camera, should you wish,
by clicking in the name field for a camera and
then using the Virtual Keyboard to enter the
new name.
PICTURE 5-1
PICTURE 5-5
PICTURE 5-3
PICTURE 5-2
PICTURE 5-4
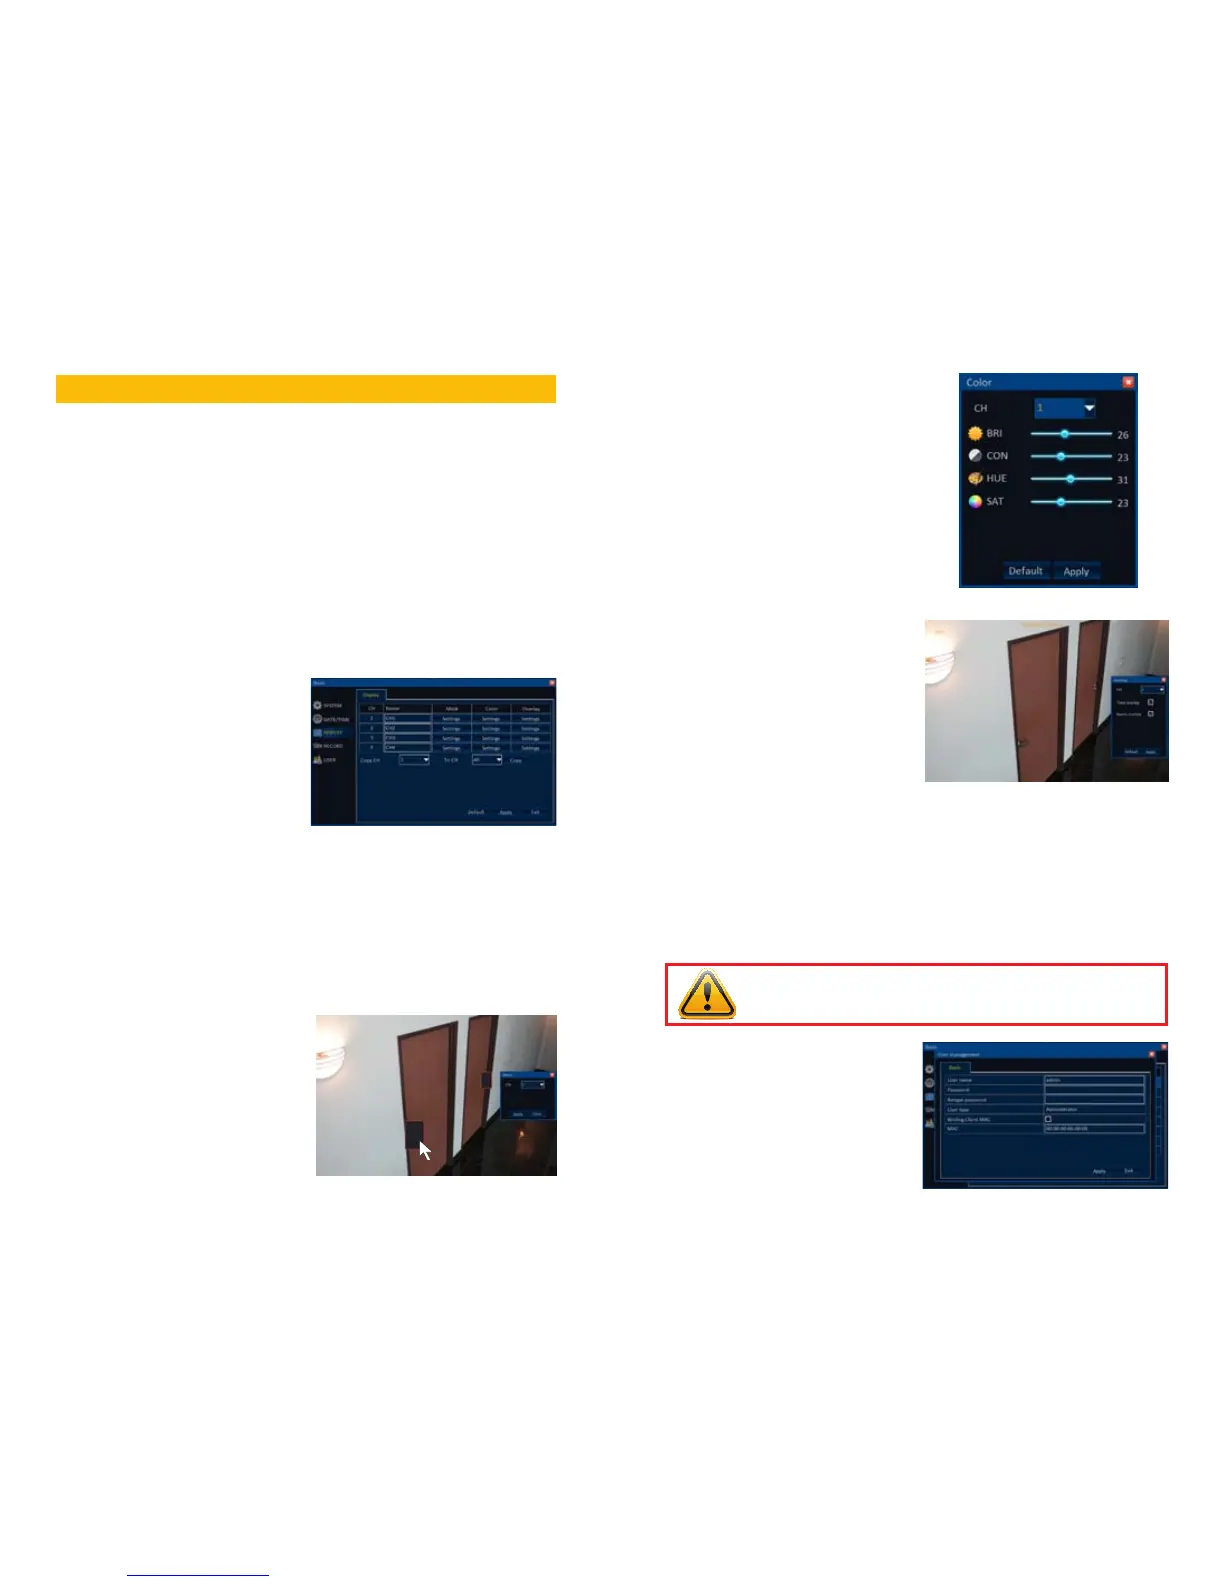
Mask
This allows you to block off, or mask an area of the camera’s view. This could be to hide an
access keypad, or combination, for example. Masked areas will not be shown on the live view
or in the recorded video file.
Select the Settings button under Mask for the channel you wish to mask. You will see a live
view from that camera. Click and drag over the area you wish to block out. You may mask up
to four areas.
Click Apply to save your areas. Clicking
Clear will remove all masks from that
channel. You can switch to another camera
within this menu or return back to the Basic
menu.
Color
You can adjust the appearance of your
camera’s feed on your monitor using these
controls. It will not effect the video that’s
recorded onto your hard drive.
Overlay
You can adjust the position of the channel
name and time stamp on your live feed and
recorded video. You may also turn off either
or both using this interface.
Click on the Settings button below Overlay
for the camera you wish to modify.
You can turn off the time stamp and channel
name individually by unchecking their box.
You may also click and drag the displays to
a new position. Clicking Default will restore
them back to their original location.
USERS
Your system comes with one administrator account already set up. If you will be the only
person operating this system, you will only need this one as it has been configured to have
permission to access and control every function and feature on the DVR.
Setting Admin Password
The admin account does not come with a
password so it is up to you to create one.
Simply double-click on the admin account
name and a window will open up allowing
you to enter the password. Enter it twice and
click Apply to set it. Your password should be
something you can easily recall. If you write
it down, store it in a location away from the
DVR.
IMPORTANT! To ensure the security of your system, you should create a
password for your admin account at this time.!
 Loading...