Field Requirements
NAS name • Length: 1-14 characters
• Valid characters: A-Z, a-z, 0-9
• Valid special characters: Hypen (-)
• Not allowed: The last character is a hyphen (-)
Password • Length: 5-64 characters
• Valid characters: All ASCII characters
8. Specify DHCP as the IP address.
9. Click Proceed.
A confirmation message appears.
Warning
Clicking Confirm deletes all data on the drive before installing QES.
10. Click Confirm.
The wizard installs QES and restarts the NAS.
Tip
You must initialize any unused disks upon your next login.
Installing QES Using Manual Setup
Warning
Installing QES deletes all data on the drives. Back up your data before proceeding.
1. Power on the NAS.
2. Connect the NAS to your local area network.
3. Run Qfinder Pro on a computer that is connected to the same local area network.
Tip
To download Qfinder Pro, go to https://www.qnap.com/utilities.
4. Locate the NAS in the device list, and then double-click the name or IP address.
The setup wizard opens.
5. Click Manual Setup.
The Enter the NAS name and administrator’s password screen appears.
6. Specify a NAS name and password.
Field Requirements
NAS name • Length: 1-14 characters
• Valid characters: A-Z, a-z, 0-9
• Valid special characters: Hypen (-)
• Not allowed: The last character is a hyphen (-)
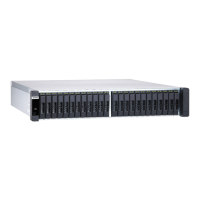
ES2486dc User Guide
Installation and Configuration 46