EasyManuals Logo

QubicaAMF Options Ball Return User Manual

Default Icon
46 pages
To Next Page IconTo Next Page
To Previous Page IconTo Previous Page
Page #22 background imageLoading...
Page #22 background image
I
NSTALLATION
Options
Ball Return Installation Manual
612
-
860
-
010
16
Rev. Date
10/07
F
RONT
C
OVER
I
NSTALLATION
1.
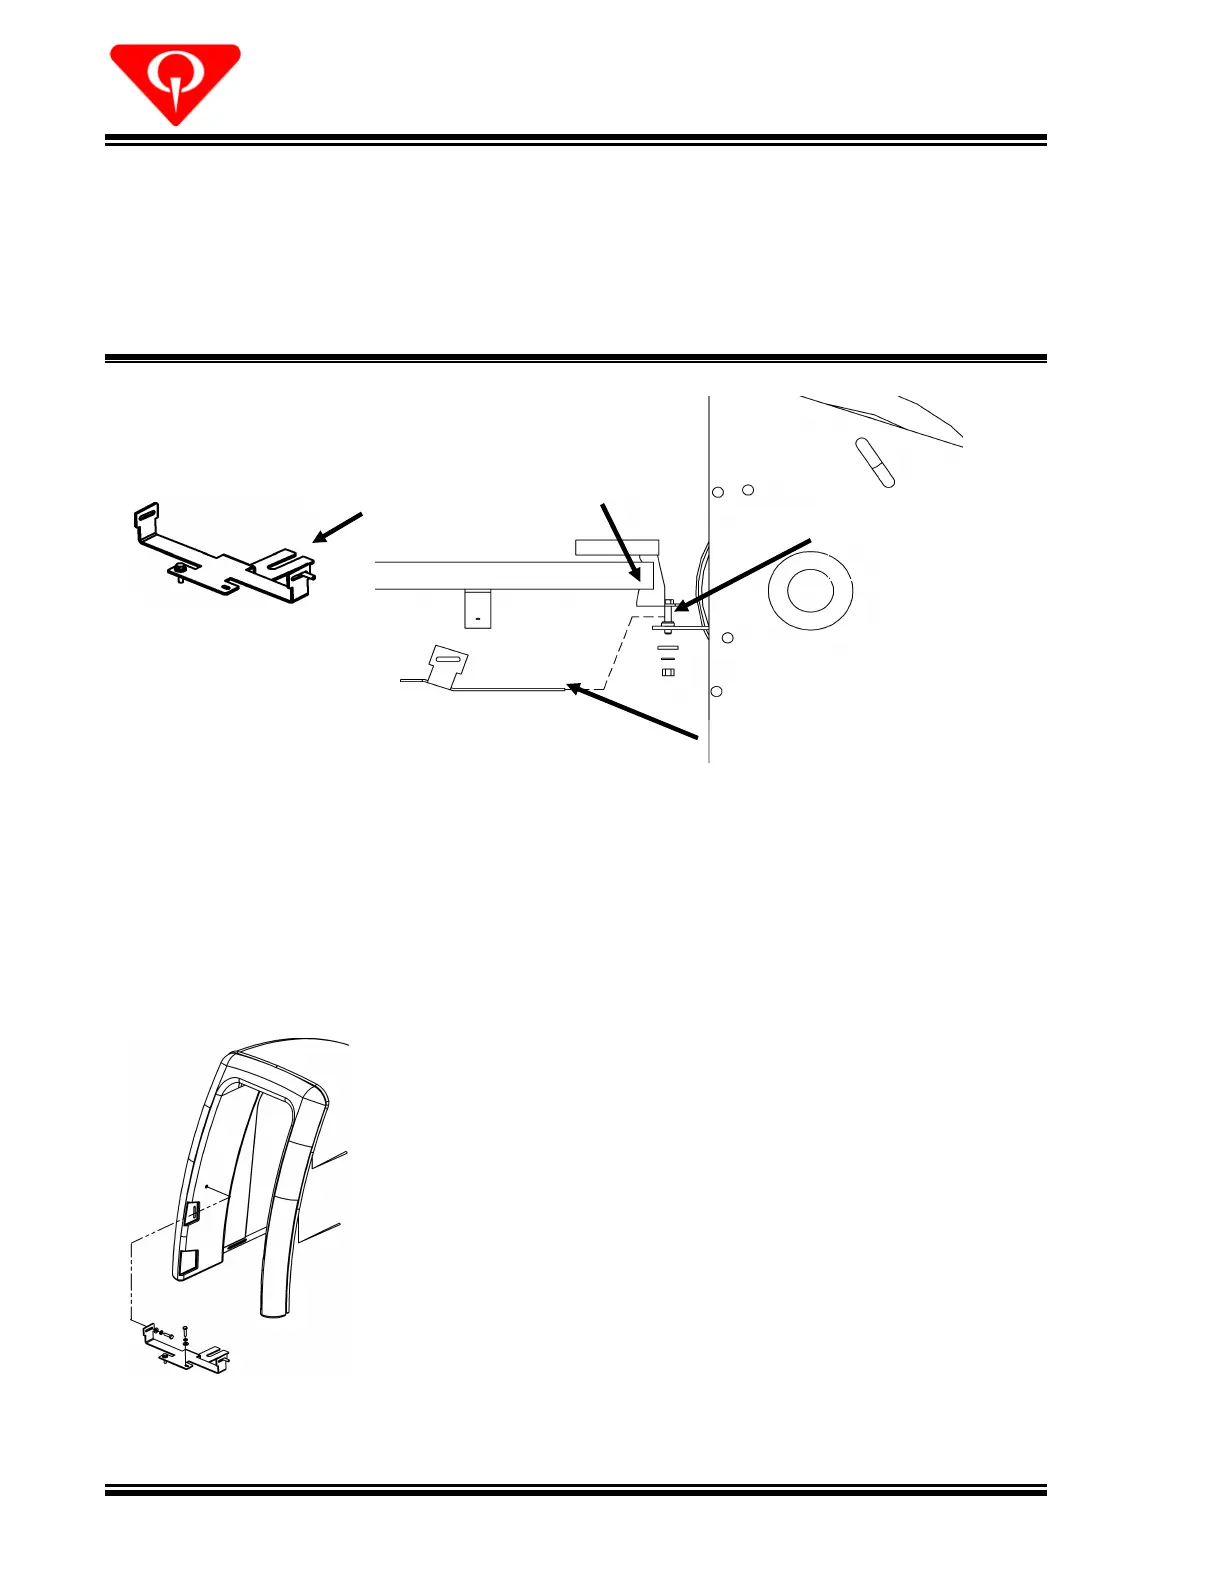
Insert the access panel so the slot of the mounting bracket (252
002
133) straddles
the hex cap screw/stud,
so that
the bracket is
under
the mounting bracket of the ball
rack (and any
C
washers), and
above
the grommet bushing
of the
ball lift
mounting
bracket as shown in Figure
1
3
.
F
igure
1
3
, Ball Lift to Ball Rack to Hood Attachment
2.
Align the holes in the mounting bracket with the holes in
th
e side of the hood, as
shown in Figure
1
4
.
3.
Secure the bracket to
the hood with the screws (809
849
165), split washers (951
-
148
008), and flat washers (948
753
102). Firmly tighten the screws.
4.
Remove the access panel from the mounting bracket.
Set aside the screws (809
849
165), split washers
(951
148
008), and flat
washers (948
753
102).
5.
Reach through the opening under the mounting
brackets and firmly tighten the 1/2
13 hex nut onto the
hex cap screw/stud.
6.
Reattach the access panel to the mounting bracket
with the hardware you set aside.
7.
Firmly tighten the nuts an
d screws for all connections
and
attachments.
8.
Remove any installation markings that remain on the
approach surface.
Slot
Ball Rack Mounting
Bracket
Hood Mounting Bracket
Ball Lift
Mounting Bracket
Figure 1
4
,
Mounting Bracket
to Hood Attachment

Questions and Answers:

Question and Answer IconNeed help?

Do you have a question about the QubicaAMF Options Ball Return and is the answer not in the manual?

QubicaAMF Options Ball Return Specifications

General IconGeneral
BrandQubicaAMF
ModelOptions Ball Return
CategorySports & Outdoors
LanguageEnglish

Related product manuals