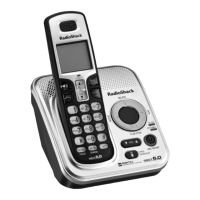
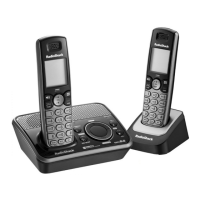
Installing the Charger
You can power the charger using the supplied 9V, 210mA AC
adapter.
Insert the supplied AC
adapter’s barrel plug
into the DC IN 9V jack
on the bottom of the
charger.
Route the cord
through the strain
relief slot and plug
the adapter into a
standard AC outlet.
Connecting/Charging the Battery Pack
The phone comes with a rechargeable nickel-metal hydride
(Ni-MH) battery pack in the cordless handset. Before using your
phone, you must connect the battery pack. Then charge it for
about 15 - 20 hours.
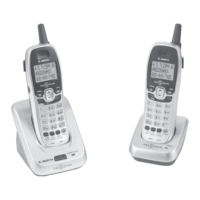
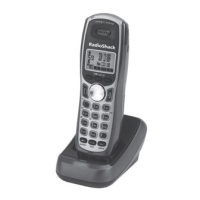
Press down and slide off the
battery compartment cover.
Lift the battery pack out of
the compartment.
Plug the battery pack’s connector
into the socket in the compartment
(the connector ts only one way).
Then place the battery pack in the compartment.
Replace the cover.
To charge the battery pack, place the handset on the charger
face forward. The CHARGE indicator on the base lights.
Recharge the battery pack when LOW BATTERY ashes on the
display.
If you have any trouble replacing the battery pack, take the
phone to your local RadioShack store for assistance.
1.
2.
1.
2.
3.
4.
5.
•
•
 Loading...