Do you have a question about the RAISE 3D Pro2 Series and is the answer not in the manual?
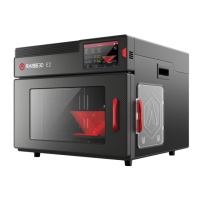
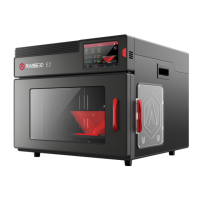
Lists the various components of the Pro2 3D printer model.
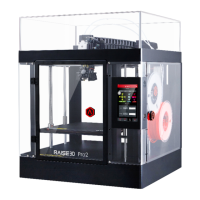
Lists the various components of the Pro2 Plus 3D printer model.
Remove zip ties, spacers, and bolts securing the printer for shipping.
Connect the printer to a wall outlet and power it on.
Observe the printer's boot-up sequence and home screen display.
Perform the Z-axis homing procedure via the touch screen utilities.
Review the list of included accessories and components with the printer.
Lower the Z platform using the touch screen interface for setup.
Loosen thumb screws and remove the build plate from foam packaging.
Secure the build plate onto the Z platform using thumb screws.
Attach filament holders to mounting points and place filament spool.
Guide filament through the tube and initiate the loading process.
Guide through installing ideaMaker software on a Windows operating system.
Complete the ideaMaker installation process on Windows.
Install ideaMaker software on macOS by dragging the application.
Select printer model and filament diameter during initial setup.
Import a model and perform initial slicing with standard templates.
Customize slicing parameters and save the sliced file to USB.
Home axes and position the print head for initial calibration.
Use a feeler gauge to set the optimal nozzle-to-platform distance.
Insert sliced file via USB and initiate the printing job.
Key components and status indicators on the Home screen.
Parameters and adjustments available on the Tune screen.
Navigation and control options within the Utilities screen.
File selection and print job initiation from the Print screen.
Load two models into ideaMaker for dual extrusion printing.
Set the first model's extruder to 'Left' in Model Info.
Set the second model's extruder to 'Right' in Model Info.
Initiate slicing and select platform/support types.
Save the generated .gcode and .data files to USB.
Mount filament holders and guide filament for dual extrusion.
Set temperature and load filament for the right extruder.
Home axes and position print head for dual extrusion.
Adjust temperatures for both nozzles before printing.
Use the touch screen to move the left nozzle for calibration.
Check and adjust the left nozzle's distance to the print platform.
Use the touch screen to move the right nozzle for calibration.
Check and adjust the right nozzle's distance to the print platform.
Fine-tune nozzle height and initiate the dual extrusion print.
Observe the printing progress, time, and parameters on the touchscreen.
Detailed technical data for the Pro2 model.
Detailed technical data for the Pro2 Plus model.
Common specifications like power, connectivity, and software.
Information on the controller, memory, and OS.
Information on how to get help from Raise3D technicians.
| Max Nozzle Temperature | 300°C |
|---|---|
| Max Bed Temperature | 110°C |
| Filament Diameter | 1.75 mm |
| Frame Material | Aluminum |
| Heated Bed | Yes |
| Number of Extruders | 2 |
| Display | 7-inch Touchscreen |
| Build Volume | 305 x 305 x 300 mm |
| Nozzle Diameter | 0.4 mm (default) |
| Print Speed | 150 mm/s |
| Connectivity | USB, Ethernet, Wi-Fi |
| Supported Materials | PLA, ABS, PC, TPU, Nylon, Carbon Fiber |
| Operating System | Linux-based |
| Weight | 52 kg |
| Power Requirements | 110-240V, 50-60Hz |