RAL STAINER
29
RAL STAINER User guide
10.1 STARTING UP
Turn on the appliance using the 0/1 switch located behind the instrument.
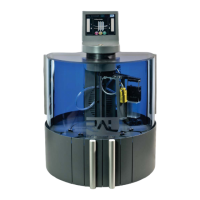
The following page is displayed:
Enter the user code. Validate
10.2 INSTALLING REAGENTS
10.2.1 STAINING KIT
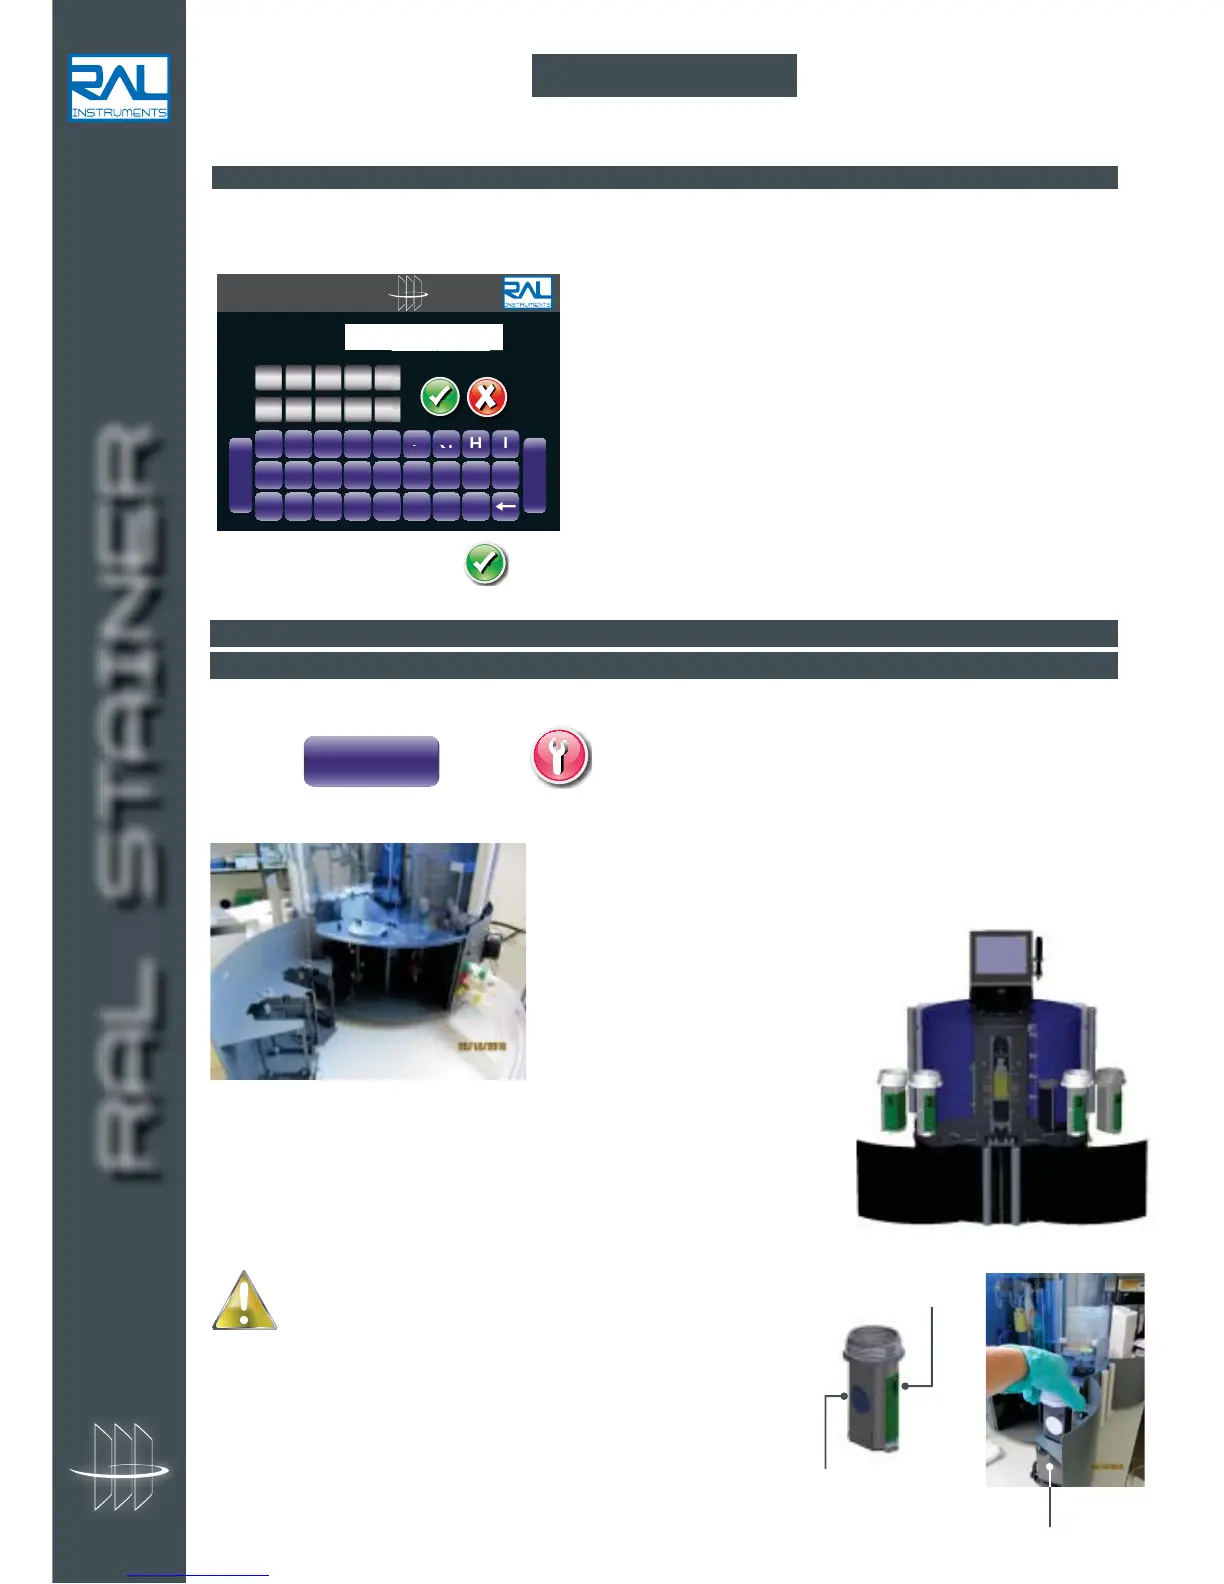
If, on start-up, the appliance does not detect a staining kit, it will request one to be inserted.
1. Press on page
2. The appliance opens the lids on the reagent housings and the reagent loading doors.
3. Break the protection seal and place the closed containers from
your staining kit using the numbers on the labels to place them at the
corresponding location within the instrument. Carefully remove the
container caps and keep them. Take off the tamper-proof seal.
10 USE
RAL STAINER
A B C D E F G H I
J K L M N O P Q R
S T U V W X Y Z
-
Space
CODE :
01234
56789
RFID Reader
Special precautions for bottle 1:
Bottle 1 contains the RFID chip. This chip must be opposite
the RFID reader (located to the left of the left reagent drawer)
in order to be read. If we consider that the front face of the bottle
is the labelled, curved face, this face must be placed opposite you,
thus the chip will be correctly read by the appliance. In the event
of an error, the "Tag error" message will be displayed. This can be
corrected by turning bottle 1.