5
Manual No. 016-5034-004 41
Cab Component Installation
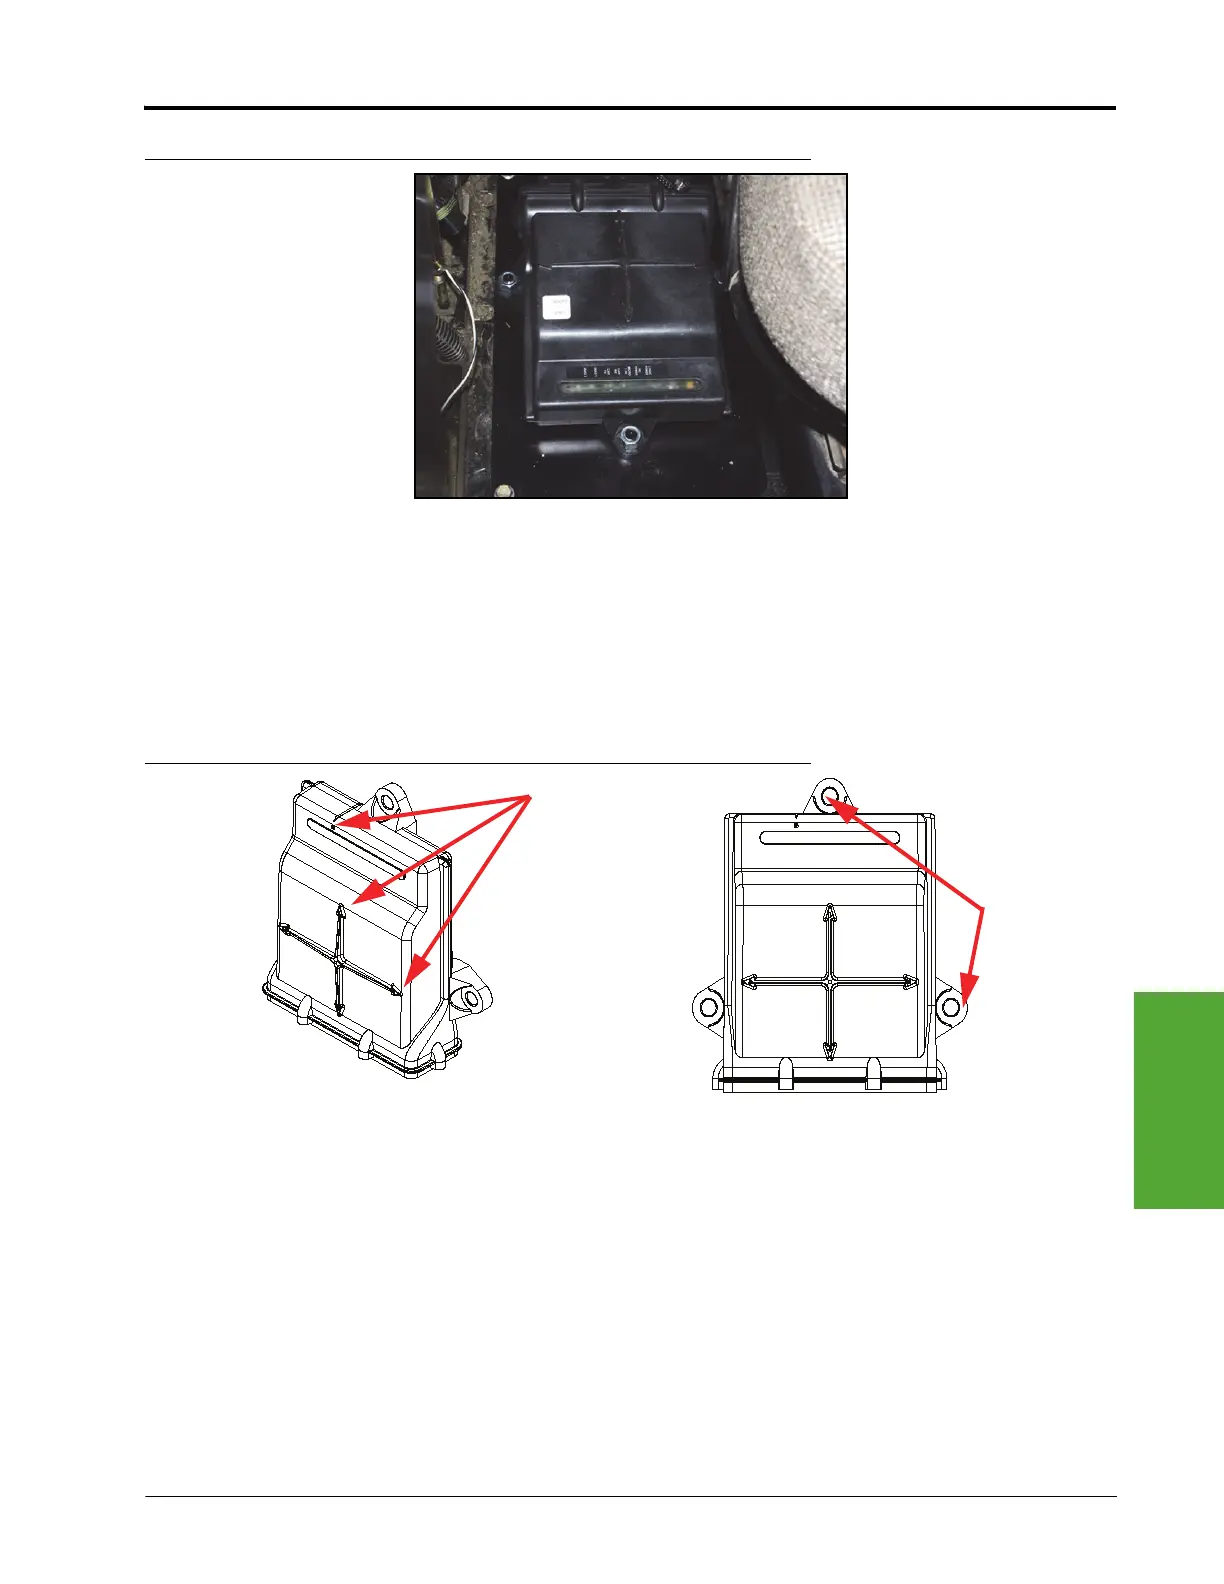
FIGURE 4. Node Installed
4. Install the node mounting plate (P/N 107-0171-946) to the floor using the bolts removed from the machine’s
floor plate.
5. Install the node (P/N 063-0173-228) on the node mounting plate using three 3/8”-16 nylon insert lock nuts
(P/N 312-4000-061).
Node Mounting Locations
FIGURE 5. Node Mounting
When choosing the location for the SmarTrax node, consider the following points:
• Mount the SmarTrax node inside the machine’s cab on a flat, level surface for proper performance and
cable connection.
• One of the six numbered direction arrows on the node must be oriented in the direction of forward vehicle
travel, one arrow pointing straight up, and two of the arrows parallel to the ground.
Note: Make a note of the number of the arrow that is oriented in the direction of forward vehicle travel.
This number will be needed during the SmarTrax calibration process.
• The node mounting location must not create tripping hazards.
• Mount the node in a location where it will not be kicked or jarred during normal equipment operation.
• The location must allow cable routing to avoid crimping or damaging the cables or the node connections.
Direction Arrows
Any two arrows must
be parallel with level
ground
Mounting Tabs
1
2
3
4
5
 Loading...