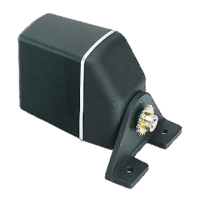
12.Tightenthetransducerpivotbolt.
13.Tightenthekick-upadjustmentscrewtoachievethedesired
kick-upforce.
Thekick-upforceneedstobeadequatetopreventthe
transducerfromkicking-upduringtestingbutalsoneedsto
belooseenoughsothatitcankick-upshouldthetransducer
bestruckbyanobjectwhenunderway.
Note:Thethirdlockingscrewisnotuseduntilthetransducer
hasbeensuccessfullytested.
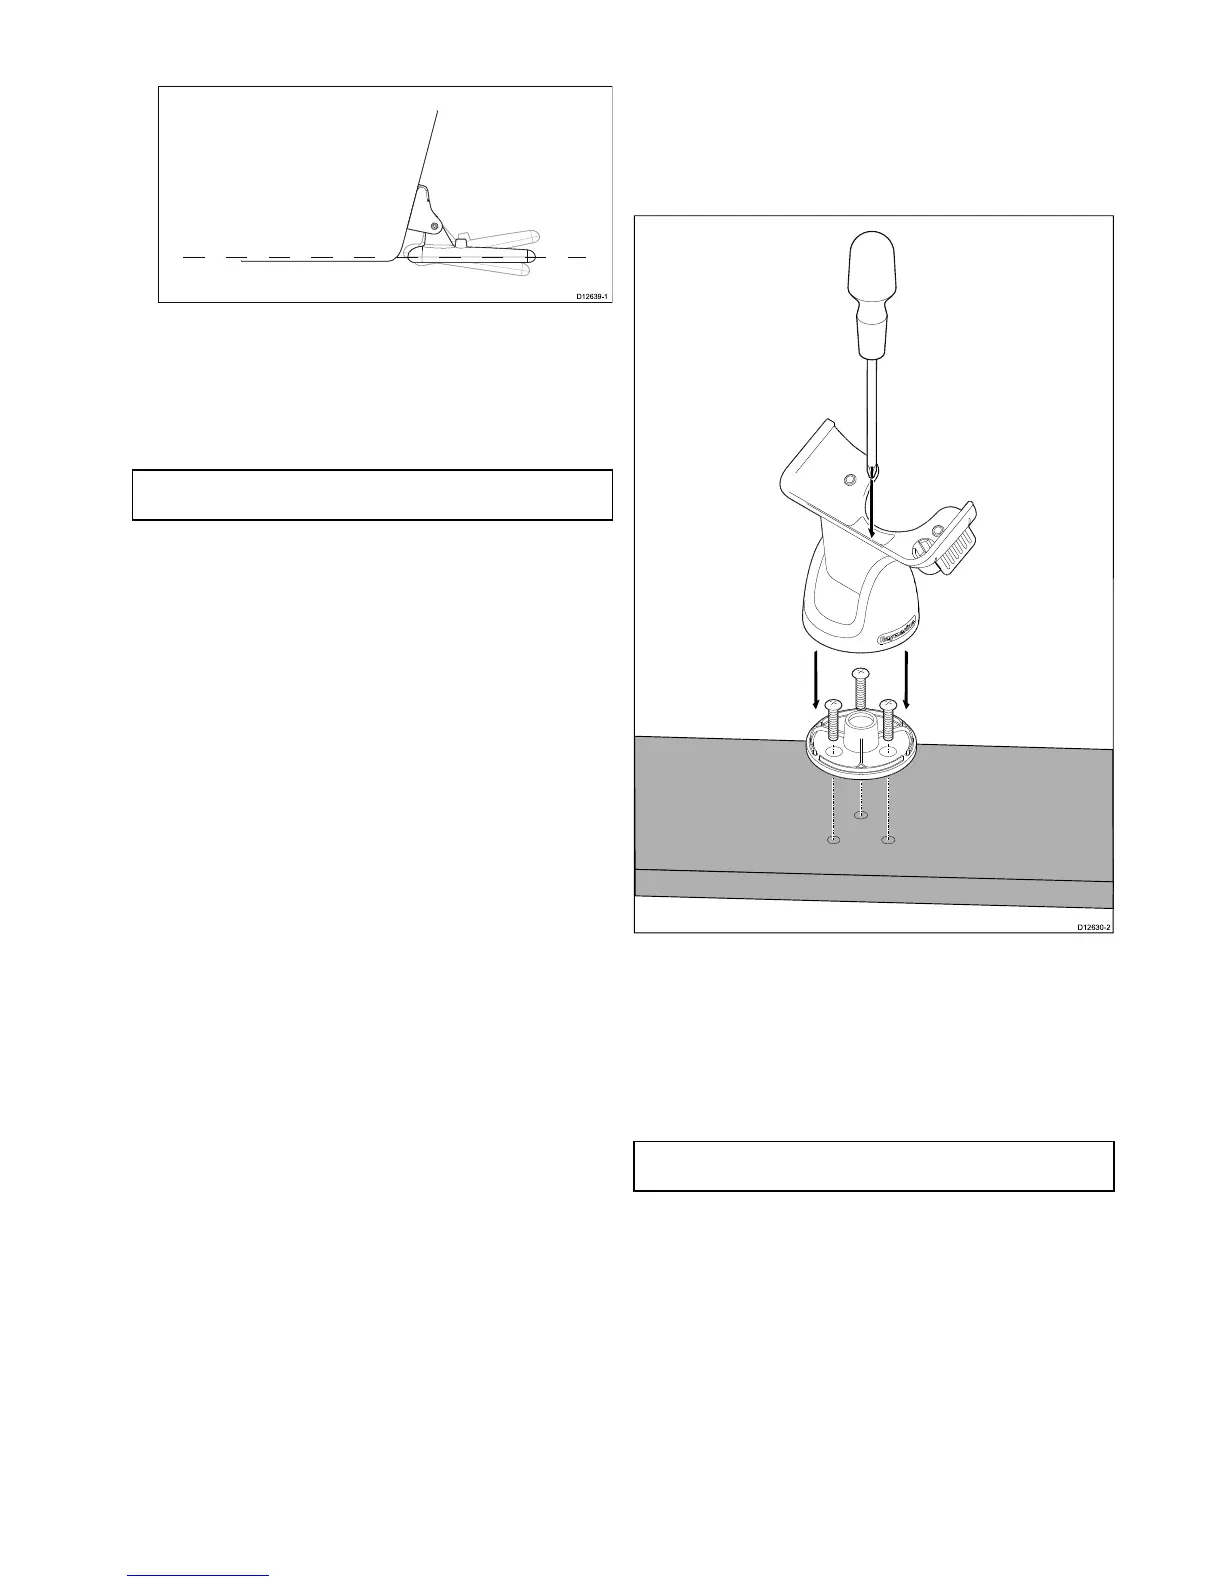
4.2Cradlemounting
Followthestepsbelowtomountthedisplay’scradle.
Beforemountingensurethatyouhave:
•selectedasuitablelocation.
•installedthetransducerandroutedthepower/transducer
cabletotheselecteddisplaylocation.
1.Markthelocationofthecradlebase’sscrewholesonthe
chosenmountingsurface.
2.Drillholesforthescrewsusingasuitabledrill,ensuringthere
isnothingbehindthesurfacethatmaybedamaged.
3.Usethe3screwssuppliedtoattachthecradlebasesecurely
tothemountingsurface.
4.Attachthedisplaycradletothebase.
5.Tightenthecentrescrewtosecurethedisplaycradletothe
base.
Note:Theappropriatetorquetousewhendrillingdependson
thethicknessofthemountingsurfaceandthetypeofmaterial.
Mounting
25
 Loading...