15
Stylus alignment with the spindle’s centre line
need only be approximate, except in the following
circumstances.
1. When probe vector software is used.
2. When the machine control software cannot
compensate for an offset stylus.
How to check stylus position
Stylus tip and stem position are established using a
low force (less than 20 g [0.71 oz]) dial test indicator
or setting gauge. Alternatively, rotate the stylus ball
against a flat surface. Alignment is good when the
stylus ball maintains a consistent distance from the flat
surface.
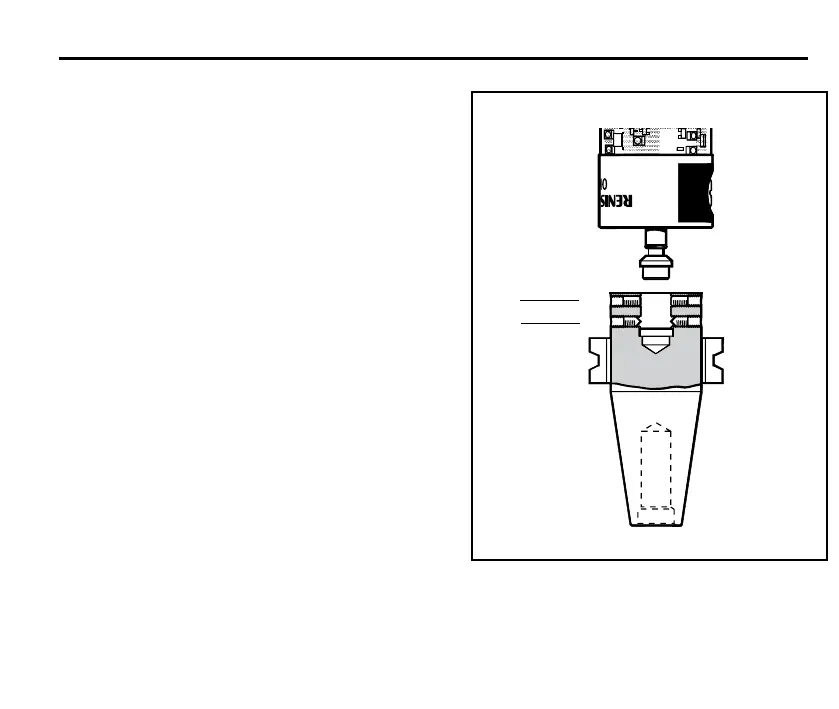
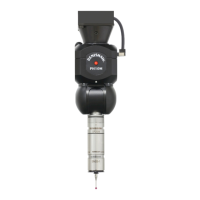
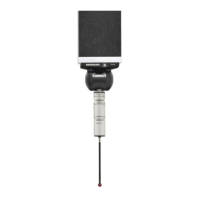
Stage 1 - Probe/shank mounting
1. Fully slacken screws
A. Then grease screws B,
and fit to shank.
2. Fit the probe onto the shank, and visually position
the probe centrally relative to the shank. Partially
tighten screws
B to 1 Nm (0.23 lbf).
3. Fit the probe/shank assembly into the machine
spindle.
PROBE
SHANK
A
➤
B
➤
Probe/shank mounting
Probe/shank mounting