32DF9T02.C
4 - 19
5) Rotate intermediate shaft until clutch slips. Maximum torque occurs at point where clutch
first begins to slip. Breakaway must occur between 24–28 ft-lbs.
ADJUST:
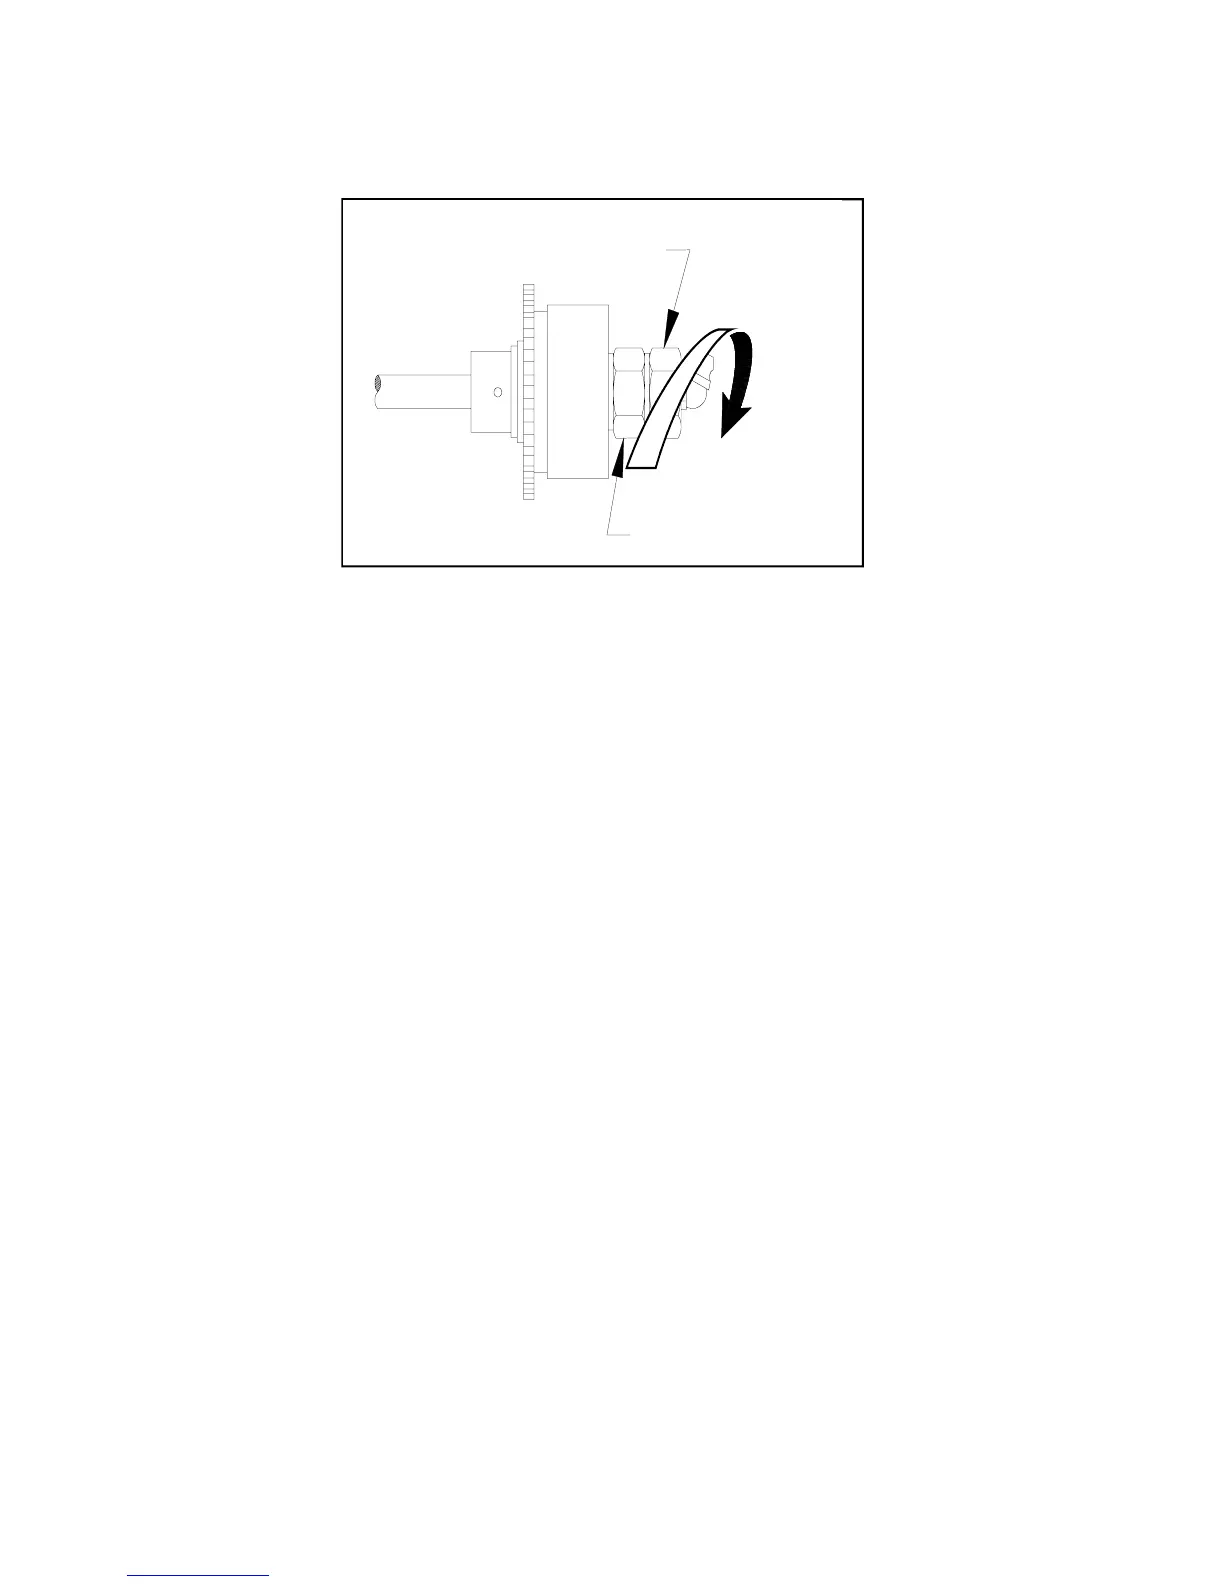
1) Refer to Figure 4-19. Do the following, if clutch adjustment is necessary:
2) Loosen 15/16" jam nut.
3) Rotate nut clockwise to increase torque, or counter-clockwise to decrease torque. Adjust in
small increments and check breakaway torque each time.
4) Hold adjusting nut and tighten jam nut to 40–50 ft-lbs.
5) Refer to Drive Chain Installation and Adjustment sections and install both drive chains.
4. INTERMEDIATE SHAFT AND FINAL DRIVESHAFT
The intermediate shaft transfers power from primary drive chain to final drive chain. The final drive-
shaft transfers power from final drive chain to pinion gears. The pinion gears mesh with gear track (at-
tached to inside of enclosure).
a. Intermediate Shaft and Final Driveshaft Removal
INTERMEDIATE SHAFT–
1) Refer to Torque Limiting Clutch Removal section and remove clutch assembly.
2) Refer to
Figure 4-17. Slide intermediate shaft assembly out of intermediate shaft support.
3) Remove washer from shaft. Remove roll pin fastening intermediate shaft sprocket to inter-
mediate shaft, and remove sprocket.
4) Remove bushings from intermediate shaft support; replace, if necessary.
FINAL DRIVESHAFT–
1) Refer to Carriage Removal section and remove carriage from enclosure.
2) Refer to Drive Chain Removal section and remove both drive chains.
3) Refer to
Figure 4-17. Remove two screws fastening intermediate shaft bracket to carriage.
Slide intermediate shaft bracket away from final driveshaft (to provide clearance for drive-
shaft removal).
4) Remove two shoulder bolts fastening driveshaft support arms to carriage.
5) Remove final driveshaft and support arms from carriage.
6) Remove roll pins fastening two pinion gears and one driveshaft sprocket to final driveshaft.
7) Twist and slide pinion gears, support arms, and sprocket off final driveshaft.
8) Slide spacers and collar off driveshaft.
ADJUSTING NUT
JAM NUT
INCREASE
FIGURE 4-19: TORQUE LIMITING CLUTCH ADJUSTMENT
 Loading...