2.6.2 Operating in “Auto”
1. Determine the desired Mode, either Heating or Cooling, by pressing
the Mode Key marked “M” to select. The bottom of the screen will
read “Heating” or “Cooling” (if installed)
2. Select the zone you want to operate in “Auto” by pressing Key “3”
The zone can be identified in the top right hand corner of the screen
3. Turn the system ON by pressing the On/Off button
4. Press the “AUTO” Key until “Auto Program” appears on the LCD
screen (if not already in “Auto Program”)
5. Cycle through all zones by pressing Key “3” and at each zone repeat
step 4 to set the zone into “Auto”
2.6.3 Temporarily Overriding “Auto”
If the “Auto Program” temperature settings do not suit your
immediate requirements, you may want to temporarily override
each zone.
This modification must be completed for each zone independently
and it is not a requirement to temporarily override all zones; i.e.
you may want to temporarily increase or decrease the
temperature of zone “B” only.
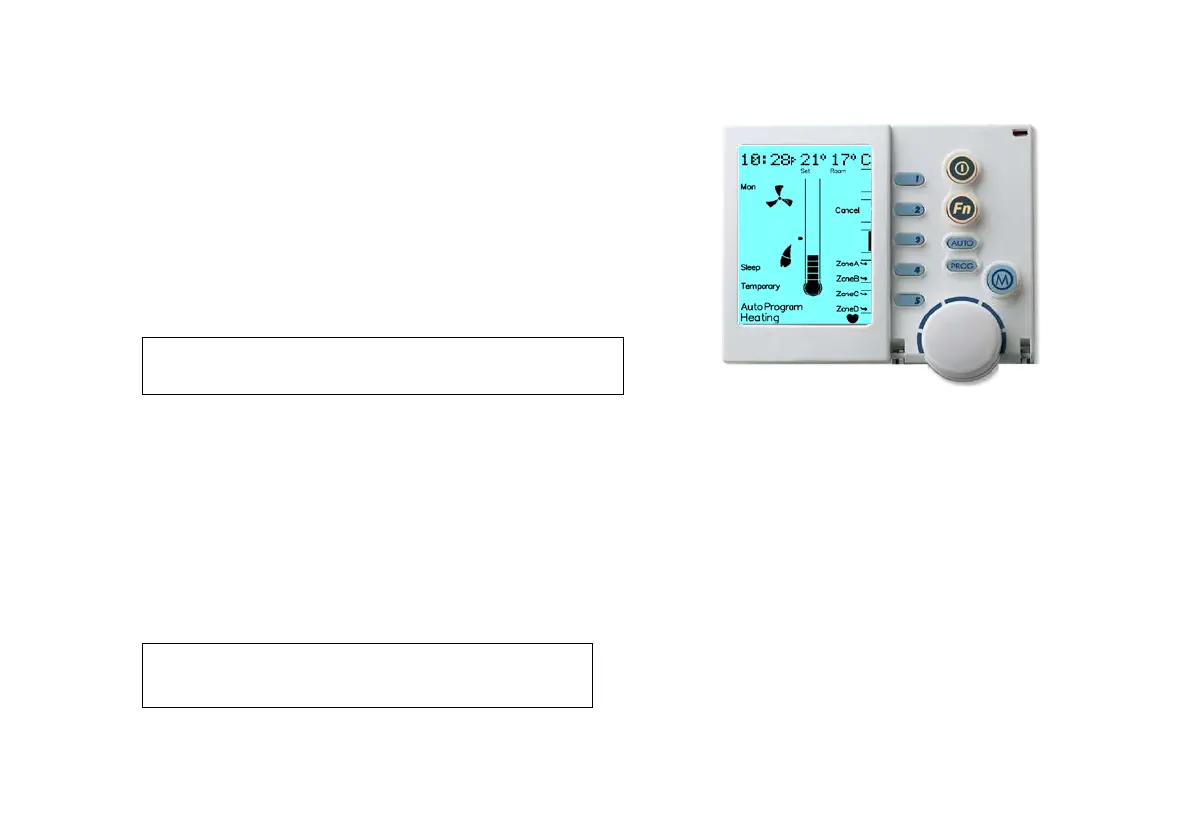
Diagram 10: NC-6 MTSP Temporary Override Display
To temporarily override “Auto Program”:
1. With the unit ON and in the “Auto Program” select the zone you
wish to modify the pre-set room temperature of by pressing Key “3”,
refer to Diagram 10, currently in Zone “C”
2. Use the Rotary Dial to increase or decrease the current temperature
setting
3. While in override, the word “Temporary” will flash at the bottom of
the screen until the current Period ends, or the “Cancel” Temporary
Override (Key “2”) is pressed to return to the normal program; refer to
Diagram 10
4. To temporarily change the set temperature of another zone press Key
“3” until the desired zone is displayed in the top right hand corner of
the screen and repeat step 2
Note: A MTSP ZonePlus system can operate separate zones in
either “Auto” or “Manual” simultaneously.
Note: The Networker will revert to “Auto Program” at the
next scheduled Time Period.