27
You can erase all songs saved in the internal memory or reformat the
USB memory (sold separately) you connected.
Note
• If you select “User”, this function erases all songs that have
been saved in the internal memory (“U”). If you select “USB”,
all data on the USB memory will be erased. In either case, the
erased data cannot be recovered, so we recommend that you
check the contents before you proceed.
• If you’re using new USB memory (sold separately) with the
unit for the rst time, you’ll need to initialize (format) the USB
memory before using it. The unit can’t use a USB memory that
has not been initialized.
If you want to format a USB memory, connect the USB memory to
the USB memory connector (p. 7).
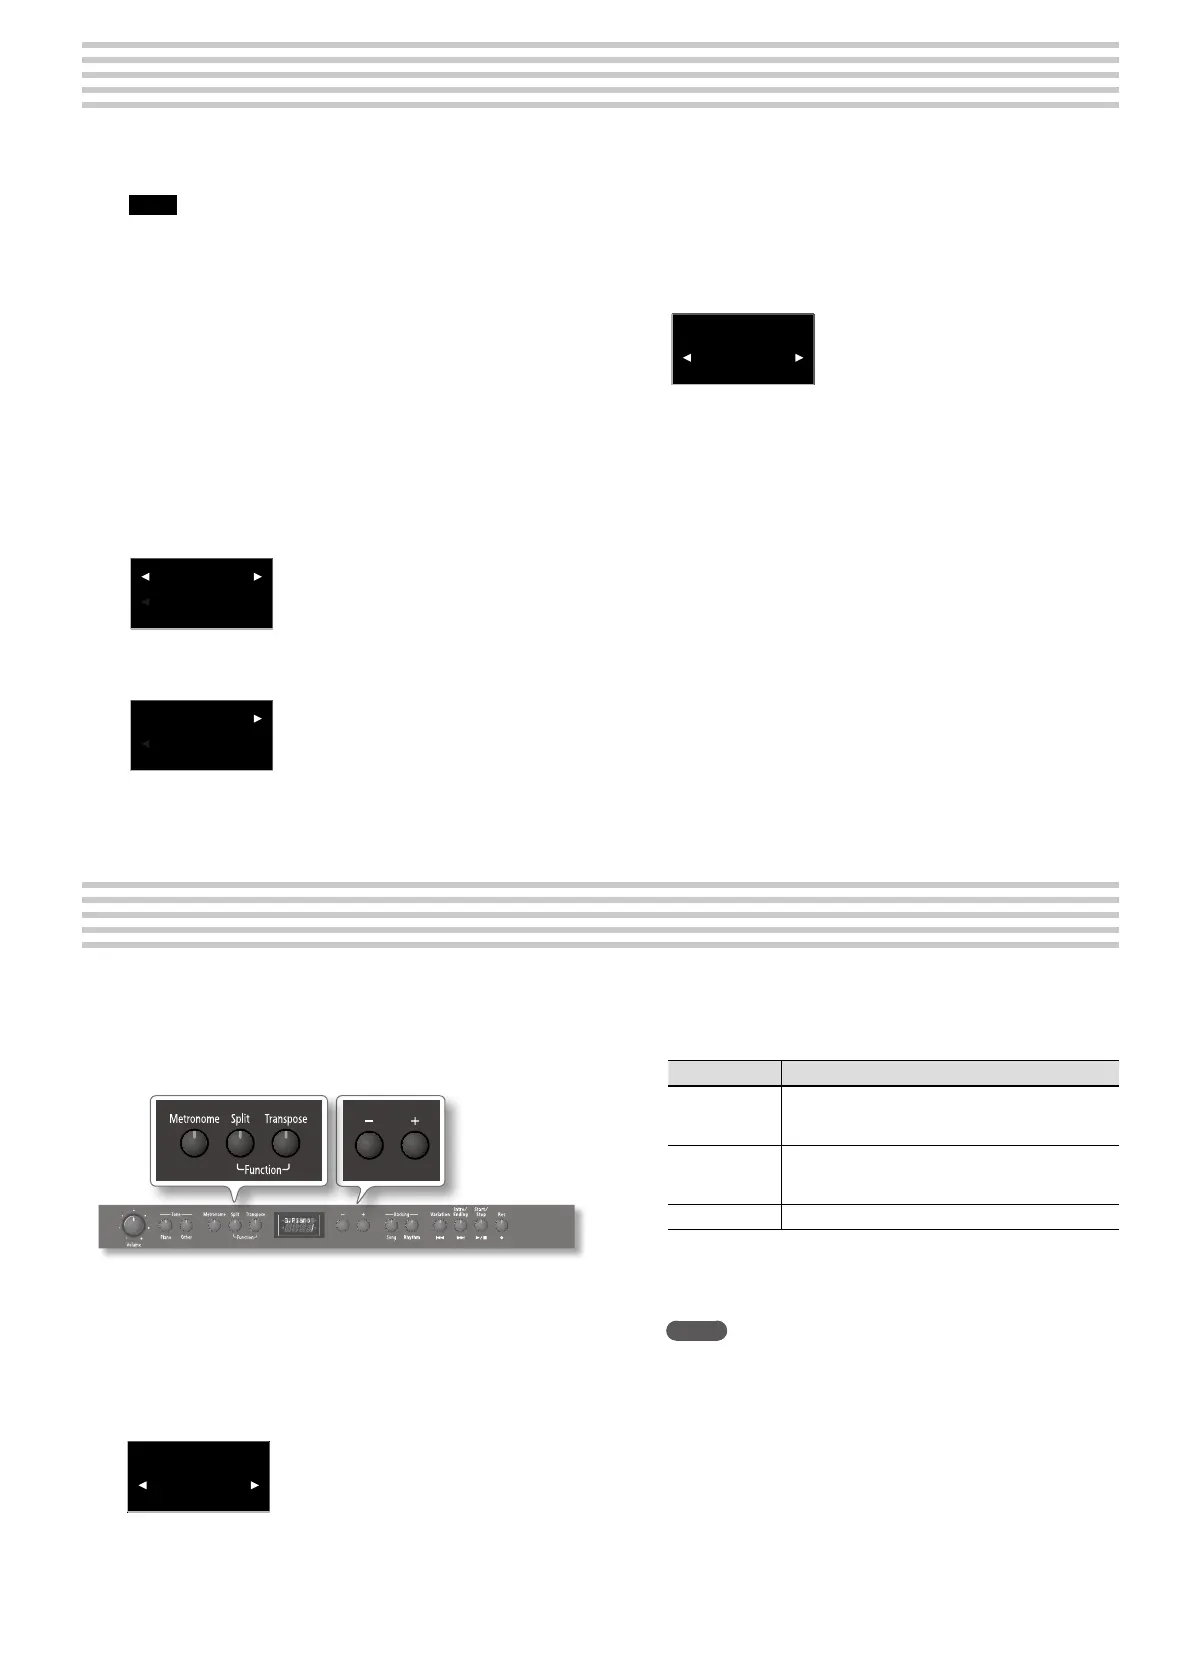
1. While holding down the [Split] button, press the
[Transpose] button.
2. Use the [–] [+] buttons to select “Format.”
Format
3. Press the [Metronome] button.
User
If you decide not to proceed with the format, press the [Split]
button.
4. Use the [–] [+] buttons to select the memory that you
want to initialize.
5. Press the [Metronome] button.
A conrmation message will appear.
Format?
NY
6. Press the [+] button to select “Y.“
Formatting of the media will begin.
If you decide not to initialize, press the [–] button.
Once the initialization is nished, you’ll be returned to the screen
you were in at step 2.
7. While holding down the [Split] button, press the
[Transpose] button to nish the procedure.
With the factory settings, the unit’s power will automatically be
switched o 30 minutes after you stop playing or operating the
unit.
If you don’t want the power to turn o automatically, change the “Auto
O” setting to “OFF” as follows. You can also select a shorter duration.
1. While holding down the [Split] button, press the
[Transpose] button.
2. Use the [–] [+] buttons to select “Auto O”.
3. Press [Metronome] to conrm your selection.
The display changes to:
Auto Off
30
4. Press the [–] [+] buttons to select the Auto O duration.
If you don’t want the power to turn o automatically,
choose “OFF.”
Value Explanation
240
The power will automatically turn o when 240 minutes
(4 hours) have passed since you last played or operated
the unit.
10
30 (default)
The power will automatically turn o when 10 or 30
minutes have passed since you last played or operated
the unit.
OFF The power will not turn o automatically.
5. While holding down the [Split] button, press the
[Transpose] button to leave Function mode.
Memo
To save this setting, you need to perform “Backup” (see p.21).
Making the power automatically turn o after a time (Auto O)
Initializing the memory (Format Media)
 Loading...