38
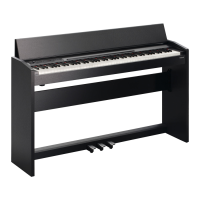
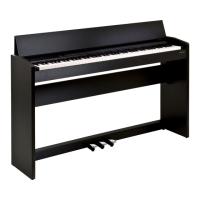
Assembling the F-120R
* To ensure that you assemble this unit correctly, please read this manual carefully before you begin assembly. Keep this manual nearby for reference when needed.
* Keep this unit horizontal when lifting it during assembly or transport.
* Be careful not to pinch your hands or drop this unit on your foot during assembly or transport.
* You must obtain the assistance of at least one additional person when assembling or transporting this unit.
* Keep small parts such as screws out of the reach of small children to ensure that these items are not swallowed accidentally.
* The screwdriver needed for assembly is not included. You will need to provide a Phillips screwdriver of the appropriate size for the screws.
* You should initially tighten each screw loosely before tightening them to their nal position. Start by tightening the screws until they are approximately half hidden. Do not use a
power screwdriver when tightening the screws to their nal position. Doing so may strip the threads.
* Tighten the screws rmly, and place the unit at a location that is level and sure to remain stable. Never place the unit on a shag carpet. If you do so, the pedal may be unstable,
causing damage.
* Do not place the body of the piano directly on the oor. Doing so will damage the jacks and holders on the bottom of the piano, and also damage the bottom panel case.
Copyright © 2012 ROLAND CORPORATION
All rights reserved. No part of this publication may be reproduced in any form without the written permission of ROLAND CORPORATION.
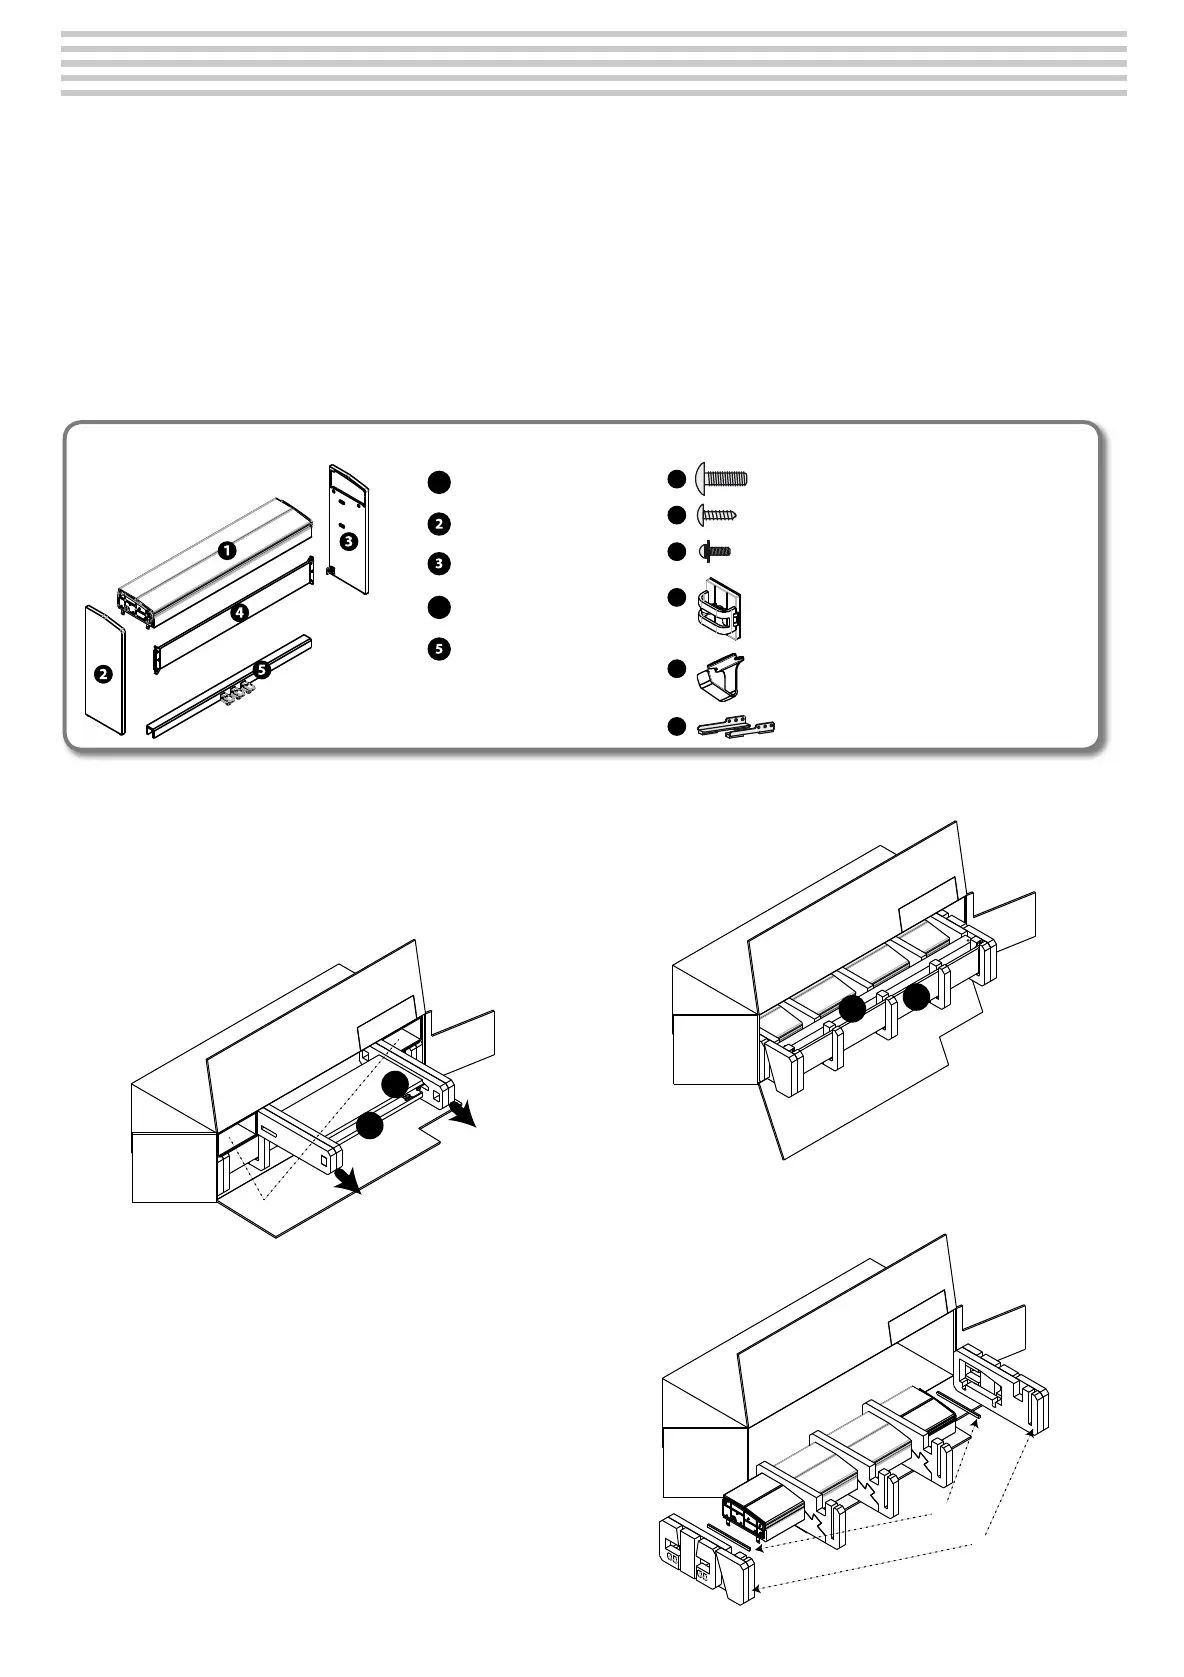
1
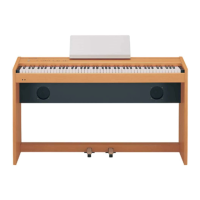
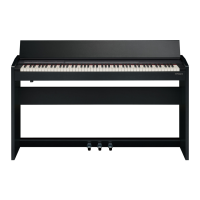
Piano main unit
Side board (left)
Side board (right)
4
Rear board
Pedal board
A
B
C
D
E
Screws (large): 10 pcs.
Screws (small): 6 pcs.
Screws (with washers): 2 pcs.
Cord clamp: 2pcs.
Headphone hook: 1pc.
Stabilizers: 2 pcs.
Assembly procedure
* Be careful not to pinch the pedal cord during assembly.
1. Install the box at on a blanket or carpet (the “Upside”
caption on the box must be visible).
2. Pull out the side boards from the upper compartment by
holding the styrofoam sides.
2
3
[f]
3. Remove the accessory bag and the owner’s manual from
the cardboard spacers [f].
4. Remove the cardboard spacers [f] from the upper
compartment (one on either side).
5. Remove the rear board [4] and the pedal board [5] from
the styrofoam protectors.
5
6. Detach the two outer styrofoam protectors (left and right
[g]) from the piano body.
[g]
[h]
Checking the parts
 Loading...