14
Try Out the Sounds
2.
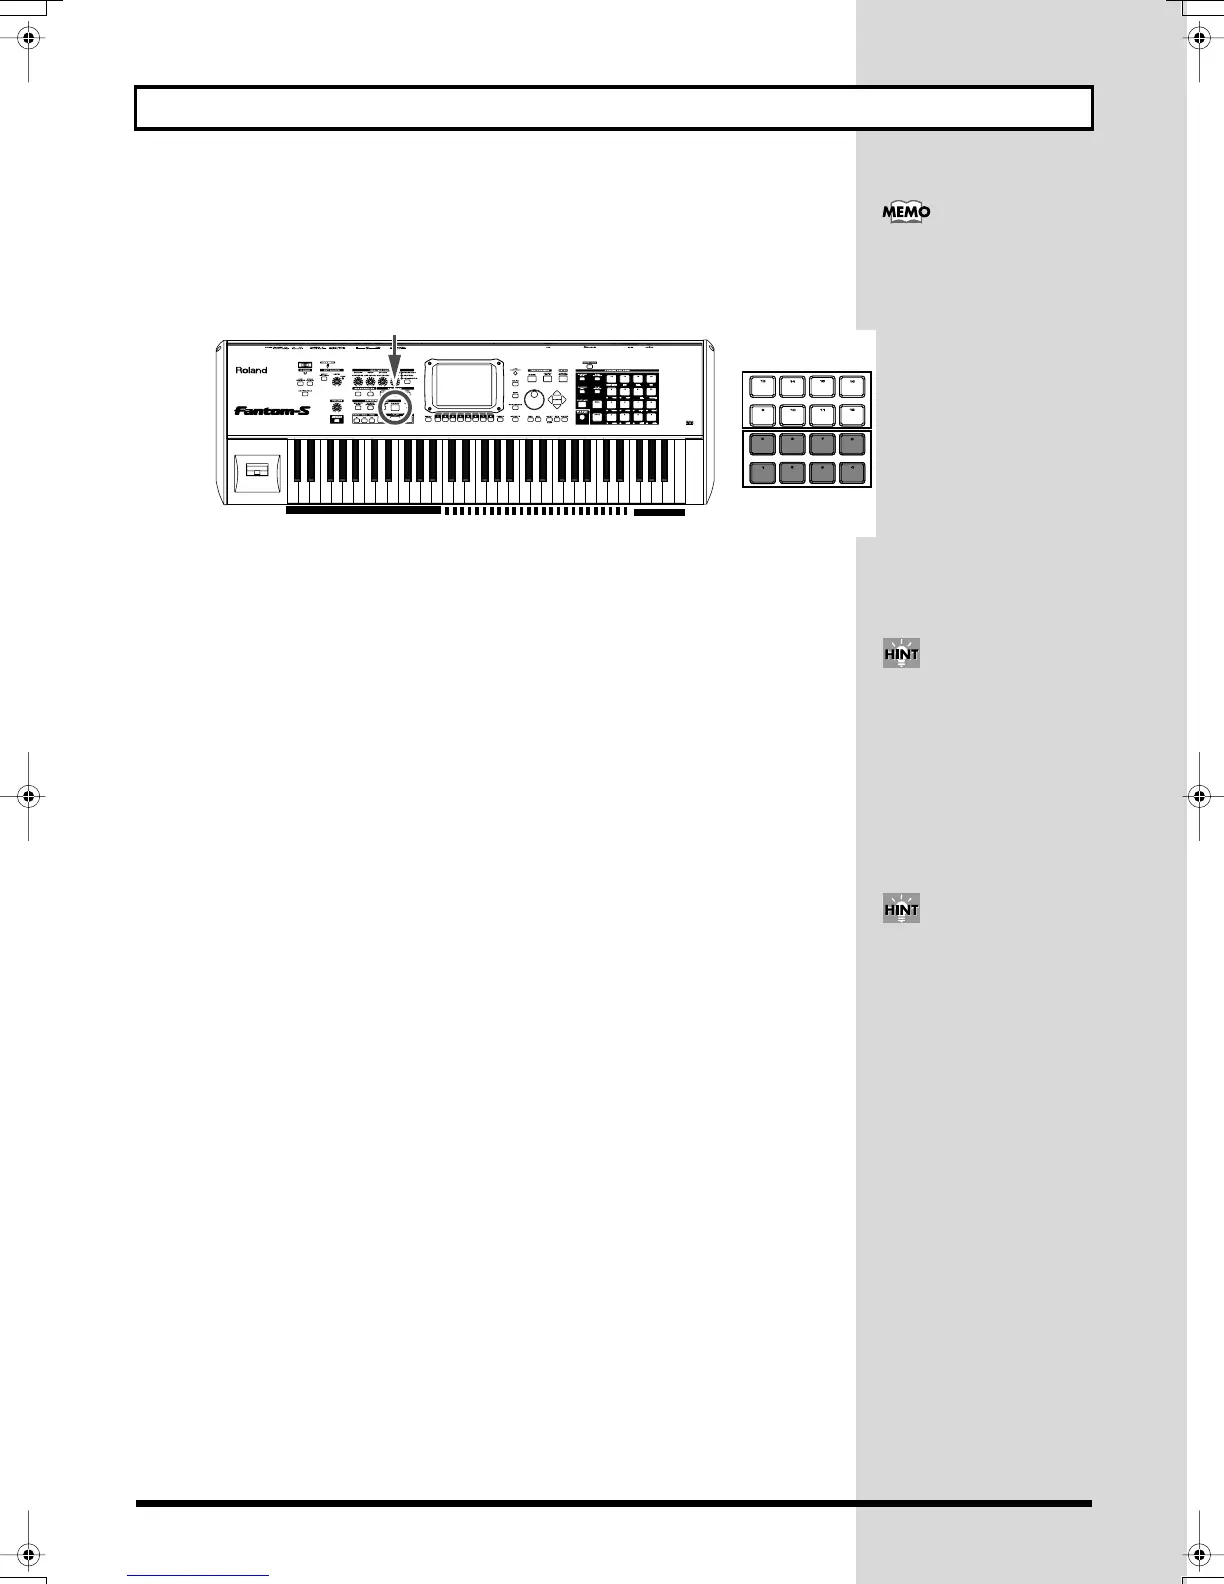
First, we will use rhythm patterns to play the drum part. Press ARPEGGIO/
RHYTHM [ON/OFF] located at the left of the display so the button’s indicator
is lit.
Rhythm tones are assigned to pads 1–8, and rhythm pattern numbers are assigned to pads 9–16.
fig.Q-15a.e
3.
Press a pad 9–16 to which a rhythm pattern number is assigned.
The force with which you strike the pads will vary the dynamics (velocity) of the sound.
The rhythm pattern assigned to the pad you pressed will sound.
4.
Next, use the arpeggiator to play the backing part. Verify that the ARPEGGIO/
RHYTHM [ON/OFF] indicator is blinking, and press a note in the key range of
part 1 (C3–B3).
The bar displayed above the keyboard for part 1 is the range of notes that will sound.Hold
down a chord in the appropriate area. According to the keys you press, an arpeggiated guitar
backing will begin playing.
5.
Finally, let’s play a guitar solo along with the drum part and backing part that
are currently sounding.
The guitar solo part has the key range of part 3 (C4–E6). The location of the bar in the screen
indicates the range in which you should play.
6.
To stop the rhythm pattern and arpeggiator, press [ON/OFF] to make the
respective indicator go dark.
How did it go? Most likely, you now see how easy it is to play ensembles like this on your
own—by specifying the keyboard range for each part (as in the performance you selected here),
and using rhythm patterns and the arpeggiator.
Changing the Performance Settings
For details about how you can adjust the most important settings for a split performance, refer
to the following pages of the owner’s manual.
• Changing arpeggiator settings
→
(Owner’s Manual; p. 105)
• Changing rhythm pattern settings
→
(Owner’s Manual; p. 113)
• Changing the key range
→
(Owner’s Manual; p. 80)
• Selecting the parts that will sound
→
(Owner’s Manual; p. 79)
• Switching the patch assigned to a part
→
(Owner’s Manual; p. 79)
• Adjusting volume/pan/pitch
→
(Owner’s Manual; p. 85)
• Applying effects to the performance
→
(Owner’s Manual; p. 178)
• Saving a performance whose settings you’ve modified
→
(Owner’s Manual; p. 96)
On the Fantom-S, a set of rhythm
pattern numbers or percussion
instrument sounds assigned to the
sixteen pads is stored as a Rhythm
Group (p. 22).
Rhythm Pattern Number
Rhythm Tone
Part 1: Backing part
Part 3: Solo part
Part 2: Rhythm part
If you press ARPEGGIO/
RHYTHM [HOLD] to make
the button light, the rhythm
pattern or arpeggiator will
continue playing even after
you take your hand off the
keys (the Hold function).
You can also stop playback by
pressing the blinking pad.
Fantom-s_e.book 14 ページ 2003年5月15日 木曜日 午後1時25分

 Loading...