10
Try Out the Sounds
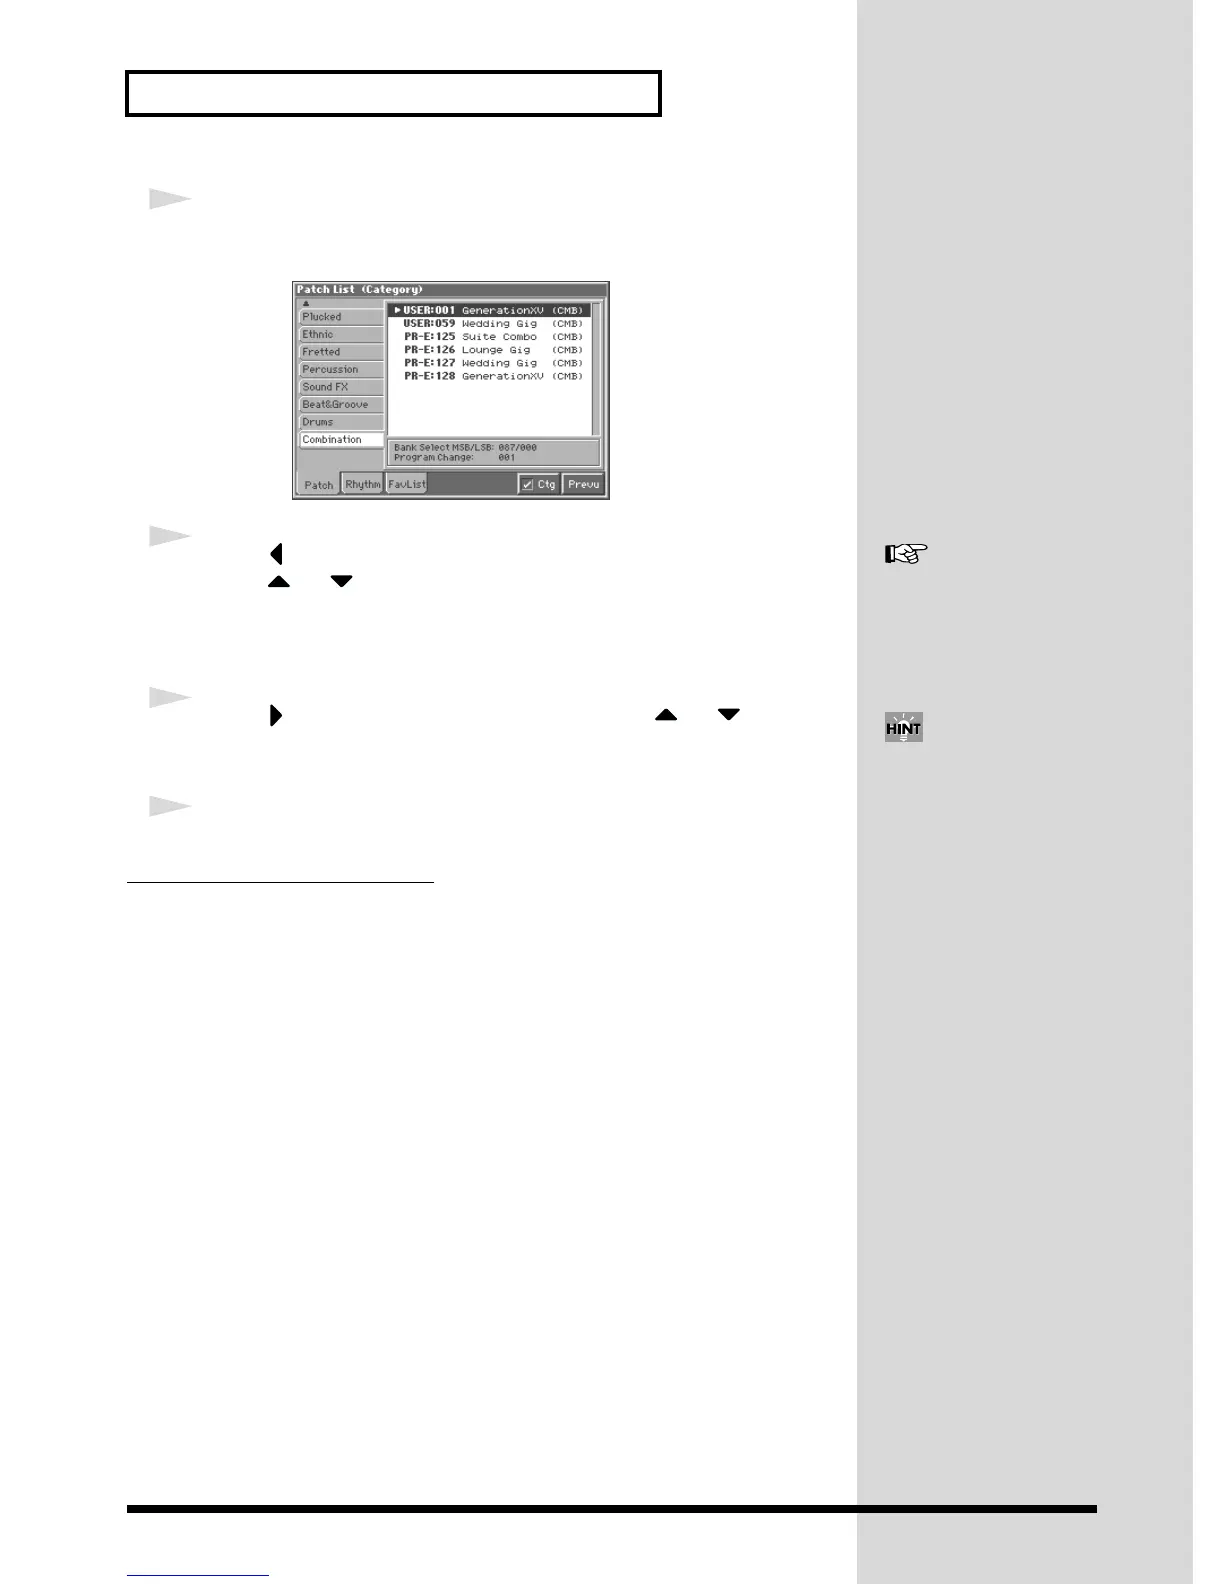
2
Press [7 (Ctg)] to add a check mark (✔).
The display shows a list of patches organized by category.
fig.Q-09_60
3
Press to move the cursor to the category tab, and
press or to select the Organ tab.
The Patch List window shows a list of patches in the Organ category, allowing you
to choose from among the available organ-type patches.
4
Press to move the cursor in the list, and press or to select
a patch.
5
Press [EXIT] to close the Patch List window.
Changing the Patch Settings
For details on the most important settings of a patch, refer to the following pages of
the Owner’s Manual.
• Changing how a patch tone is sounded → (Owner’s Manual; p. 56)
• Adjusting the pitch of a patch tone → (Owner’s Manual; p. 60)
• Using the filter to change the brightness of the patch tone sound → (Owner’s
Manual; p. 62)
• Setting the volume of a patch → (Owner’s Manual; p. 64)
• Applying modulation to the sound → (Owner’s Manual; p. 66)
• Applying effects to a patch → (Owner’s Manual; p. 165)
• Saving a patch you’ve modified → (Owner’s Manual; p. 45)
For details on the categories
you can select, refer to the
Owner’s Manual (p. 35).
By using the Phrase Preview
function, you can audition
patches as they play an
appropriate preset phrase (p.
9).