36
Using the Sequencer to Create a Song
6
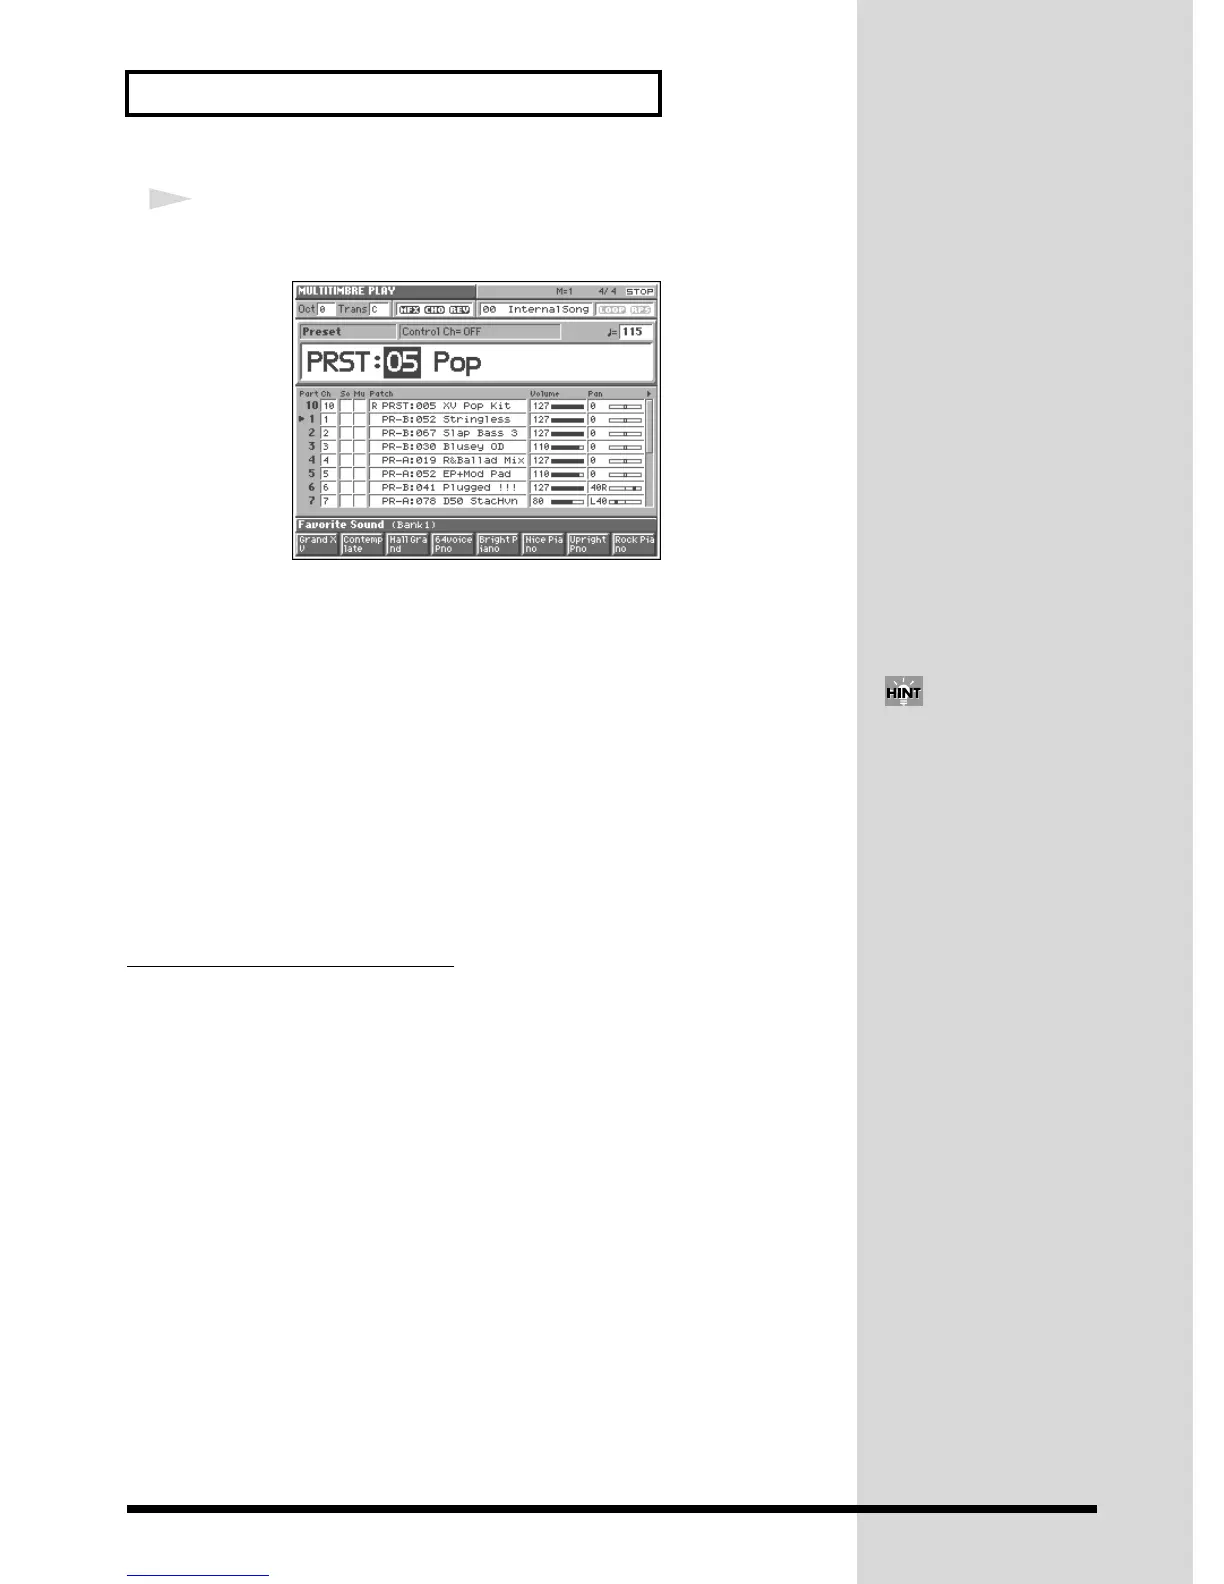
Turn the VALUE dial or use [DEC]/[INC] to select “05.”
Multitimbre “PRST: 05 Pop” is now selected.
fig.Q-44_60
This multitimbre uses the following patches, and each part is set to the following
MIDI receive channel: Part 1 = Ch.1, Part 2 = Ch.2, Part 4 = Ch.4, ... Part 10 = Ch.10,
... and Part 16 = Ch.16.
Part 1: PR-B: 052 Stringless Part 9: PR-C: 014 Flute
Part 2: PR-B: 067 Slap Bass 3 Part 10: PRST: 005 XV Pop Kit
Part 3: PR-B: 030 Blusey OD Part 11: PR-C: 007 Swell Oboe
Part 4: PR-A: 019 R&Ballad Mix Part 12: PR-A: 120 Harmonica XV
Part 5: PR-A: 052 EP+Mod Pad Part 13: PR-A: 123 Soft Nylon
Part 6: PR-B: 041 Plugged !!! Part 14: PR-B: 001 Thick Steel
Part 7: PR-A: 078 D50 StacHvn Part 15: PR-B: 017 Jz Gtr Hall
Part 8: PR-B: 097 XV Strings Part 16: PR-A: 097 Paleface 1
Changing Multitimbre Settings
For details on the most important multitimbre settings, refer to the following pages
of the Owner’s Manual.
• Changing the patch assigned to each part → (Owner’s Manual; p. 109, p. 115)
• Adjusting a part’s volume/pan/pitch → (Owner’s Manual; p. 109, p. 115)
• Muting a part → (Owner’s Manual; p. 109, p. 119)
• Setting the MIDI receive channel → (Owner’s Manual; p. 109, p. 118)
• Applying effects to a multitimbre → (Owner’s Manual; p. 170)
• Saving a multitimbre that you’ve modified → (Owner’s Manual; p. 114)
If you execute the Multitimbre
Initialize operation, all
multitimbre parameters will be
set to their default values. This
can save you a lot of time
when you want to set up a
multitimbre from scratch
(Owner’s Manual; p. 112).