35
About the Step Sequencer
STEP SEQUENCER
This is a polyphonic step sequencer.
The following settings are stored individually for each patch.
5 Performance data (notes, knob operations) of each step, each
step’s mute settings
5 [SCALE] knob, [PLAY MODE] knob, [GATE] knob, and [SHUFFLE]
knob settings
5 Step length value
5 Step position of the rst step and last step
In performance mode, you can use two tracks: the upper part and
lower part. Other than sharing the [PLAY] button, the [FIRST STEP]
button and the [LAST STEP] button all data is independent for the
upper and lower parts; the settings and performance data for the
patches are independent. To record or to edit the settings, use the
PANEL SELECT buttons to select the applicable part, just as when
editing a patch.
* In performance mode if Key Range is specied for each part,
the previously-recorded performance data is played back, but
keyboard performance outside the specied Key Range is not
recorded on the step sequencer.
Recording Steps Consecutively (STEP REC)
Here’s how you can create step sequencer data by successively
recording each individual step of your keyboard performance.
1. If you’re in performance mode, use the PART SELECT
[UPPER] [LOWER] buttons to select the part that you
want to record.
2. Press the [STEP REC] button.
The rst step blinks.
3. Play one note on the keyboard.
MEMO
5 The note you play is recorded in step 1; you then
automatically advance to step 2, and the [2] button blinks.
5 By selecting multiple notes without releasing, you can record
a chord.
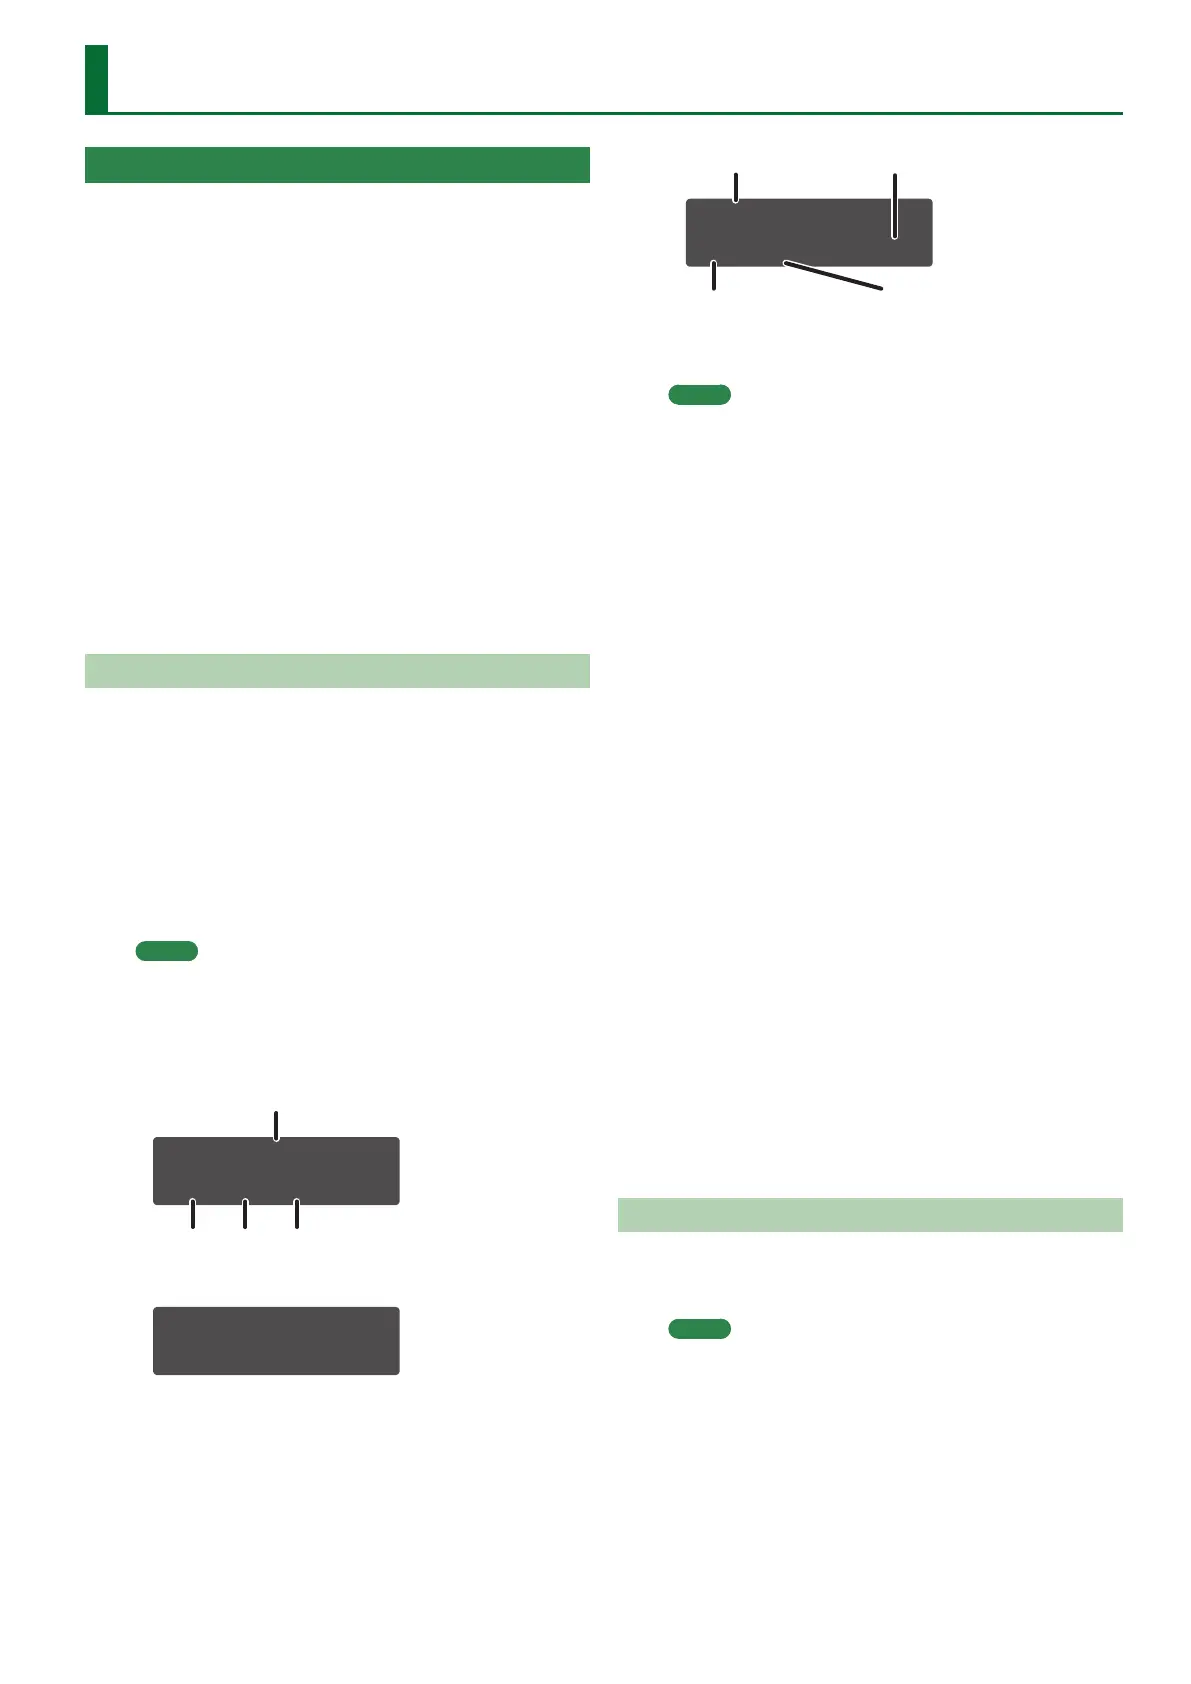
Keyboard recording screen
REC: STEP 1
C4 E4 G4 ---
Step number
Note number
5 You can use the [GATE] knob to specify the gate time. While
holding down the key, operate the [GATE] knob.
REC: STEP 1
GATE Time: 50%
5 You can record knob operations. While holding down a key,
operate a knob. You can record up to four knob operations.
Knob recording screen
FILTER:Cutoff
oo [100] -- --
Name of parameter
Knob operations
are recorded
Currently-input value
No recorded data
4. Repeat step 3 to record onto each step.
MEMO
5 The step does not advance while any key is held down; this
allows you to re-enter the note or gate time of the step that
you’re recording. When all keys are released, you’ll advance to
the next step.
5 If you press the [TIE] button while holding down a key, you’ll
move to the next step while maintaining the state of the
currently-pressed keys; if you then release the key, the two
steps are connected by a tie.
5 You can use the damper pedal during keyboard input.
Pressing the pedal maintains the state of the currently-
pressed keys, and releasing the pedal is the equivalent of
releasing the keys.
5 To specify a rest for a step, press the [REST] button to specify
a rest (=unrecorded state) for that step and advance to the
next step.
5 To erase the data from a step, press the [EDIT/DISP] + [REST
(ERASE)] buttons, and in the ERASE screen choose “STEP” to
execute.
5 To enter a tie, hold down a key and press the [TIE (LENGTH)]
button. The tie is entered, and you advance to the next step.
5 During recording, you can press a [1]–[16] button to re-
record from that step.
5 When you step-record on a previously-recorded step, the
note data is replaced and the knob operations are added.
5 When the [EDIT/DISP] button is lit, you can hold down the
[SHIFT] button and press one of the STEP [1]–[4] buttons to
change the area of steps from which to select.
5 Step recording ends when you reach the step specied by the
step length setting.
5. Press the [STEP REC] button to stop recording.
When you input the last step, step recording ends automatically.
As necessary, save the step sequencer data.
&
“Saving Step Sequencer Data” (p. 37)
Recording in Real Time (REAL TIME REC)
Here’s how you can create step sequencer data by recording your
keyboard performance in real time. The recorded data is layered
onto the step sequencer data that’s selected.
MEMO
Step sequencer data is saved within the patch data.
1. Press the [EDIT/DISP] button to make it light.
2. In performance mode, use the PART SELECT [UPPER]
[LOWER] buttons to select the part that you want to
record.
3. Press the [REALTIME REC] button.
4. Press the [START] button to start recording.
You can also start recording by pressing the [REAL TIME REC]
button during playback.
 Loading...